Curriculum
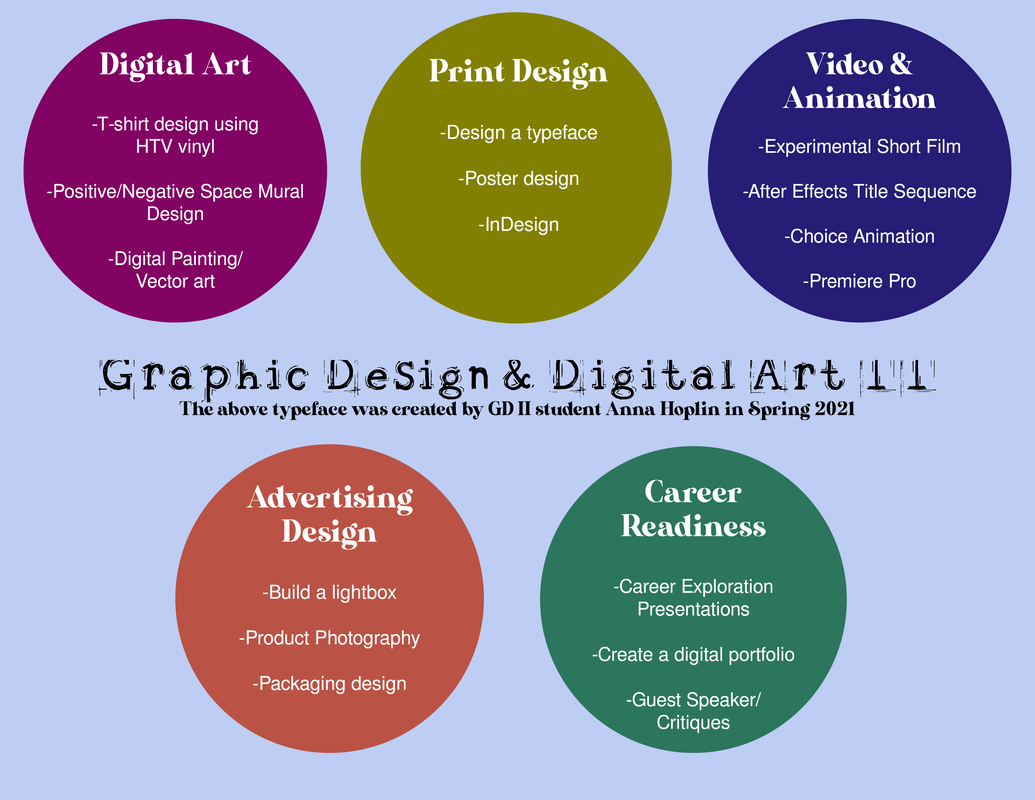
Graphic Design & Digital Arts II
Students in graphic design & digital arts class delve even deeper into their graphic arts skills. This class emphasizes more independent work while also helping students develop a portfolio. Many students who take this class are interested in graphic design or digital art as a career choice.
Photography Unit
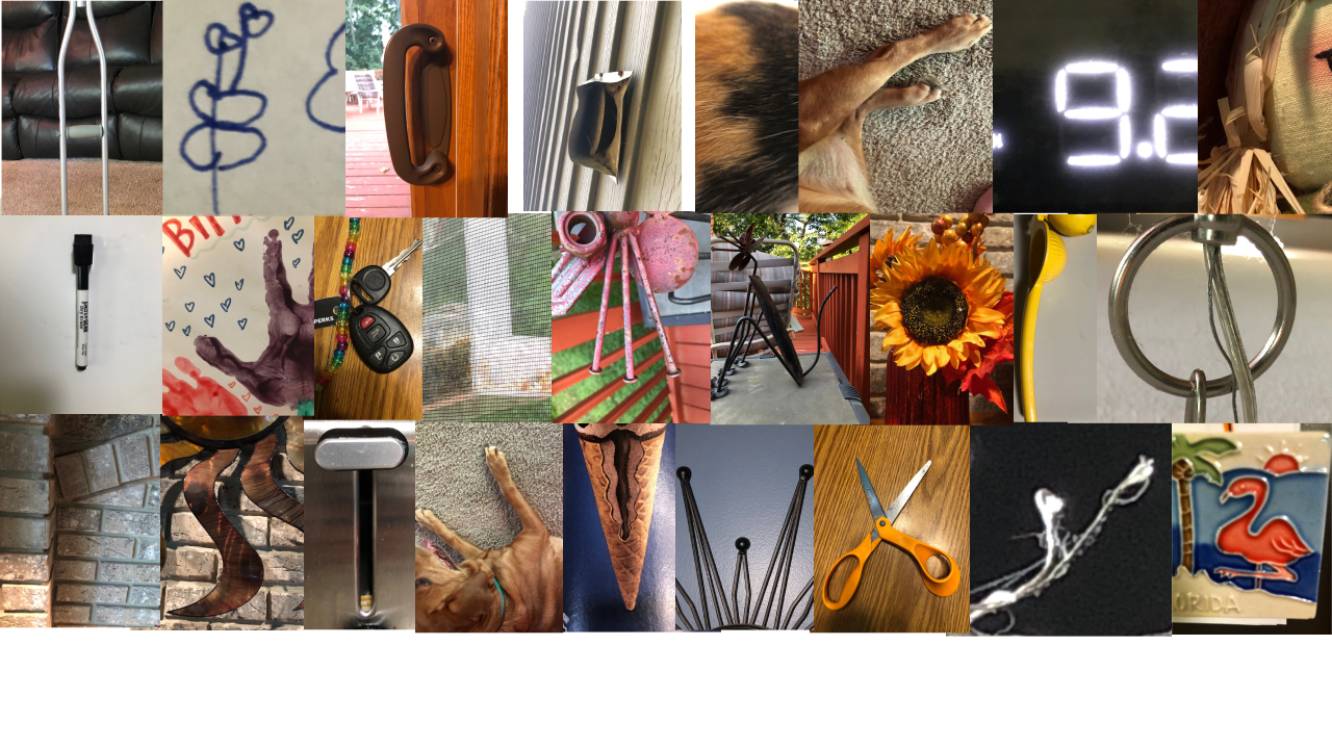
Alphabet Photography Project
|
This is a great way for students to get back into the swing of things-- especially if they took graphic design 1 a while ago.
Purpose: To flex your creativity and develop your sense of art and design by finding alphabet shapes in found objects. To review the process for taking photos, transferring photos to google drive, and importing these photos into a photo editing program. Remember: Attempt to show unity in your alphabet project by creating a "common thread" to your work. For example, turn them all black and white or try to take photos of letters all related to sports. You may work with a partner if you want! Directions: 1. Figure out if you'll work on your own or with a partner. 2. Use time in and out of class to take photos of all 26 letters of the alphabet! 3. You must FIND the shapes of the letters. You are not allowed to draw them or set them up in any way. Use cropping and angles to aid you! Sometimes you just have to stop and really look for a while. Then you'll start seeing letters everywhere! 4. Upload your letter photos to a google drive folder to stay organized. 5. Once you have all of your letters, open them in Photopea (or Photoshop-- if you have access). Arrange them on one canvas in an organized way. The canvas should be approximately 8.5"x11" minimum 150 DPI. 6. Save the final work as a .jpg or .pdf and upload to this google classroom assignment. If you worked with a partner, both of you should upload it to the google classroom assignment. FINALLY, upload the finished work to your digital portfolio. Grading:
|

Alphabet created by Polly
Alphabet created by Aryn

Alphabet created by Ren

Alphabet created by Max
|
Alphabet created by Gabe
Print Design Unit
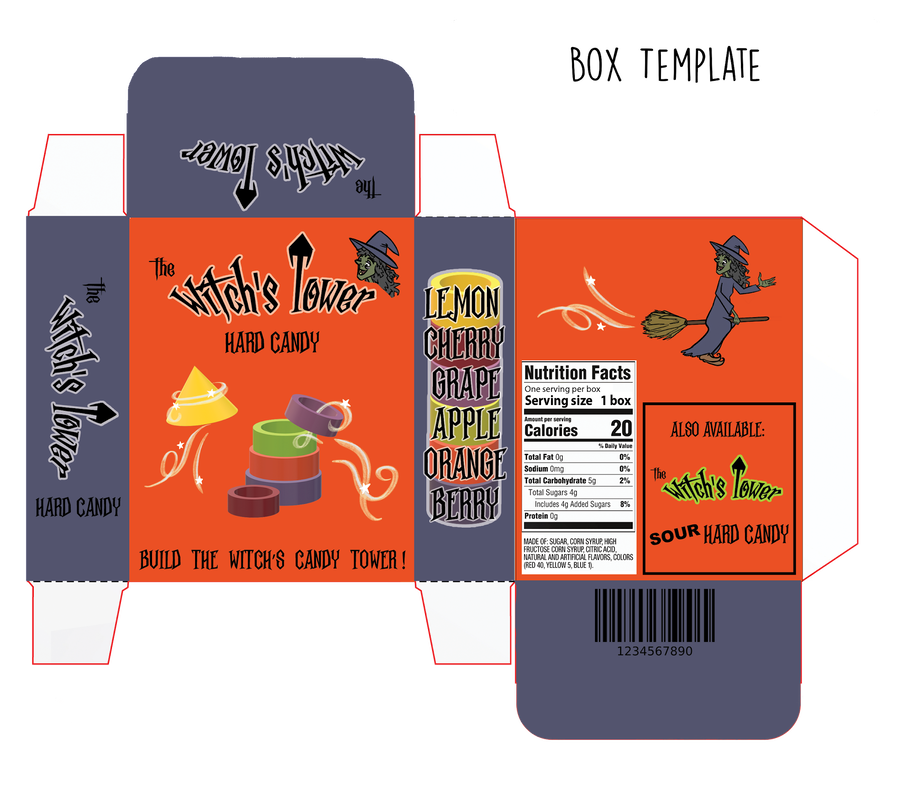
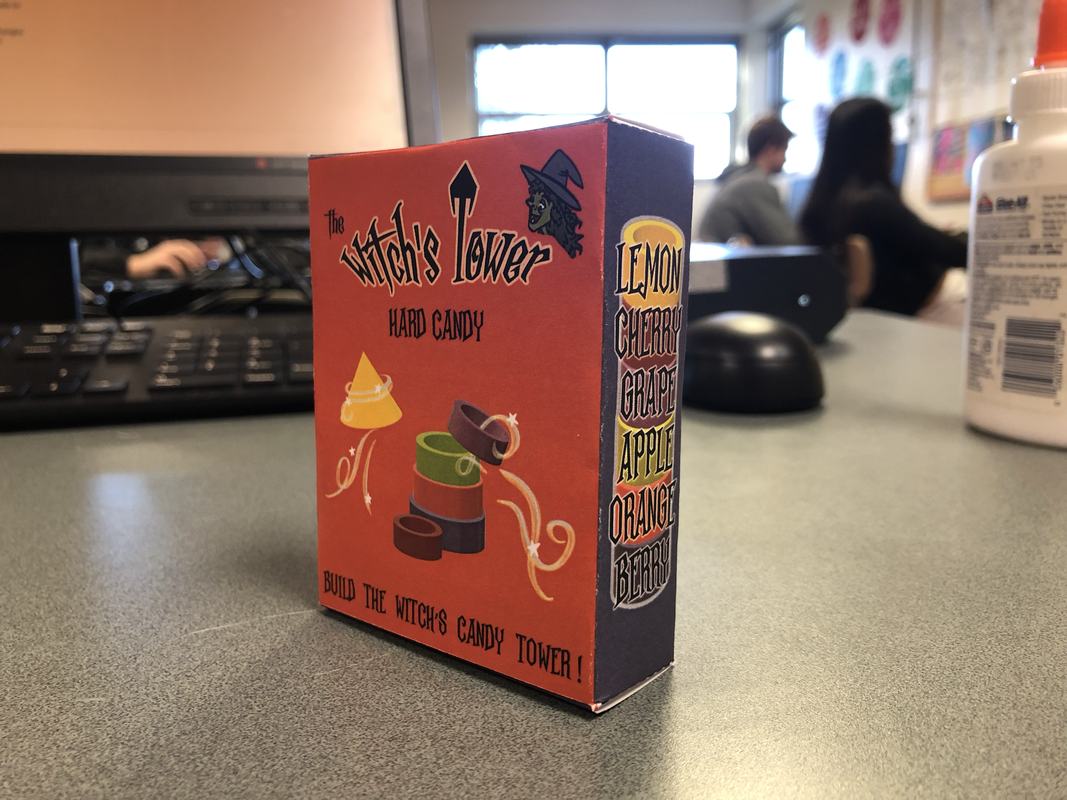
Candy Box Design
I love this assignment. It utilizes so many skills and students love to see their designs printed and put together in 3-D. The box itself is quite small when printed, but can easily print on a sheet of 8.5"x11" cardstock. The template is included below.
I use the Cricut Maker to cut out their designs (saves time and the cuts are far more precise than using scissors). But you could easily do this assignment without a Cricut. In fact, students could complete the assignment using the free program Photopea!
Before we did any designing, we watched The Futur's Episode 5 of Young Guns packaging design critique (included below). This is an excellent video introducing students to the intricacies of packaging design.
|
Purpose: Demonstrate your understanding of the design process and creating a 2-D design that will become a 3-D package.
Checklist: ✔️All six sides of the box are designed. ✔️You created an original logo. You may choose to create a box for an existing product or make up your own product! ✔️Kept the background around the template transparent. ✔️No google images or other peoples work were used ✔️Included nutrition facts, barcode, and ingredients list. You ARE allowed to use google images for these if needed. Feel free to use your own photos too! ✔️The overall colors, typeface(s), and design are appropriate for the candy chosen. The overall design looks like everything belongs together to create a sense of unity. ✔️Get feedback on your design from classmates-- upload your work to this google classroom assignment and let Mrs. Quam know you're ready for feedback. Directions: 1. Decide what kind of candy your box will contain. You may also do something like fruit snacks, raisins, or other small snack that would fit into this kind of box ;) 2. Choose a color scheme. The coolors.co app can help. 3. Next, create an original logo for the front of your package. Make sure this logo is not too complicated and makes sense for the name of your candy. Make this with a transparent background so you can easily transfer it to the box template. 4. Add nutrition facts table, ingredients list, and a barcode to the template. 5. Design the top and sides of the box as well. Add your colors! You may leave the tabs blank (these will eventually be glued). 6. Upload your finished box template to this google classroom assignment. Make sure to save it as a .png with transparency around the box template. Be prepared to critique your design as a class! Make any adjustments/changes to your design once you receive feedback and then click 'unsubmit' and upload your changed/adjusted design to google classroom. 7. Mrs. Quam will use the Cricut to print and cut out your box design. 8. Once you get your cut design, fold it up and glue on the tabs. Do not glue the top shut. 9. Take a photo of your finished print design. Upload the photo and finished template to your digital portfolio. Hint: Change image mode to CMYK to make colors more accurate when printing! |
Episode 5 of Young Guns "Packaging Design Critique"

| ||
Typography Unit
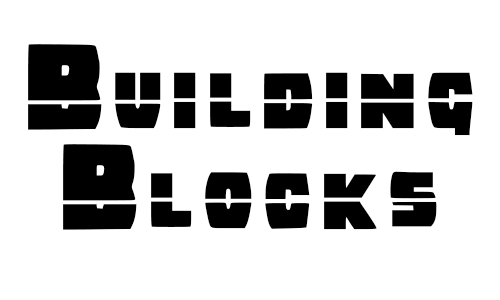
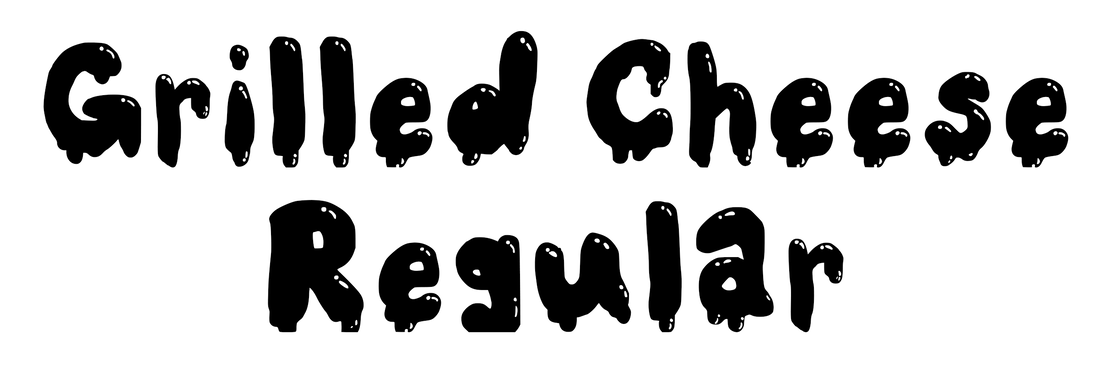
Typeface Design
|
This is another assignment I just love. Students get to design their very own typeface-- and the best part is that it is a real working .otf file! Meaning students can download their typeface to their computer and use it. I've included some of my students typefaces for download below. Please keep in mind, they are licensed for personal non-commercial use.
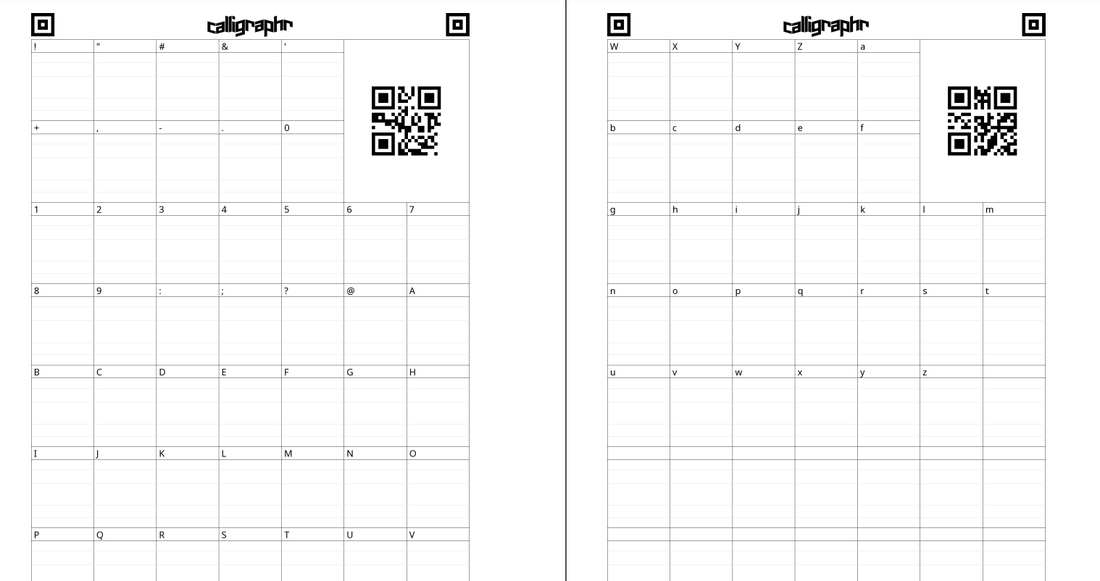
Challenge: Create an original typeface using the template attached at the very bottom. You must include all lowercase and uppercase letters, symbols & numbers in the template. 1. Print the template or open the pdf in Photoshop. Brainstorm ideas for your typeface. What kind of typeface will you make? Script, serif, sans serif, display/decorative, blackletter? Feel free to sketch ideas on scratch paper. Your typeface should have unity-- meaning all of the letters are connected by same width, angles, designs, etc. 2. If you printed the template, work with pencil first. I like to start with a lowercase 'a' because you can find the lowercase 'a' in many other letters. Keep pencil lines light. 3. When you finish drawing out all of the characters, you have 2 options:
5. Choose a really cool and original name for your font. Download the .otf file. What do I need to turn in?
Building Blocks by Polly
|
The Template:
Grilled Cheese Regular by Jade
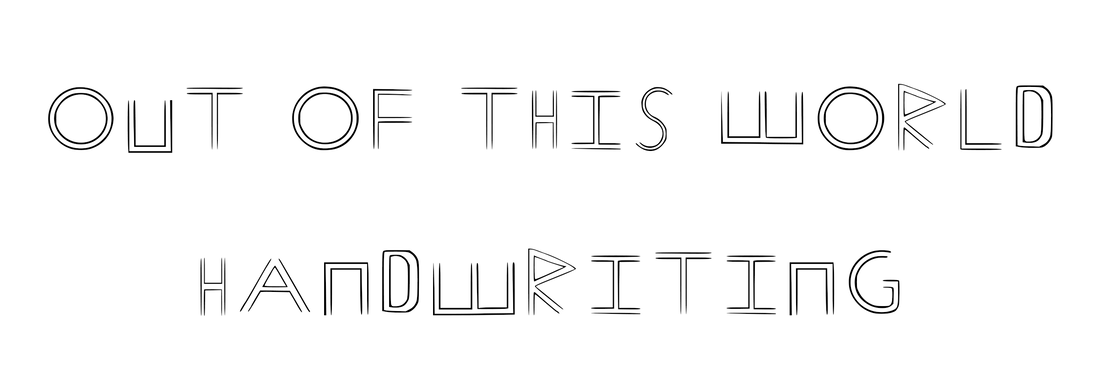
Out of this World Handwriting by Jameson
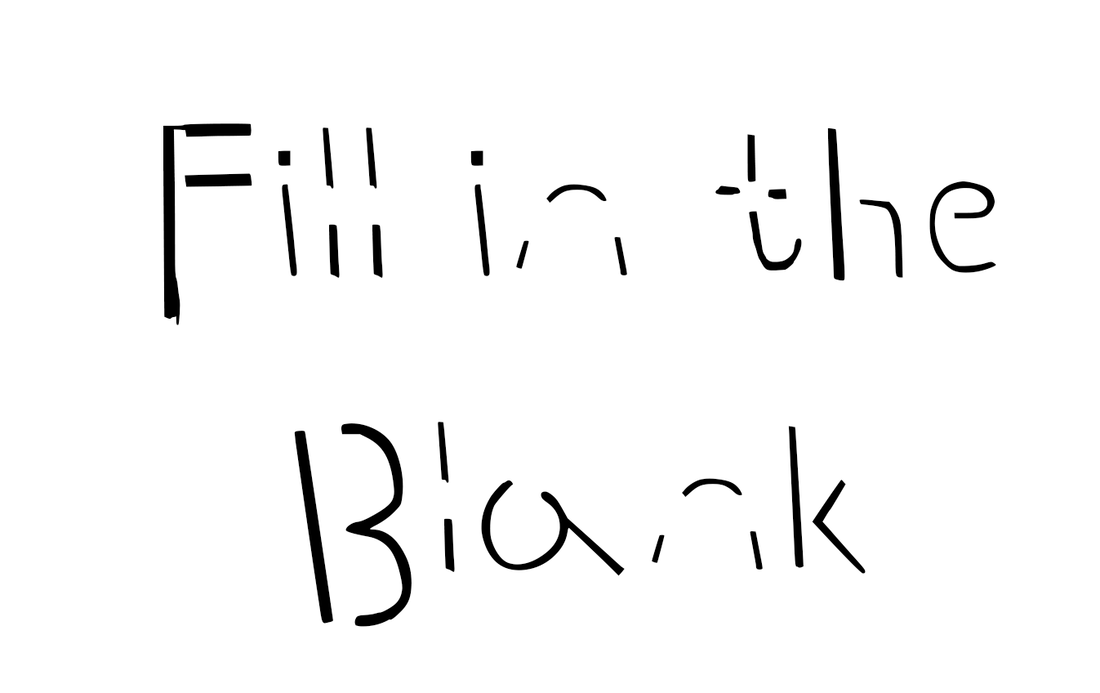
Fill in the Blank by Cole
Fingerprint Regular by Hengxu

| ||||||||||||
Digital Art Unit
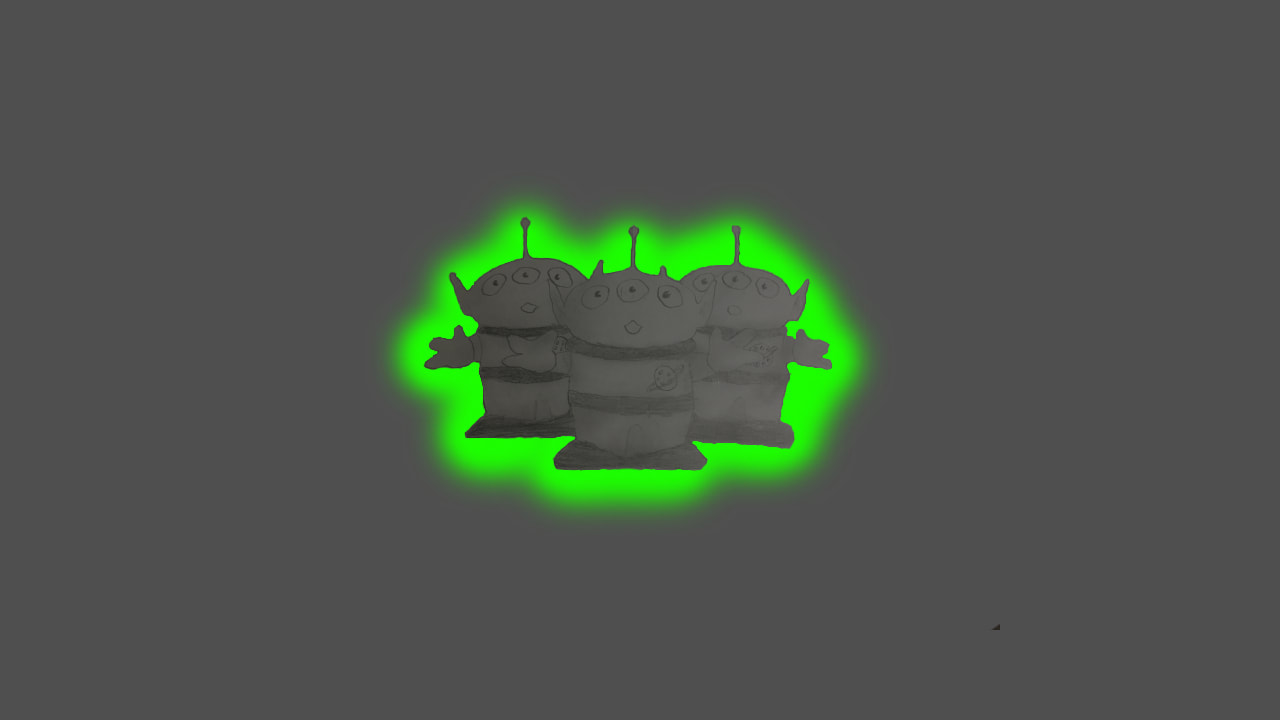
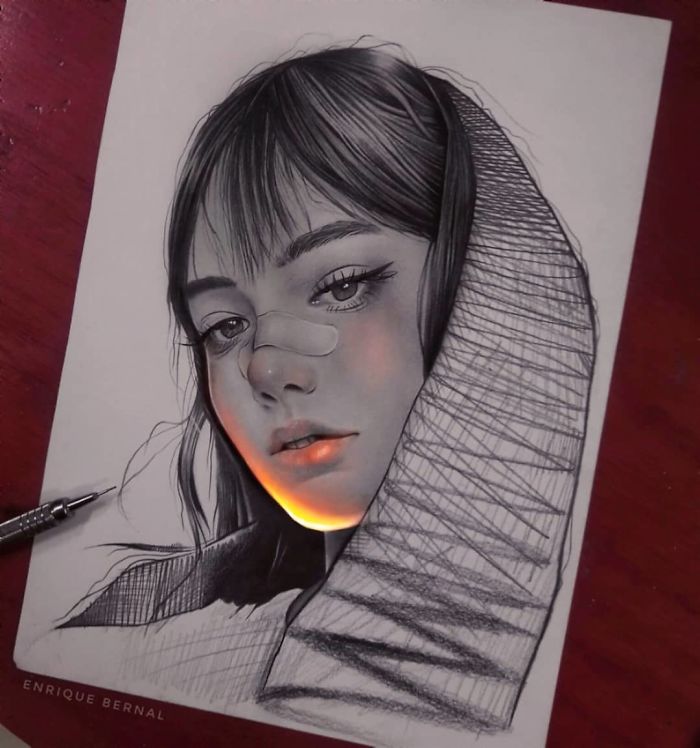
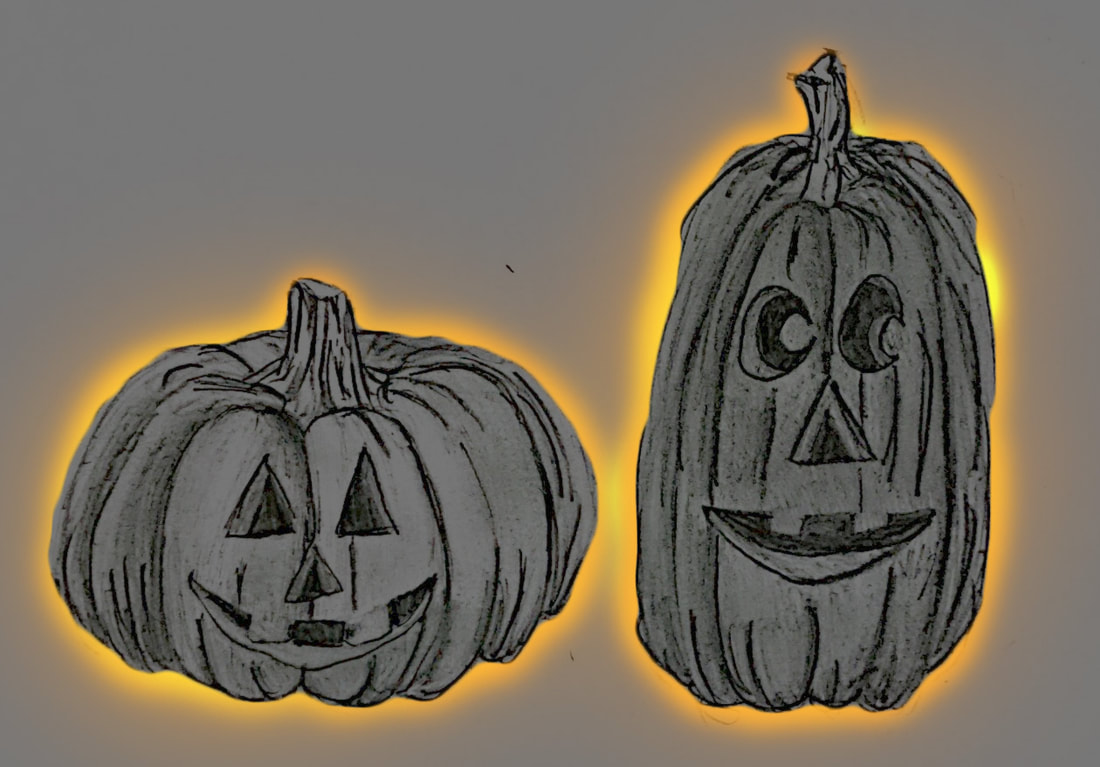
Glow EffectThis assignment gave students a chance to do some hand-drawn work & import it into Photoshop to create a cool glowing effect! We did this work around Halloween, so it seemed appropriate for the time. This would also work as a Graphic Design & Digital Arts 1 assignment. I mainly used this as review for basic digital painting skills.
This lesson was inspired by the work of Mexican Artist Enrique Bernal. You can find a neat article and examples of his work here. One of his works is shown at the right. This is the video demonstration I created for my students to use . . .
Assignment Requirements:
1. Draw something using graphite pencil or charcoal on the paper. Any subject matter based in realism, but it helps if you have a clean outline around the subject matter. Characters are allowed. 2. Once your drawing is complete, take a high quality photo of it or scan it in and upload it to Google Drive. 3. Open the photo in Photoshop. 4. Follow along with the video for how to adjust levels, contrast, and brightness of your drawing and also how to add the glow effect! 5. Upload your glowing drawing to Google classroom as a .jpg! 6. Upload your glowing drawing to your digital portfolio. |
Glow painting created by Ian
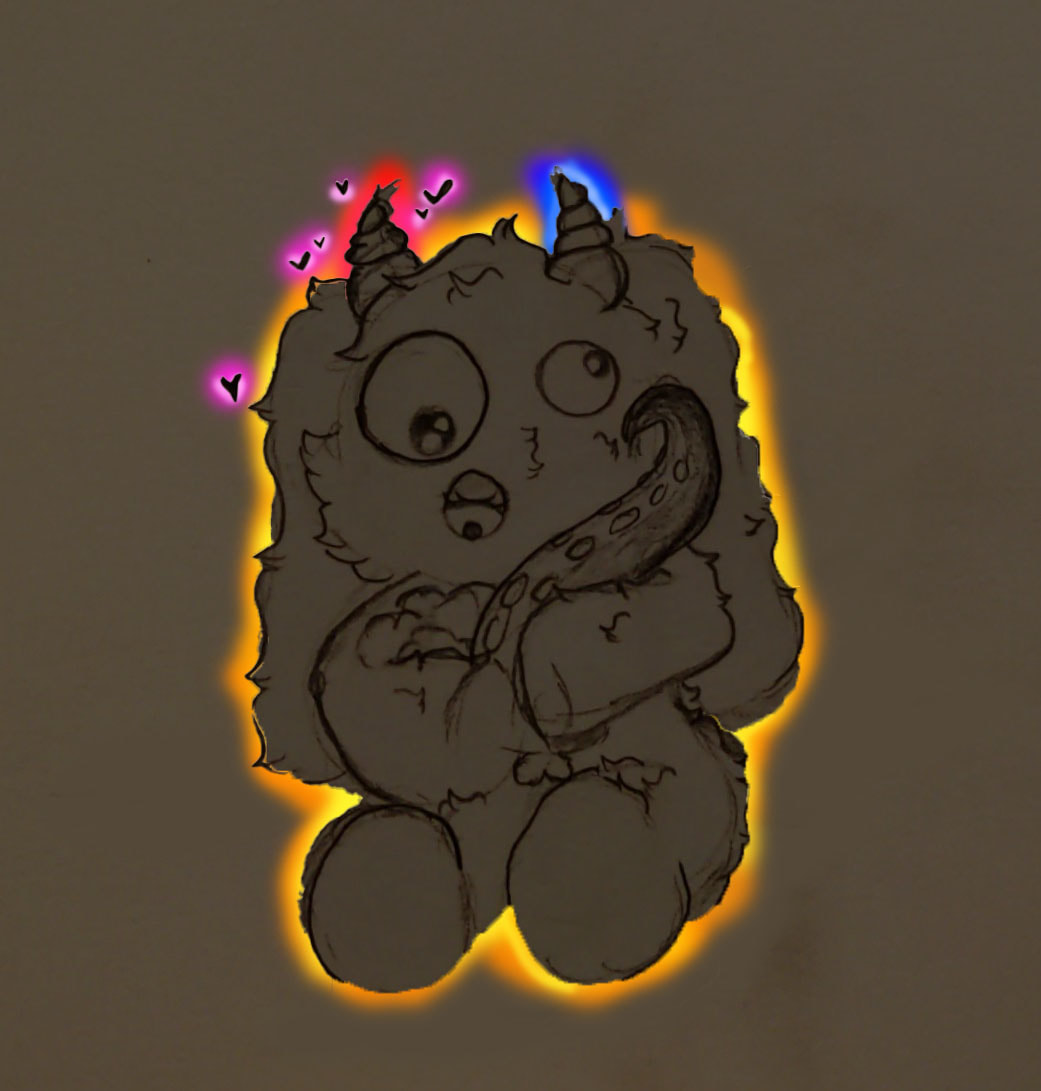
Glow drawing created by Jade
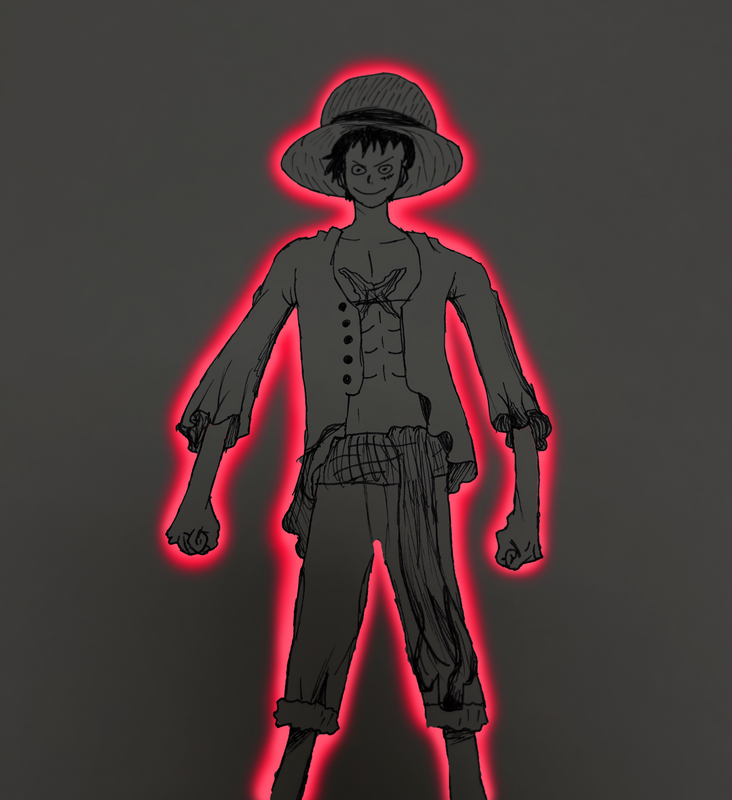
Glow drawing created by Koy
|
