 My graphic design 1 students just finished a collaborative animation project. I connected with an Elementary art teacher about this project a couple months ahead of time. I asked her if she could have a group of 5th grade students draw characters, write what they want their character to do, and then send me the drawings. I ended up getting about 80 drawings and scanned each one to my e-mail. Then, I uploaded the drawings as .jpgs to my Google Drive and sent a drawing to each graphic design student. I instructed my students that they had to animate the drawing according to the directions provided by the 5th grader. My graphic design students animated these in Photoshop...some students touched up the drawings a little, while others left the drawings as they were. Some students added photos or other images. When all students finished, I put together a (not so little) Google Slide presentation to send to the Elementary art teacher so she could show her students all of our hard work! This animated gif project was a great way to connect with the younger student and share our program. We even got featured on the Rochester Public Schools Facebook page for this project! This was just so much fun and a great challenge for my graphic design students! I will definitely be doing it again in the future!
0 Comments
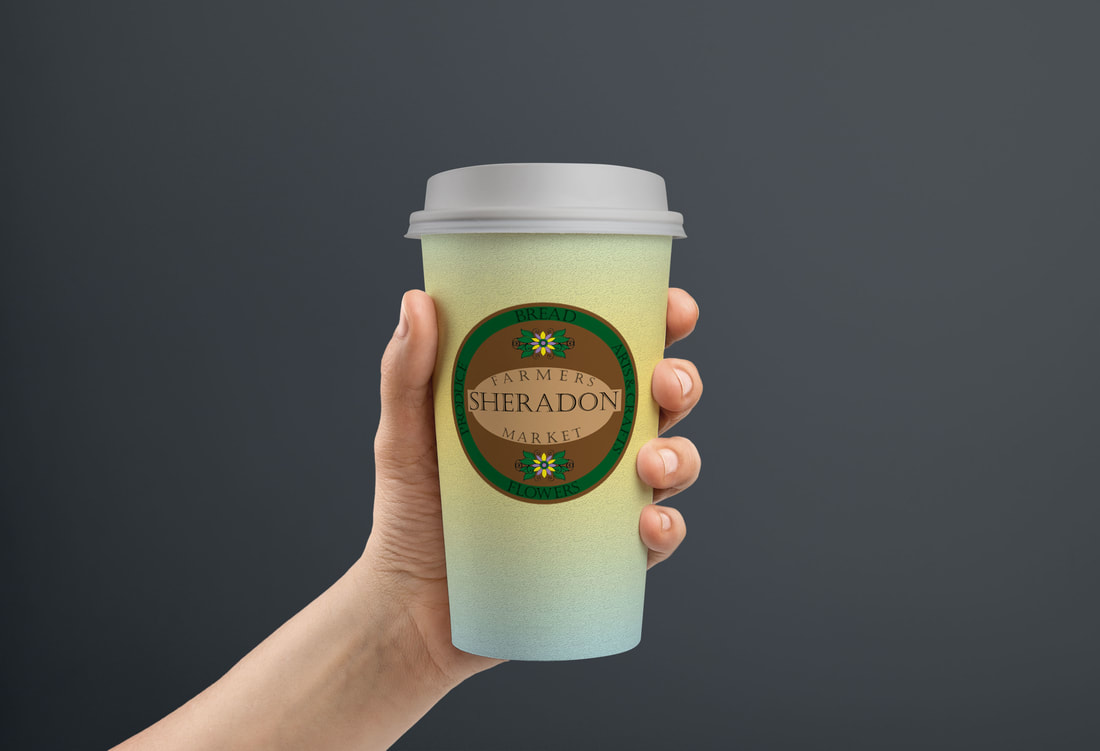
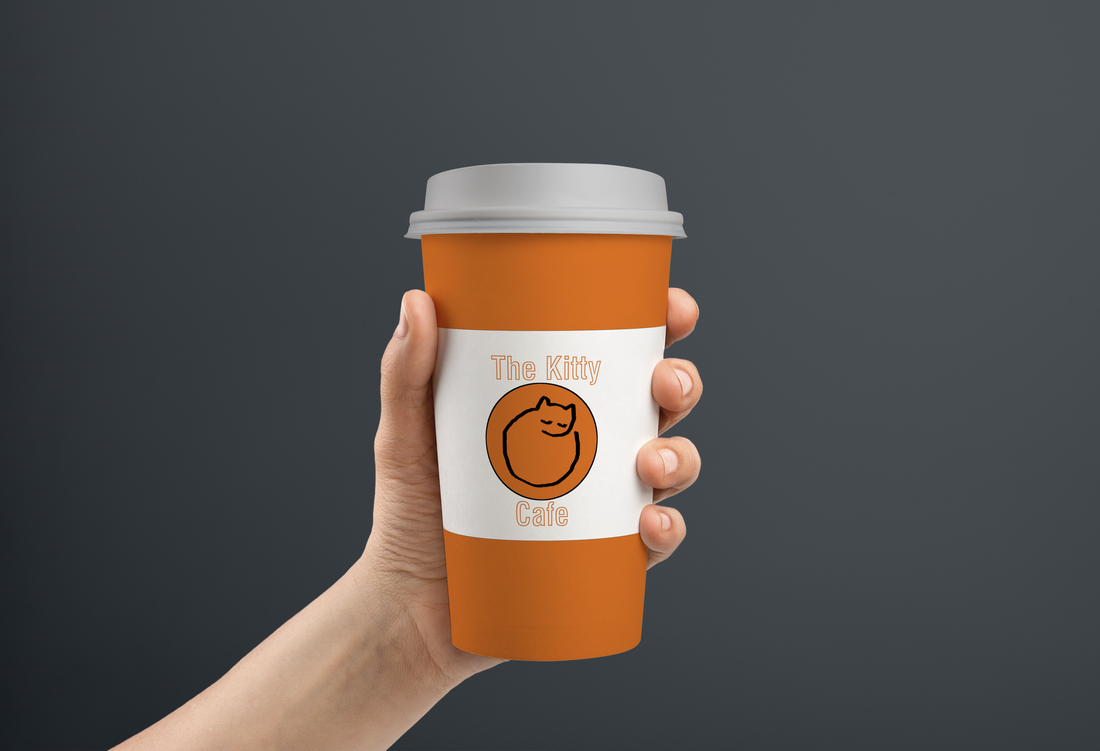
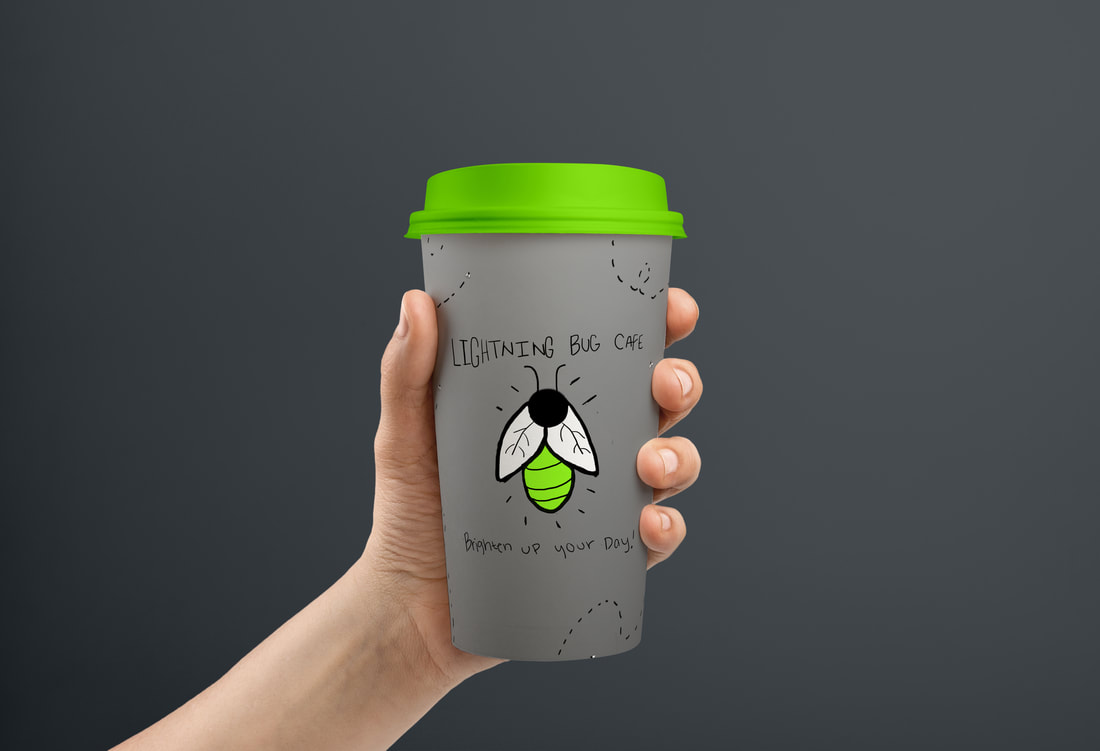
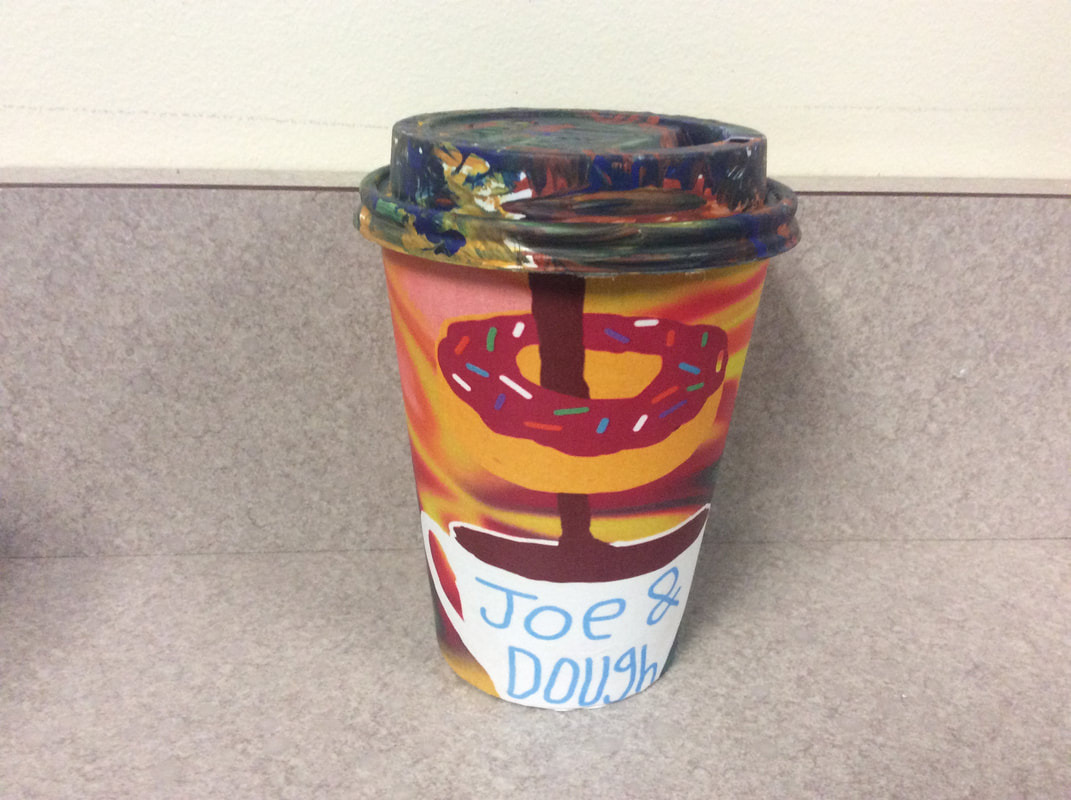
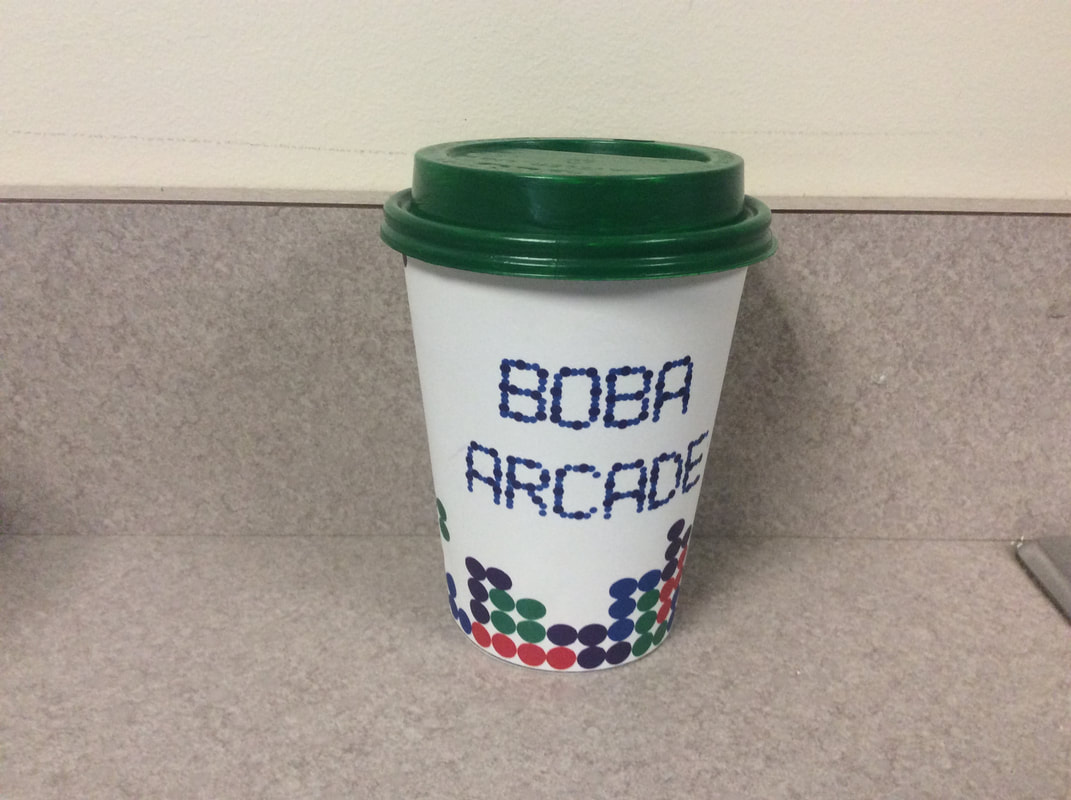
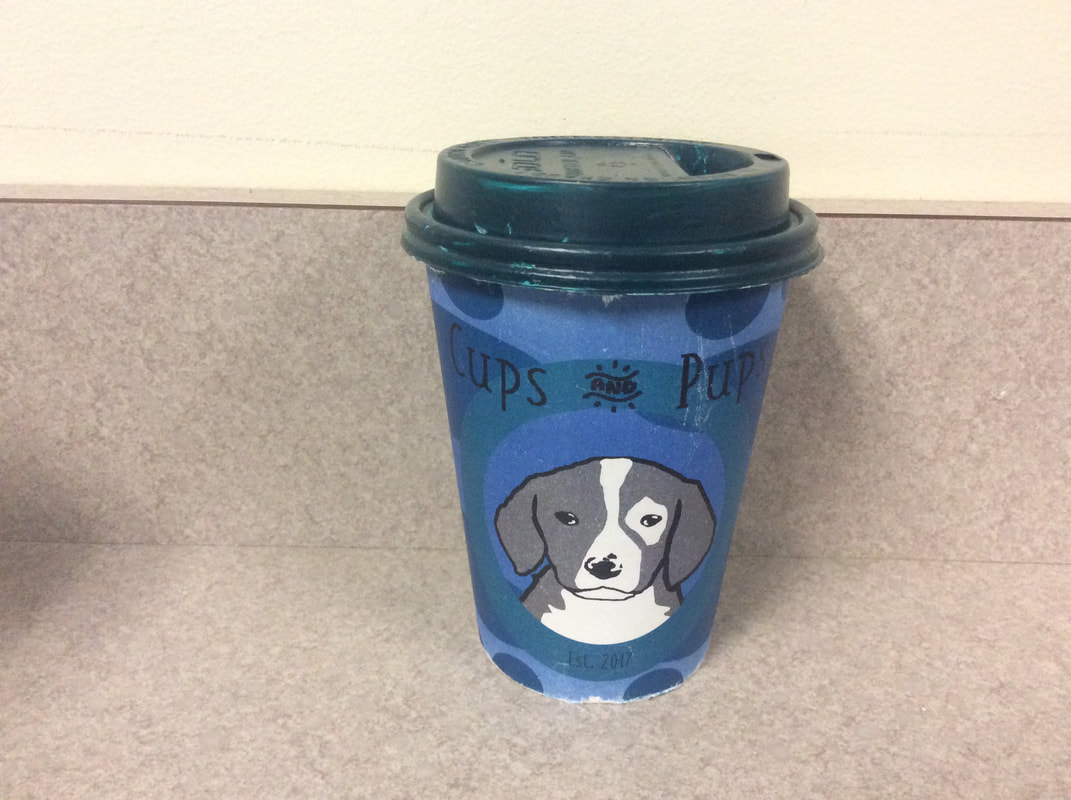
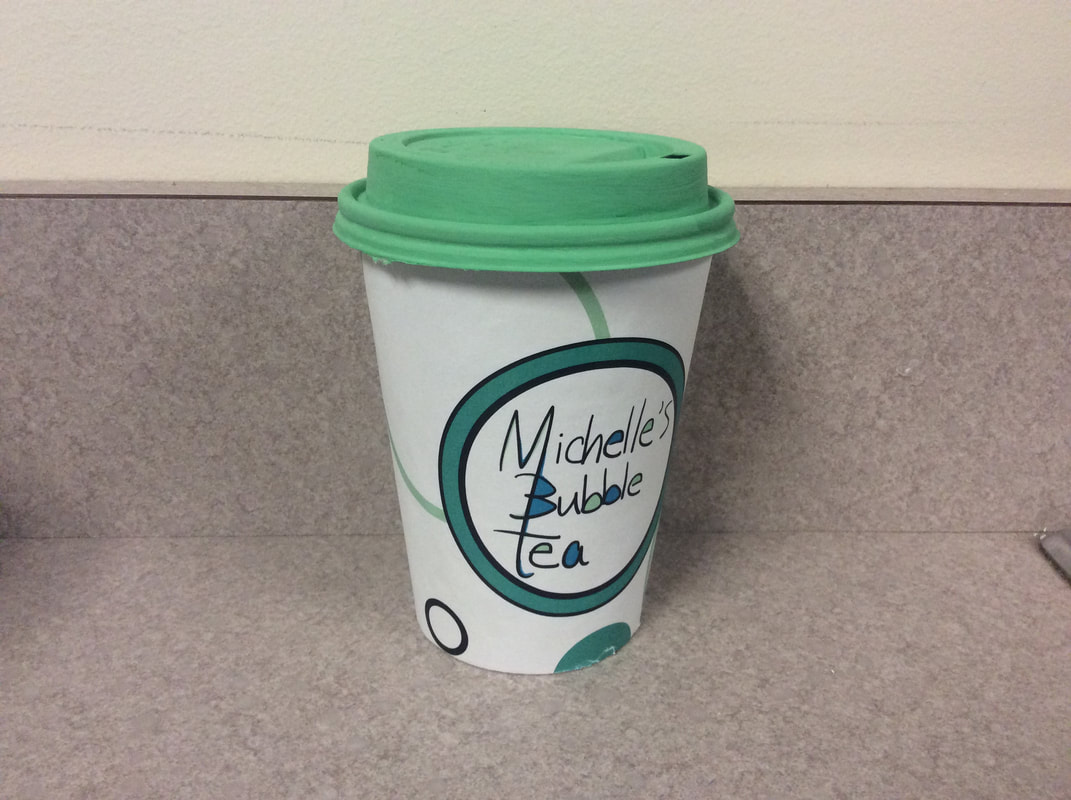
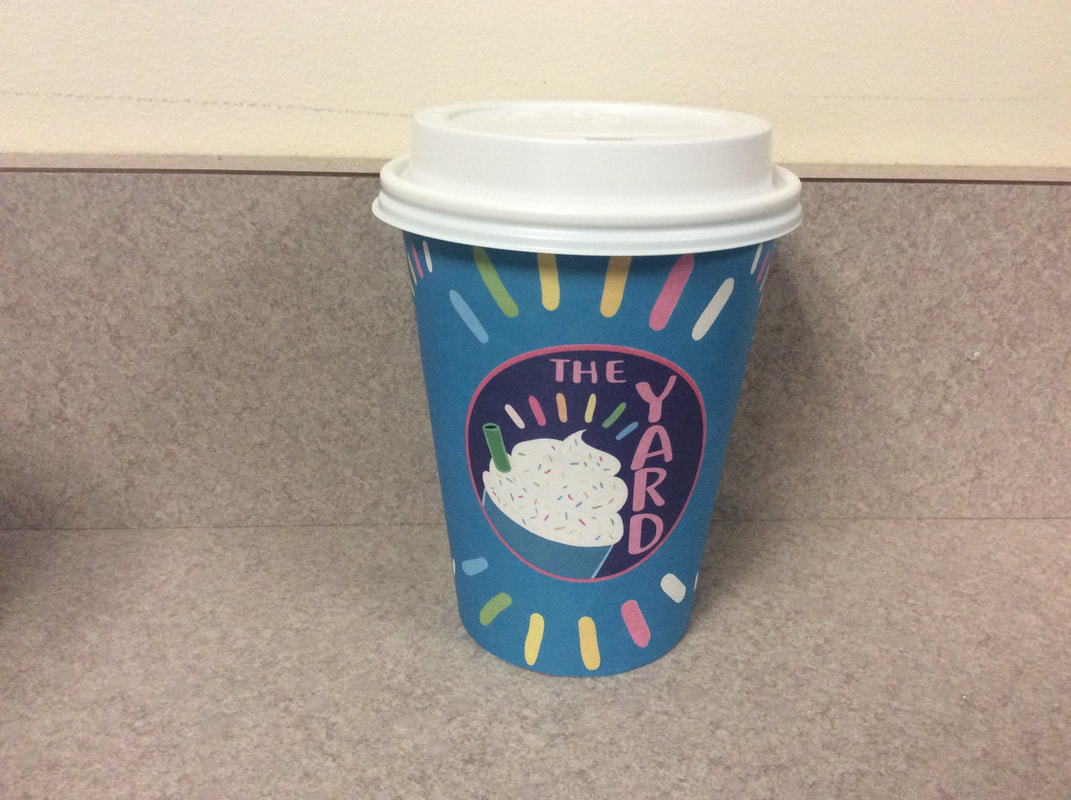
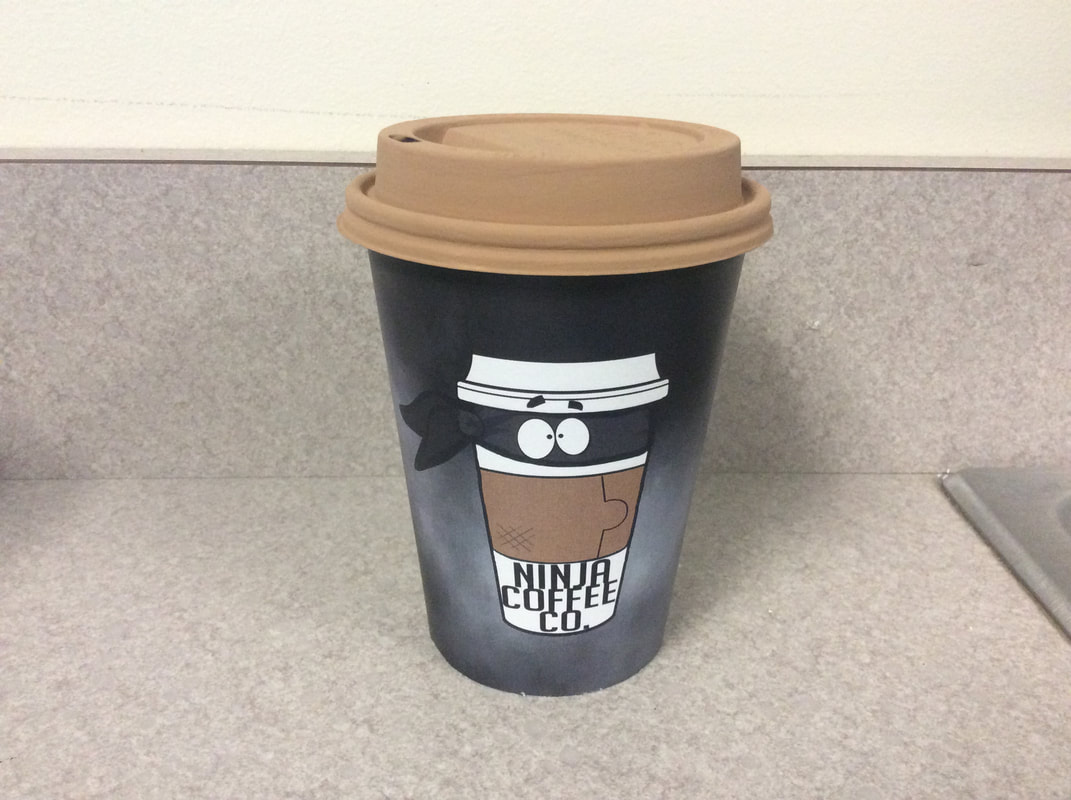
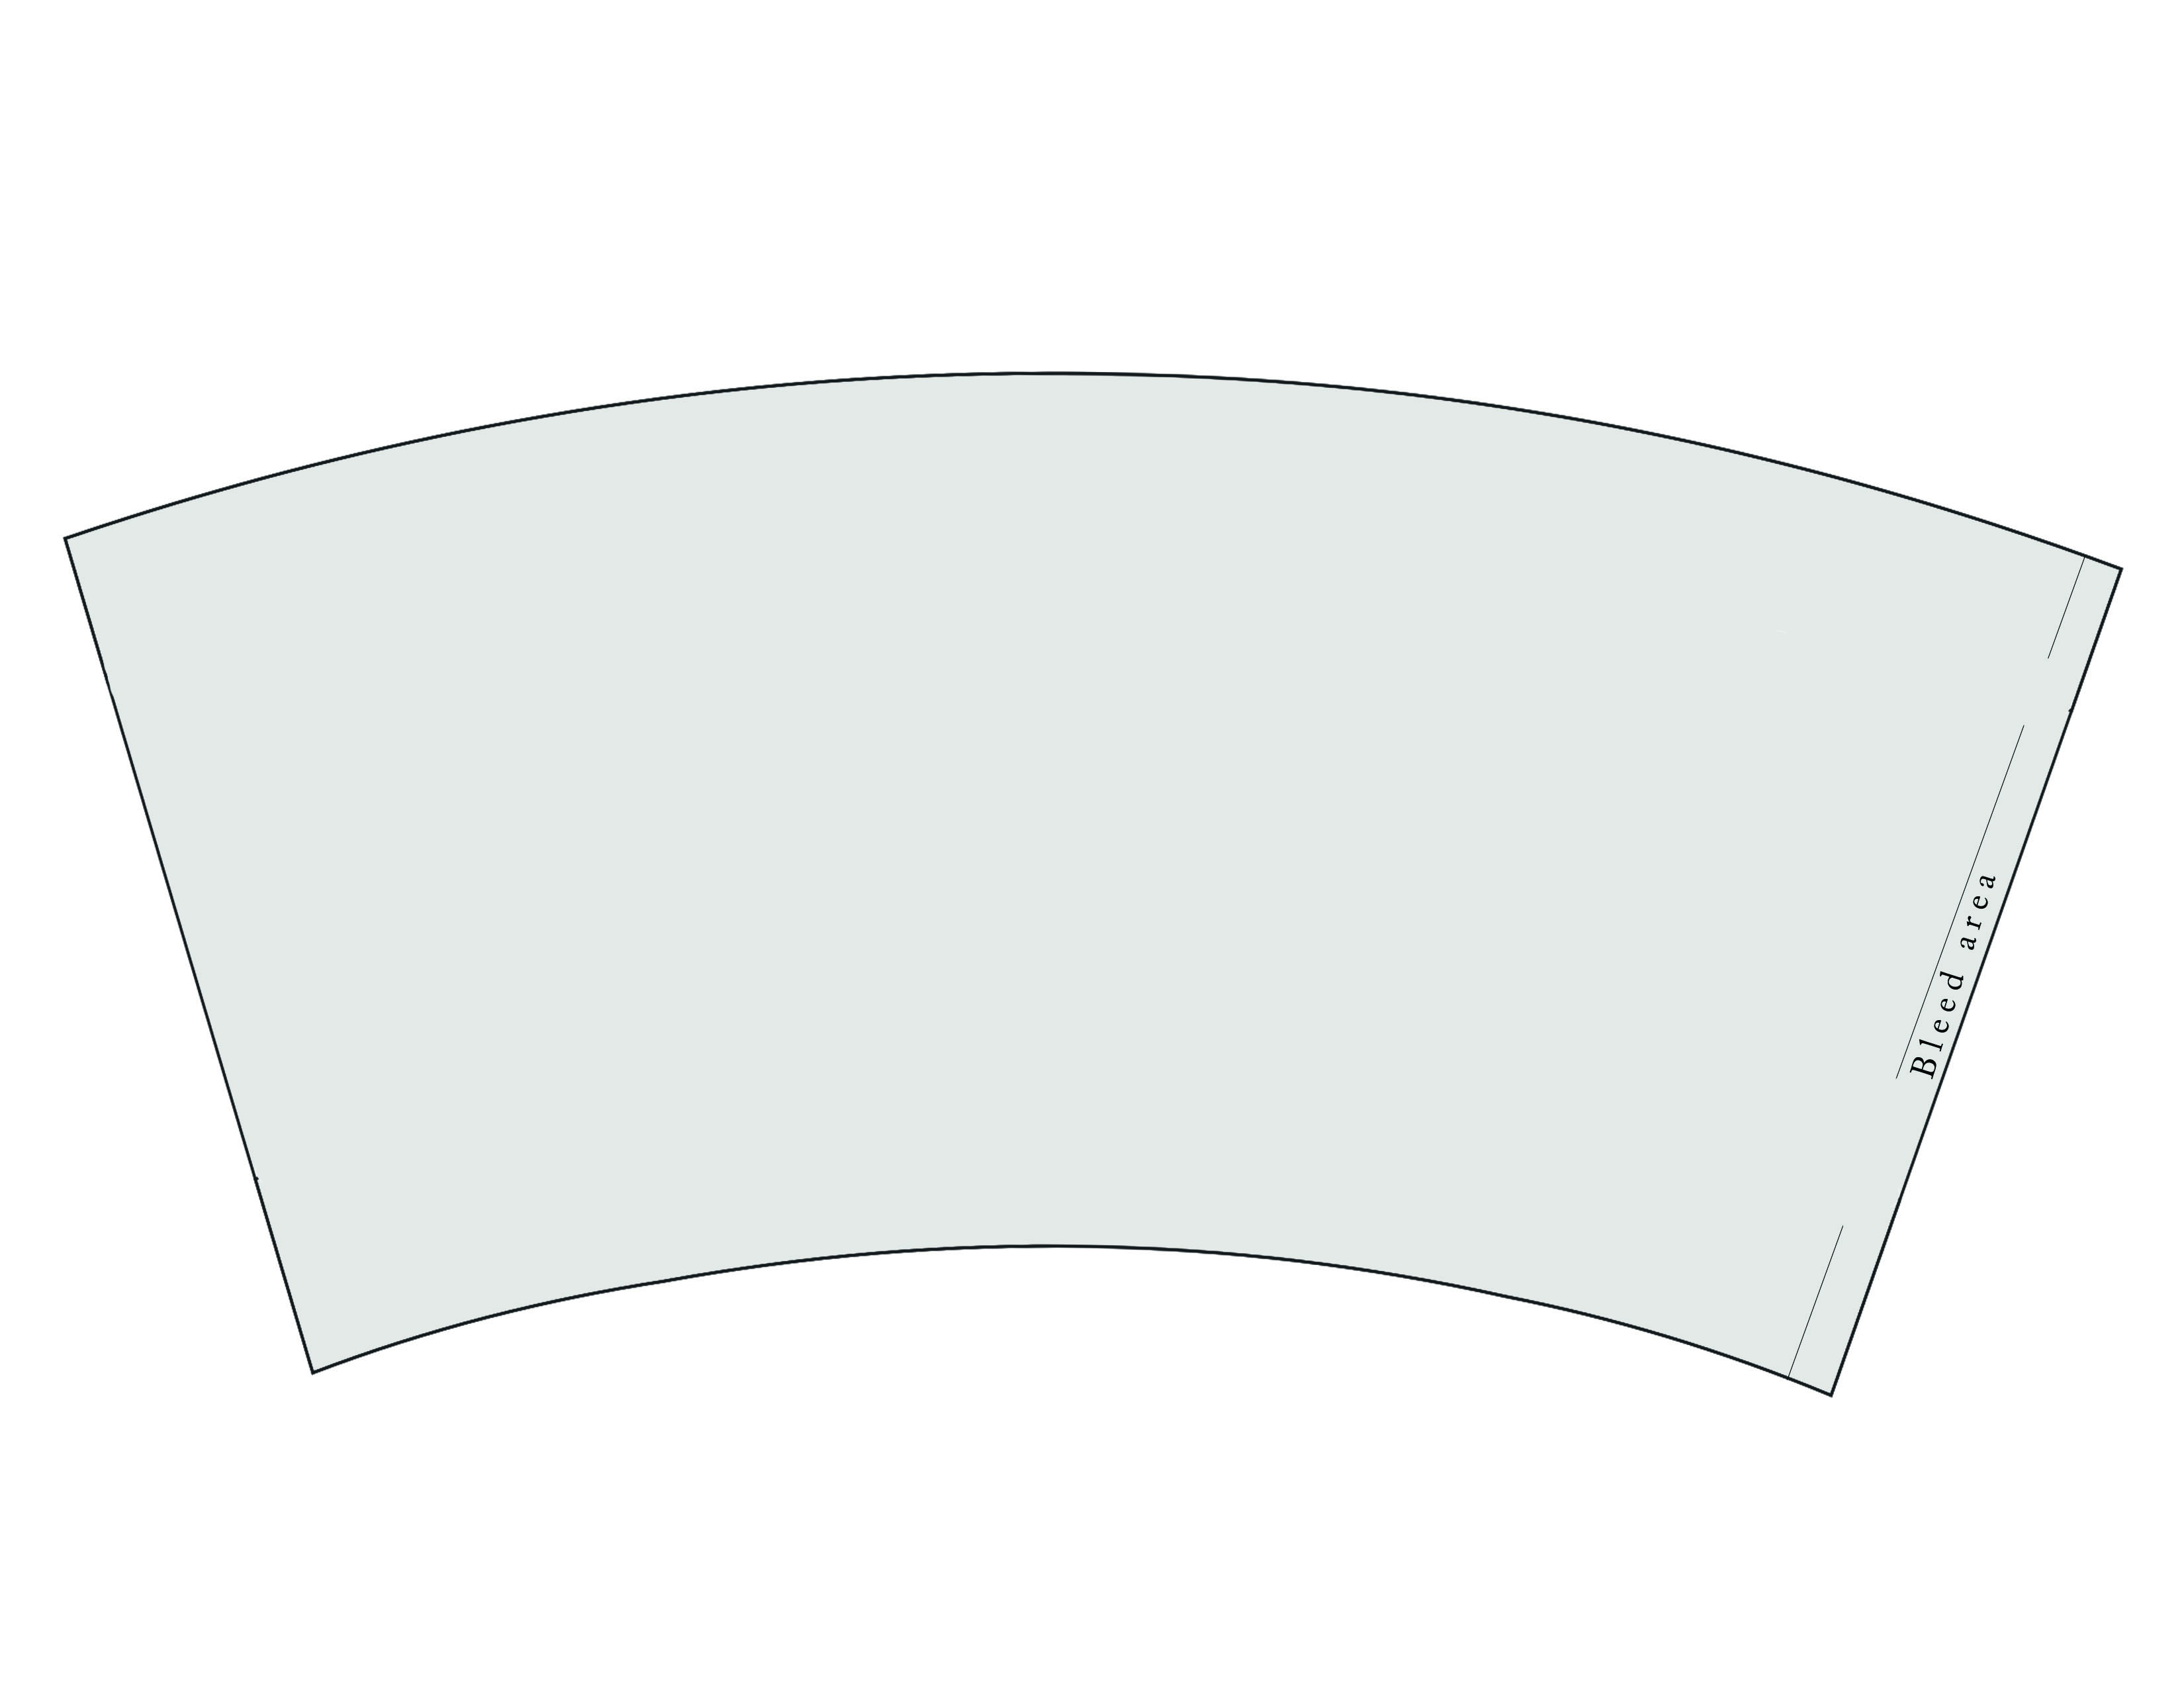
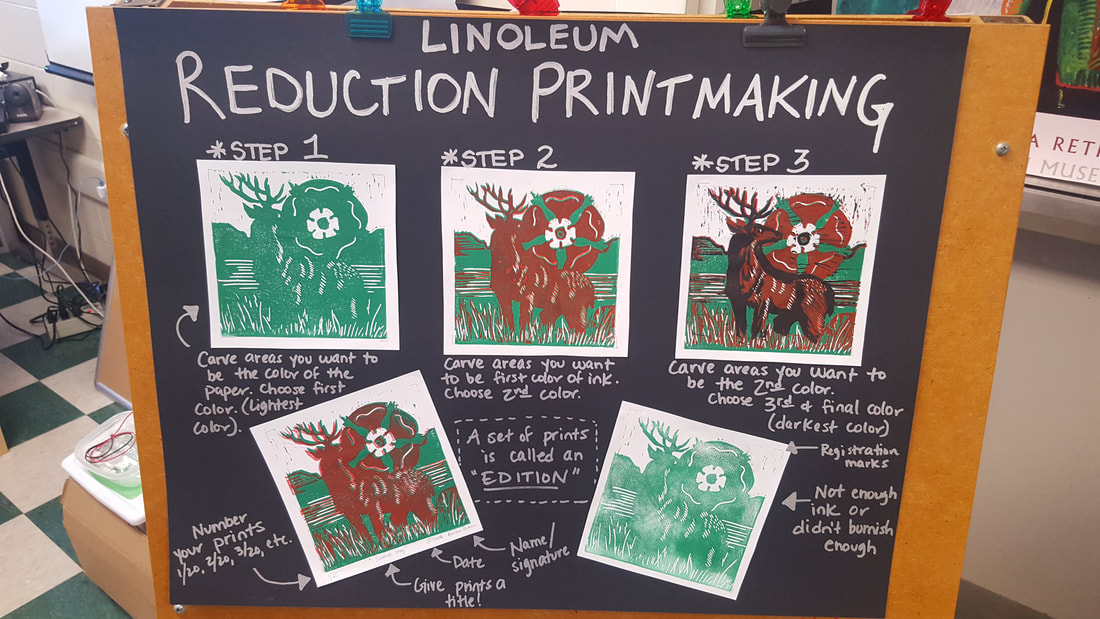 Art 2 students created reduction prints using a 6"x6" block of safety cut linoleum. Students had to create an original drawing and plan for 3 colors + the color of the paper (most often white). Feel free to use my basic instructions with examples below! Reduction prints always seem far more complicated in theory than when you actually make it. One of the best ways to help students understand this is to have them practice on a very small piece of linoleum. Something simple like a flower is a good subject matter. See the process below.  Step 1 - Carve away areas you want to be the color of the paper. In this case, the middle of the flower. Use the lightest color of ink first. In this case, yellow was used first. 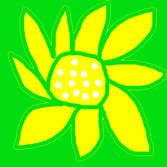 Step 2- Carve away the areas that you want to be your first ink color. In this case, the petals and middle of the flower were carved to preserve the yellow ink. Green ink was used next. 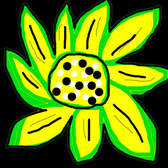 Step 3 - Choose your last ink color (this should be your darkest color, often black). Carve away the areas you want to be your 2nd ink color (in this case green). Everything else that isn't carved will be black!  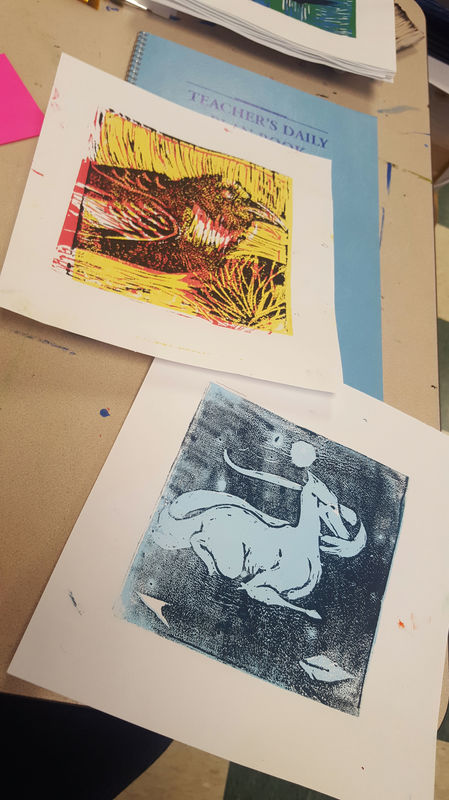 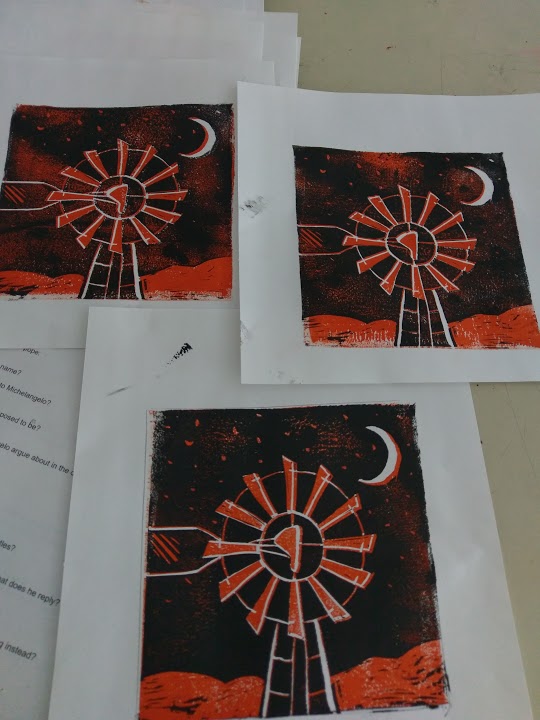 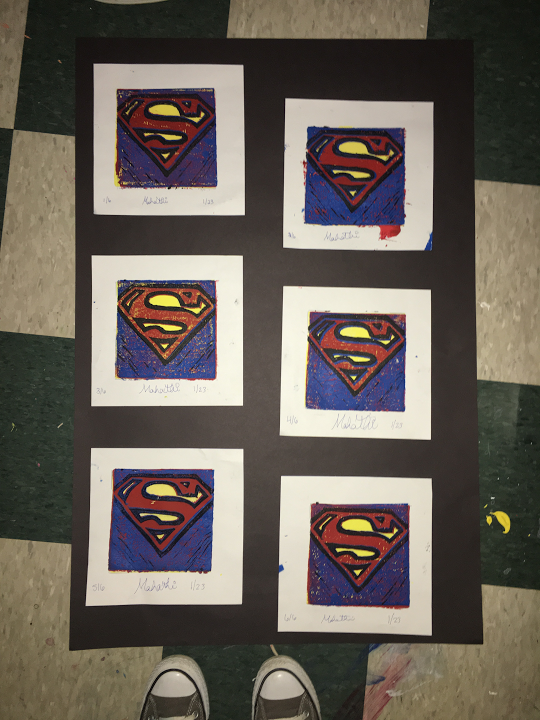 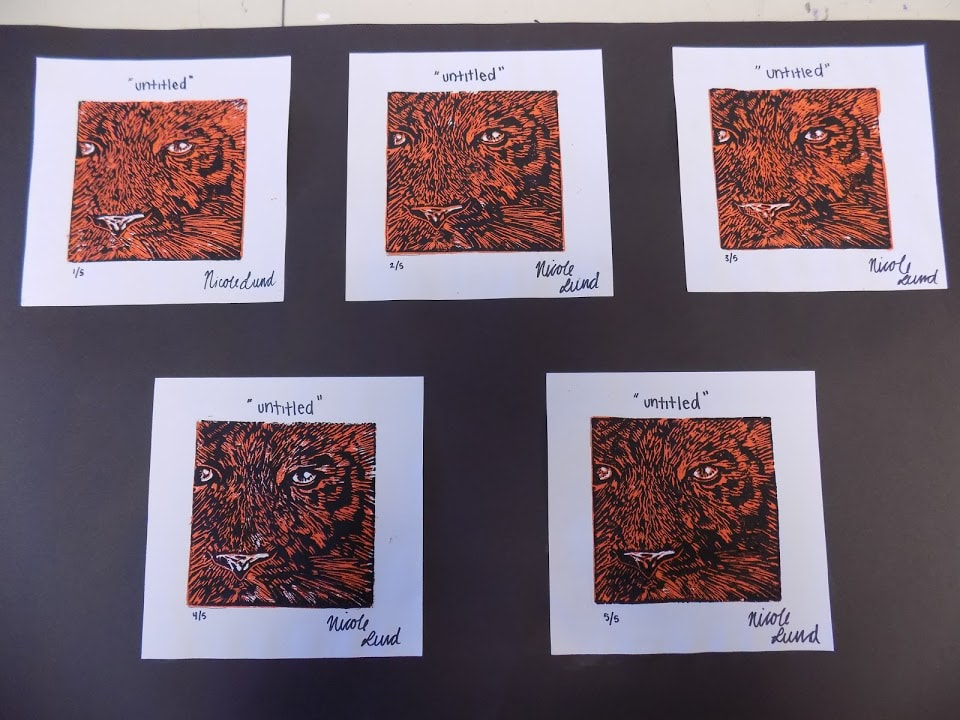 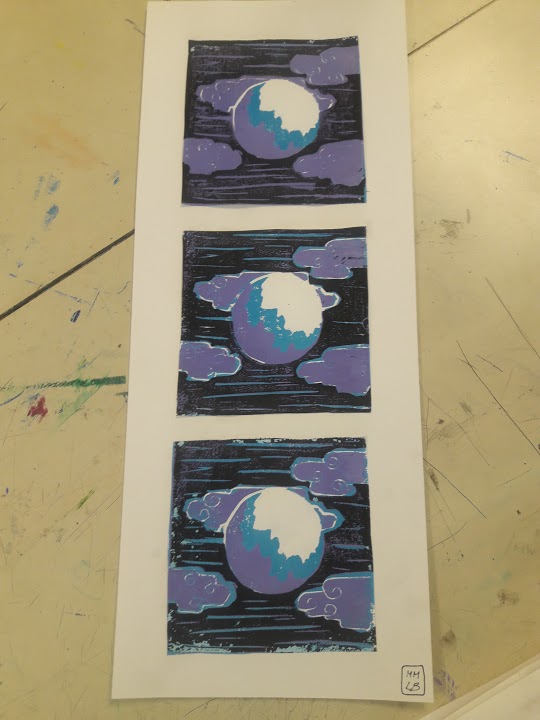 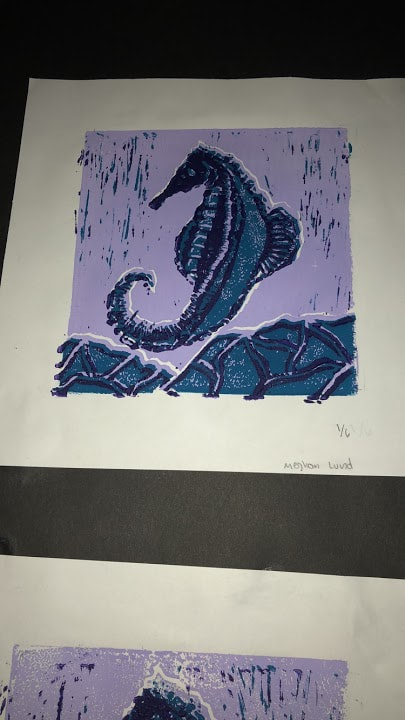 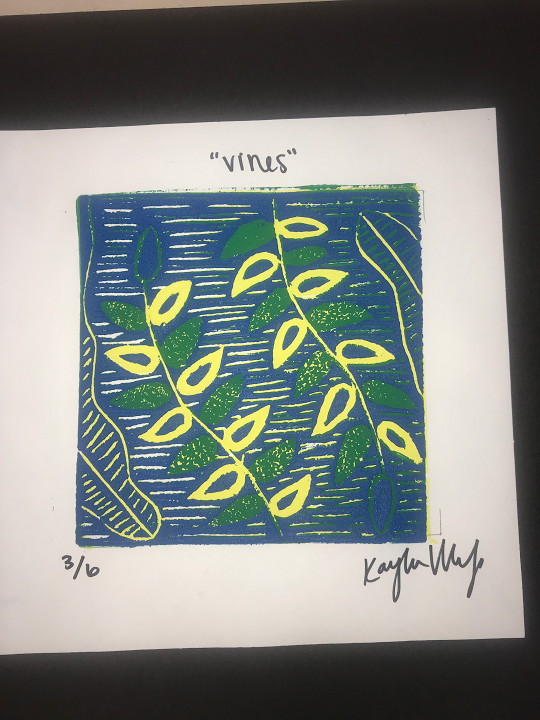 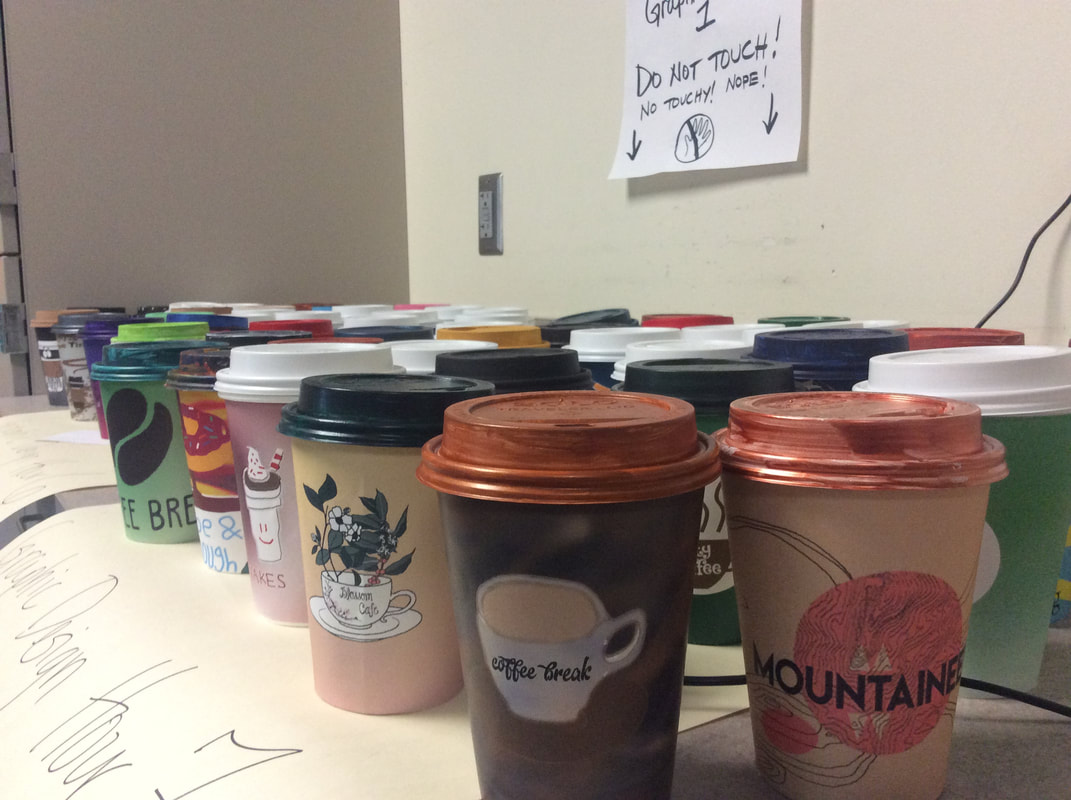 I had been looking for a fun and engaging lesson on packaging design for my graphic design 1 courses for some time. Most projects I found didnt really have a lesson plan or wasnt practical for our resources and facilities. I got the idea from my doodle cup project and from there it turned into one of my favorite graphic design projects of all time! Each student was instructed to create a logo, background, mock up, and final print design. I had students do research on different drink and coffee logos. We discussed color schemes, rules of good design, etc. Students had to illustrate their logos in Photoshop with a transparent background. Students saved these as .png files. Next, students created a background in Photoshop. It could be a solid colot, gradient, pattern, etc. but it had to be created by them...no photos! After this, students put their logo and background into a mock up file...this was super fun and kids really enjoyed seeing their work on a professional light! When students finished their mock up, they were instructed to put their background and logo into a cup template .psd file. Studentd used their previously learned clipping mask skills to insert the background into the template. Then students printed the template in color, cut it out, and glued it to a blank 12 oz coffee cup (pack of 50 was about $12). I also had students paint their lid with acrylic paints if they desired. Students presented their mock ups, final designs, and design process to the class at the end of the project. This project took about 3 weeks of class time from start to finish and I just loved the creativity! Download the file templates below (first one is a .jpg & second one is a .zip file containing the .psd Photoshop template).
Mock ups of packaging designs: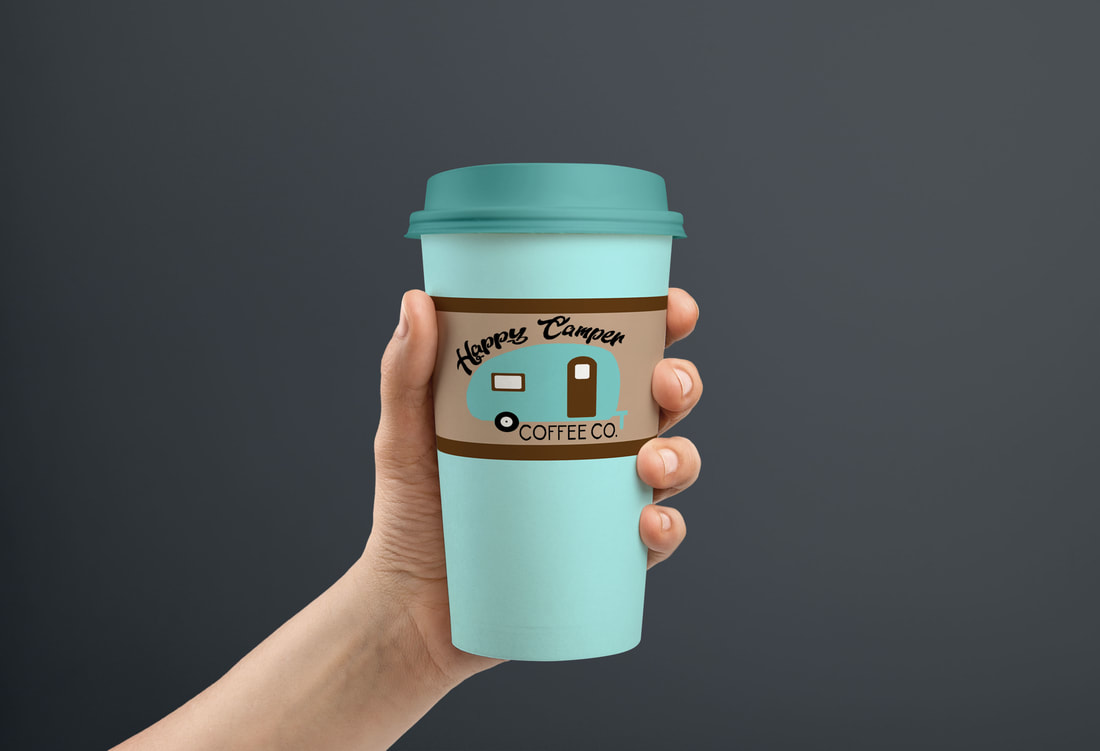 Finished physical print designs: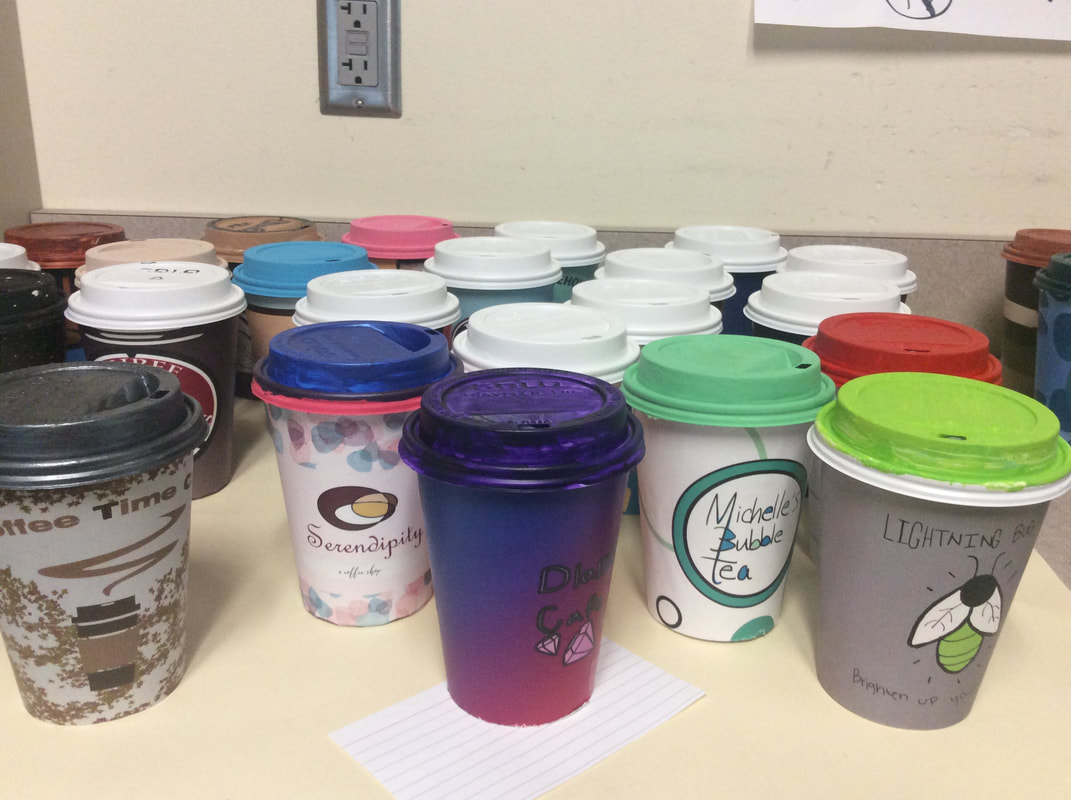 |
Mrs. QuamThis is my 11th year teaching art & graphic design! I have taught middle school for 2 years and high school for almost 5 years. I truly enjoy working with students on a daily basis. I also enjoy teaching real-world skills such as problem solving, using technology, and the power of teamwork and collaboration. My joy is sharing my passion for art with others! Archives
March 2024
Categories
All
|
||||


 RSS Feed
Photo from Rob Qld
