|
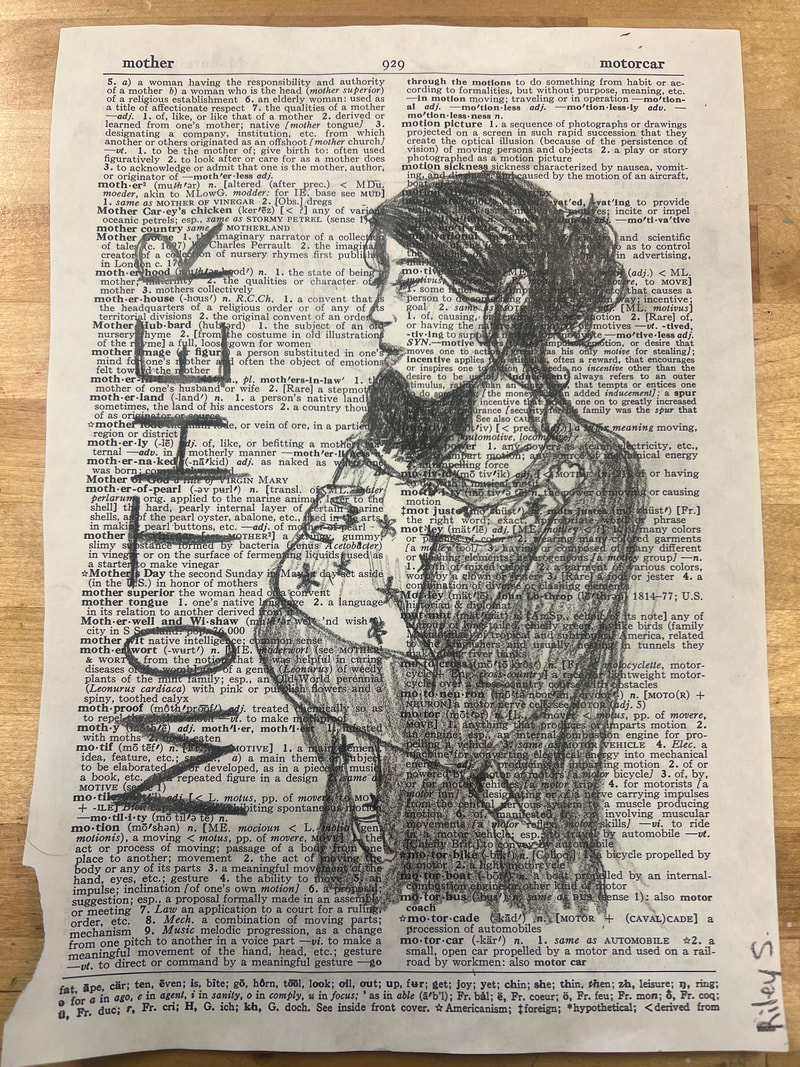
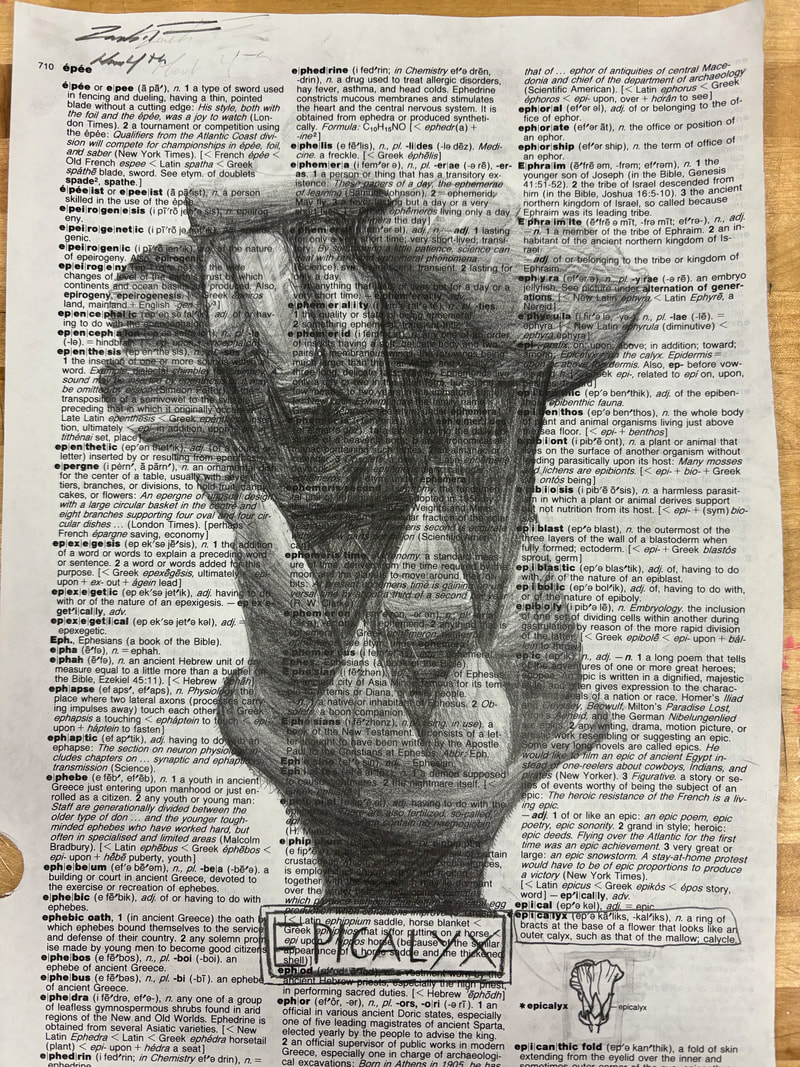
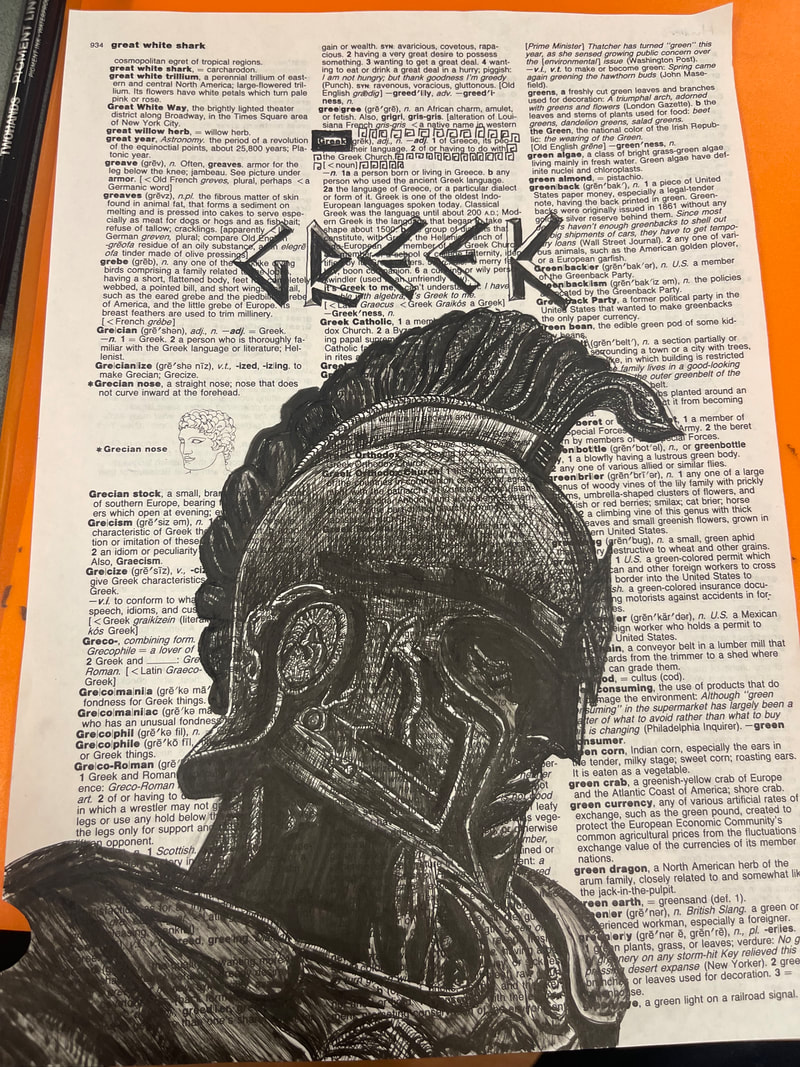
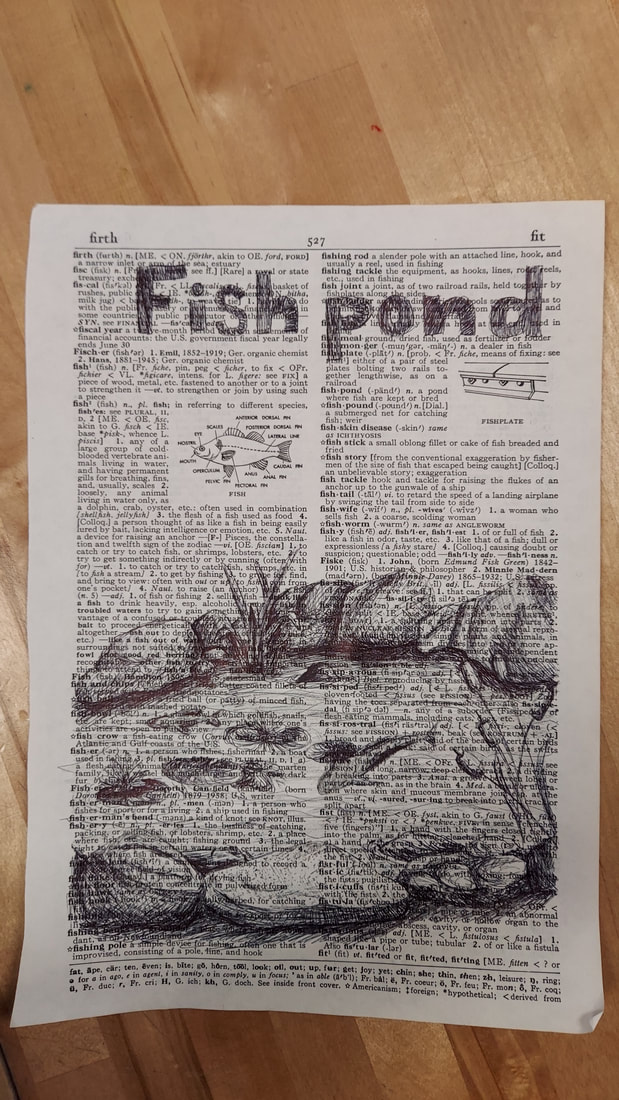
I decided to create a set of 15 grid drawing handouts for different skill levels in my classroom. Like a puzzle, the grid method teaches students how to draw more accurately and helps them to "see" what they're drawing versus what they "think" they are drawing. I have used these printable grid drawing worksheets with students as young as 6th grade and as old as high school/adult ed. These would also be perfect for homeschool or art camps too! I created this set of handouts to teach a wide variety of skills: drawing lines, proportions, value, texture, backgrounds, etc. There are five options for each level-- see photo thumbnails for examples. Interested in purchasing the full set? Check out my listing in my TPT store! 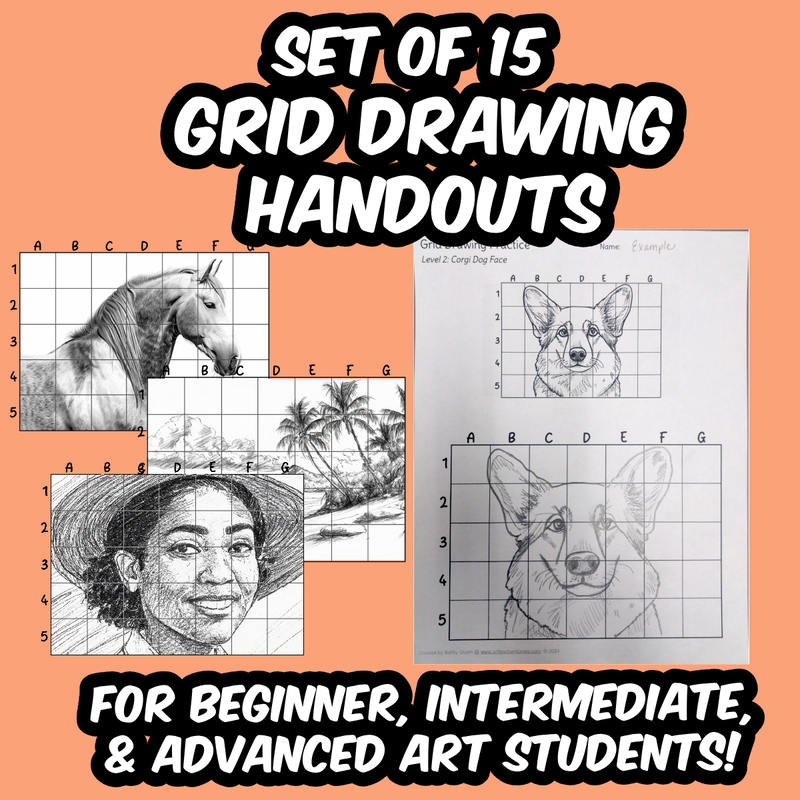 Level 1= Beginner (no value/shading, less texture or details) Level 2= Intermediate (some value/shading, more texture or details) Level 3= Advanced (lots of value/shading, lots of texture or details) 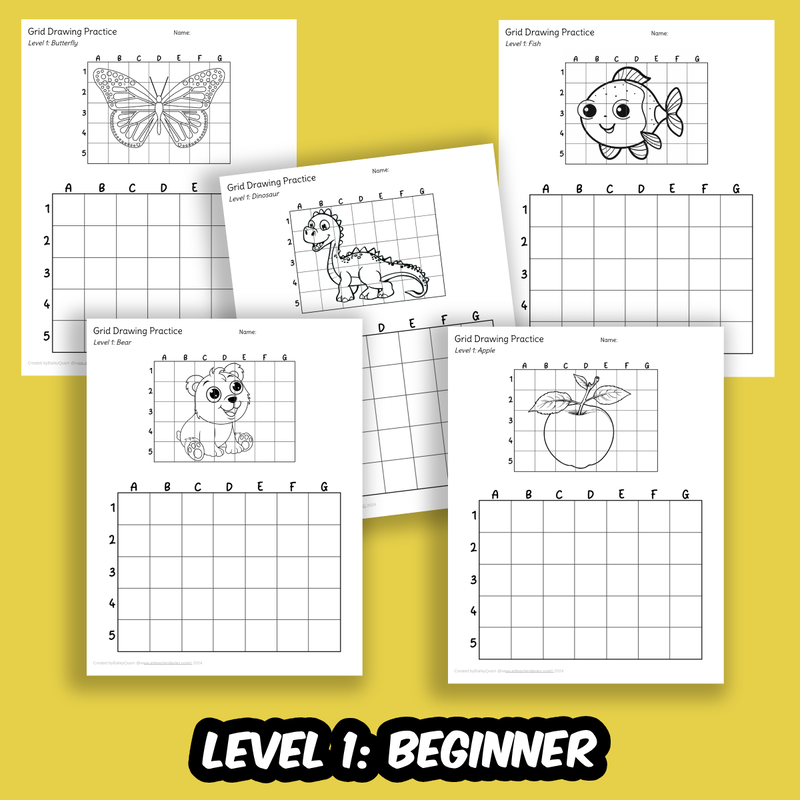 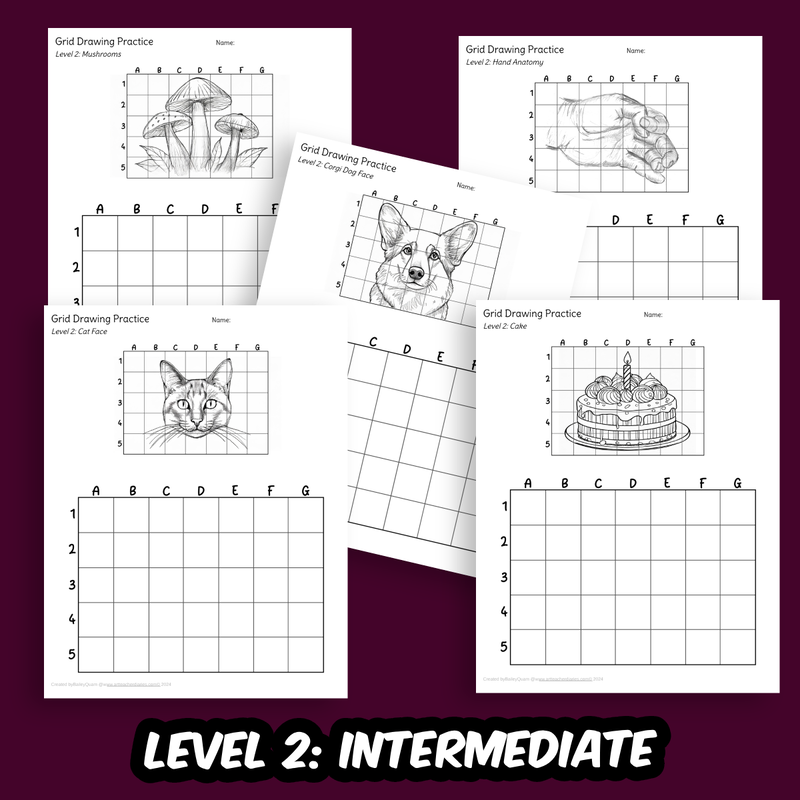 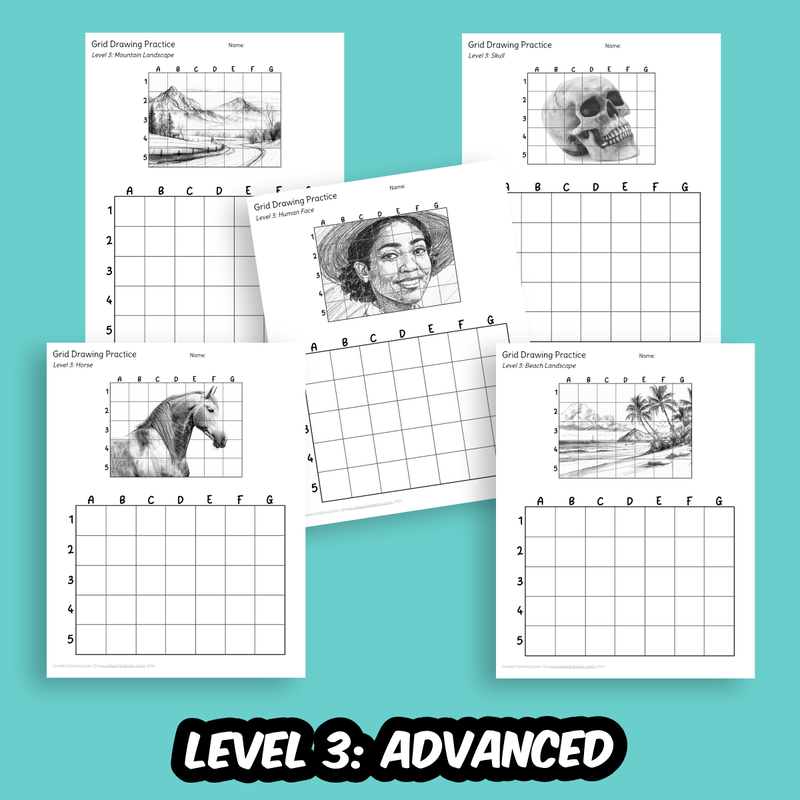
0 Comments
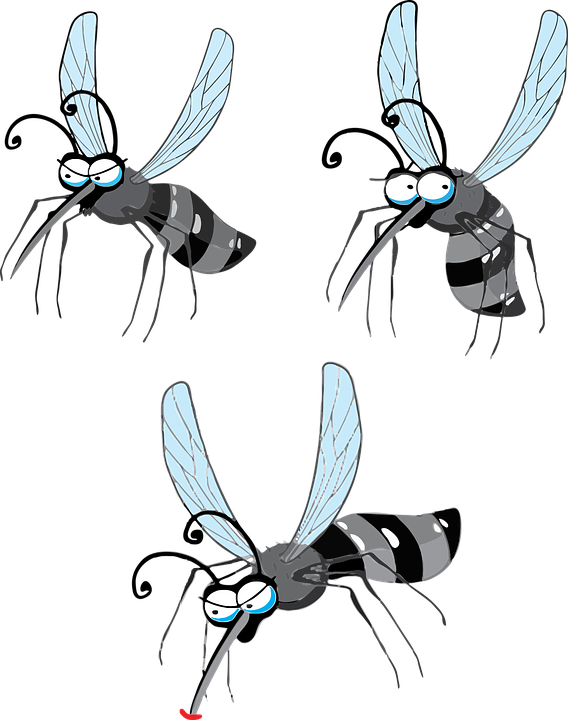
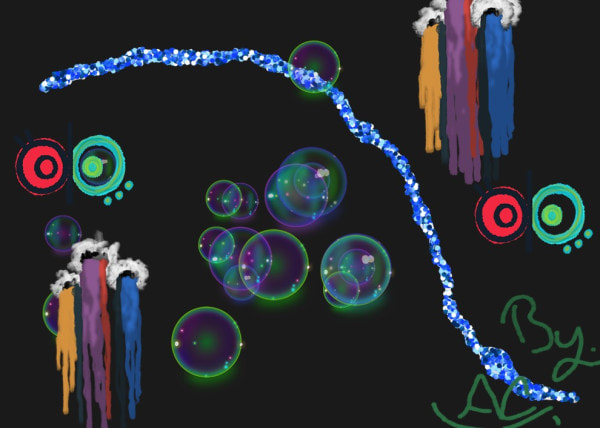
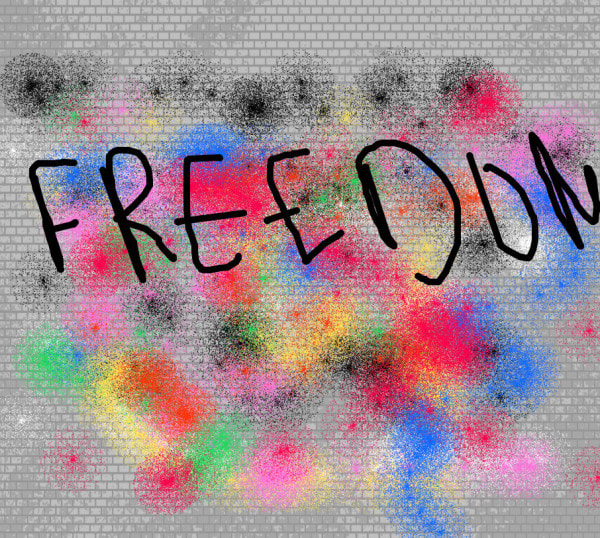
   I created this graphic .gif to show my high school graphic design & digital art II students some examples of different web graphics and elements they could add to their digital portfolios to personalize them. Students were required to create 3 original elements/graphics for their digital portfolios. Elements include buttons, icons, dividers, headers, and then gifs/illustrations. It's a good chance to review file types and basic design skills at the beginning of the semester.
Feel free to use this graphic with your own students when talking about web design and graphic design!
I have FINALLY put together my logo design unit into one cohesive package on my Teachers pay Teachers site! This listing includes everything you need to teach a logo design unit for your graphic design, marketing, or business students. Students will learn what it feels like to be a real-life graphic designer by receiving an assigned client, using the brief, research, and brainstorming to design a logo, create a pitch, create a final logo design using Illustrator CC, and then a mock-up to showcase their logo on a business card. Want to teach your students how to design an original logo? This listing includes everything you need to teach a logo design unit with step by step lessons and topics covered including:
What is included?
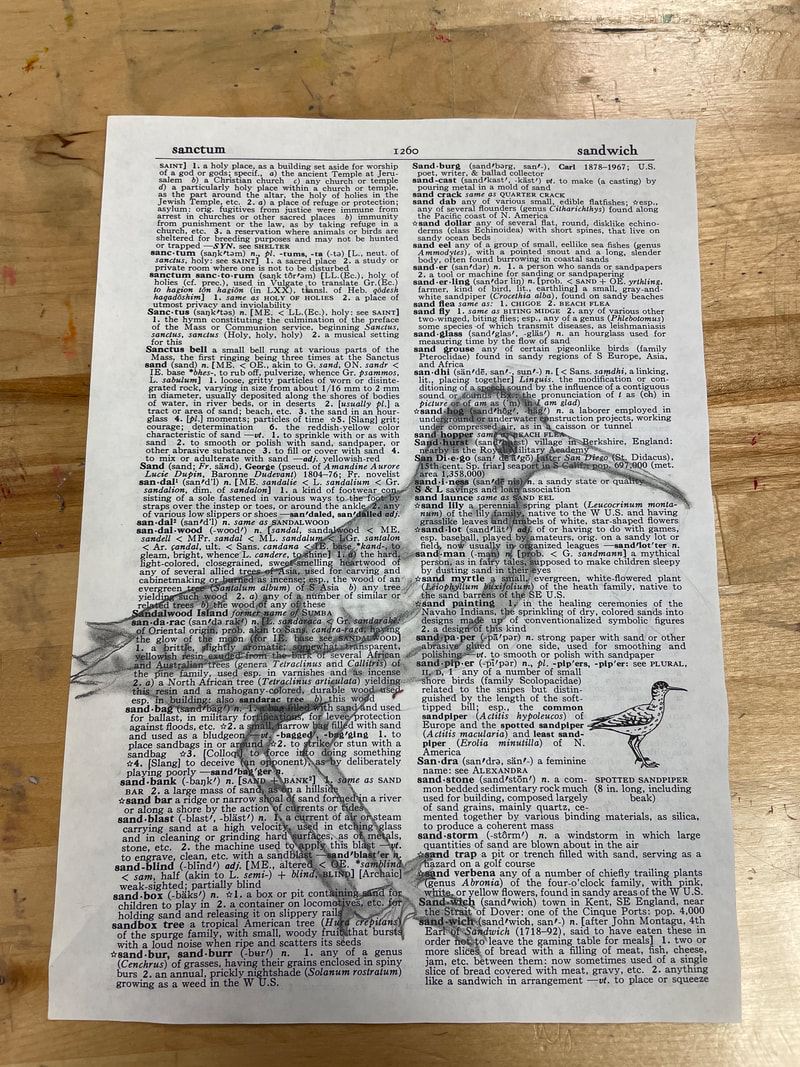
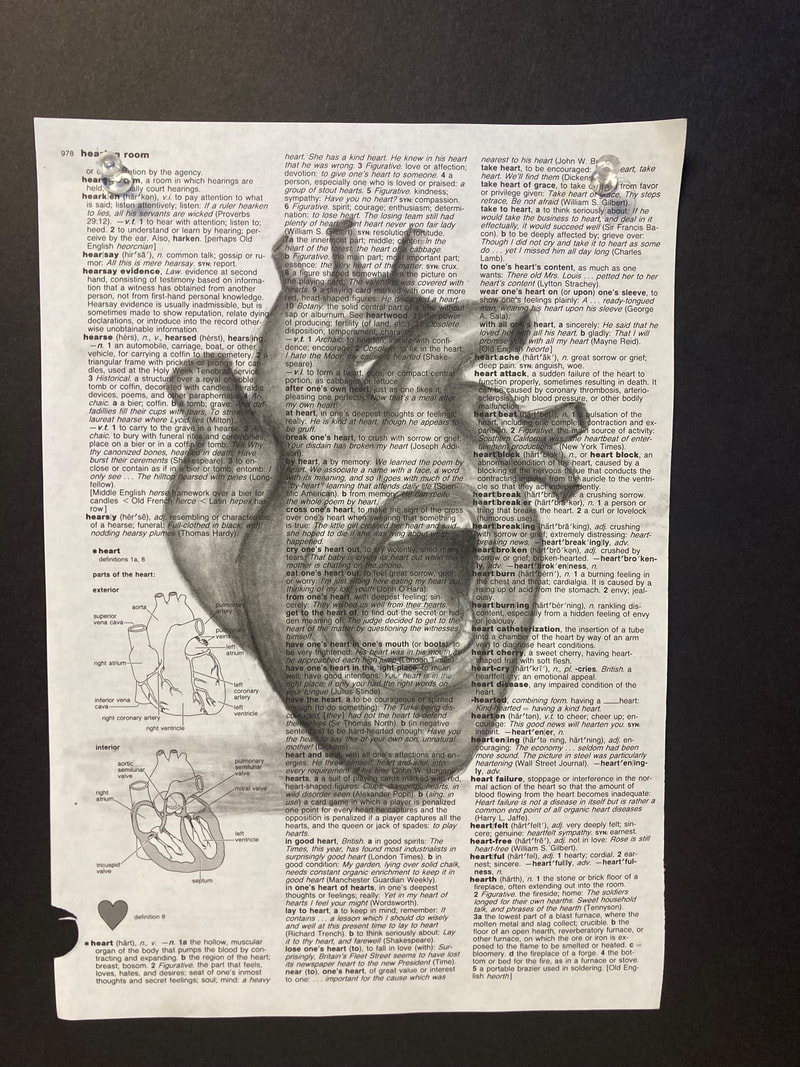
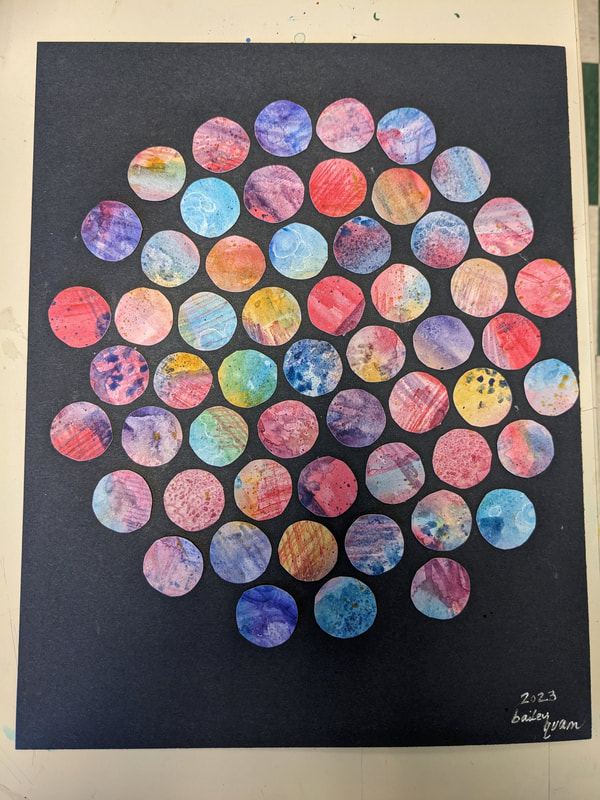 Thanks to Make a Mark Studios for the idea, I decided to teach watercolor techniques to my Art 1 students via this assignment! I've included photos and videos showing my process and how you might teach this to your students. Feel free to vary it up according to ages and skill levels and supplies on hand. For my students, they used the following supplies:
Watch the video above or show it to your class to teach them the 7 techniques outlined below! I do not currently have a video for the tracing, cutting, and gluing parts, but I've included the steps below. 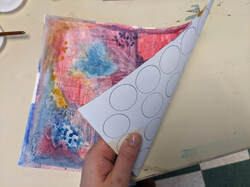 Students started with their 9"x12" watercolor paper. I told students they can use whatever colors they wish, but they should have at least 3 to 4 colors. Students do the following techniques to fill up their paper. Students can keep it non-objective, abstract, or more realistic, but I tell them to keep in mind that we will be cutting up this paper!
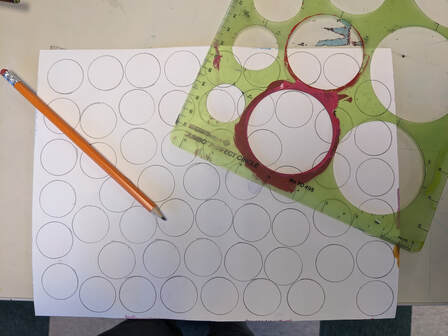
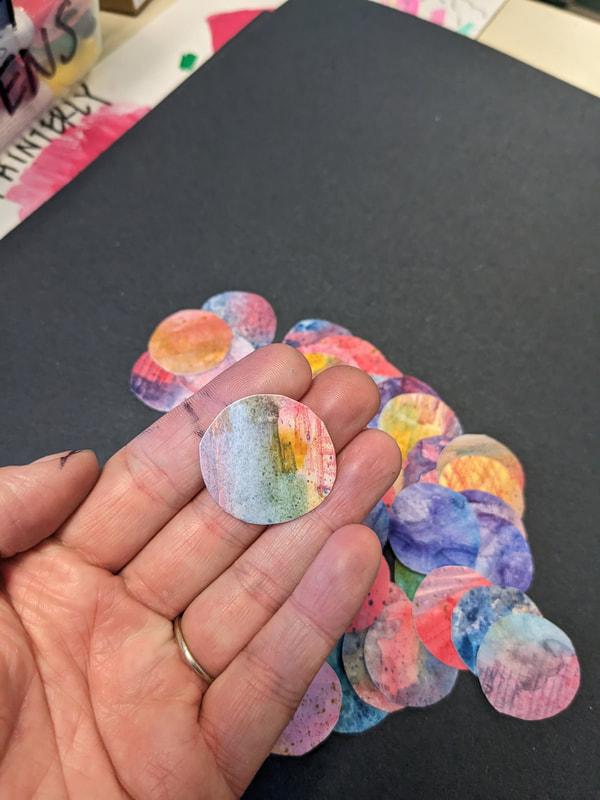
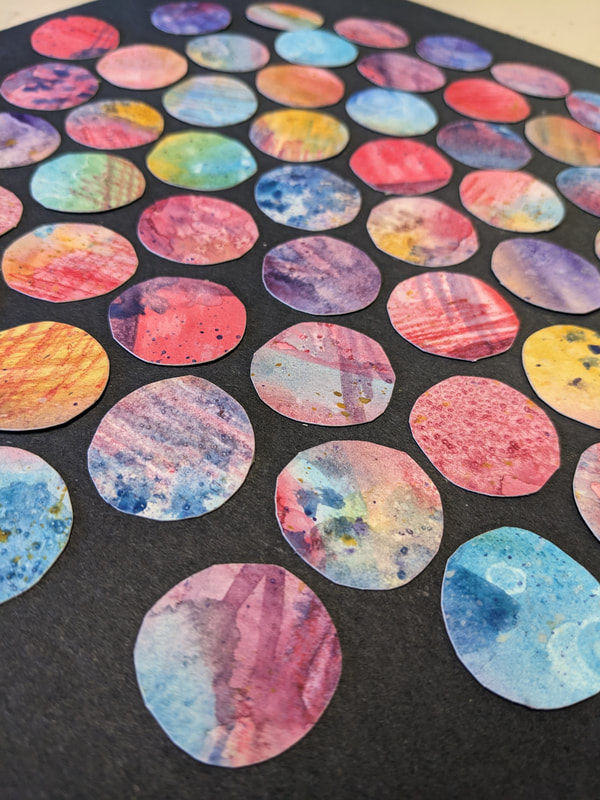
Once all techniques have been practiced, we let the paintings dry. Next, I have students choose a shape. I told them their goal is to try and get AT LEAST 50 shapes out of their one paper. So their shapes should be approx. the size of a quarter or so. In my case, I chose a circle and used a circle stencil to trace approx. 50 circles on the BACK of my 9"x12" watercolor artwork. Then, I used scissors to cut out all of my circles! This part was a bit painstaking, so I took a break every 15 shapes or so. I don't like hand cramps from scissors! While cutting out the shapes, I thought about what kind of final shape I wanted my mosaic to be. A square? A rectangle? A heart? A circle? A hexagon? In the end, I decided upon a circular shape. 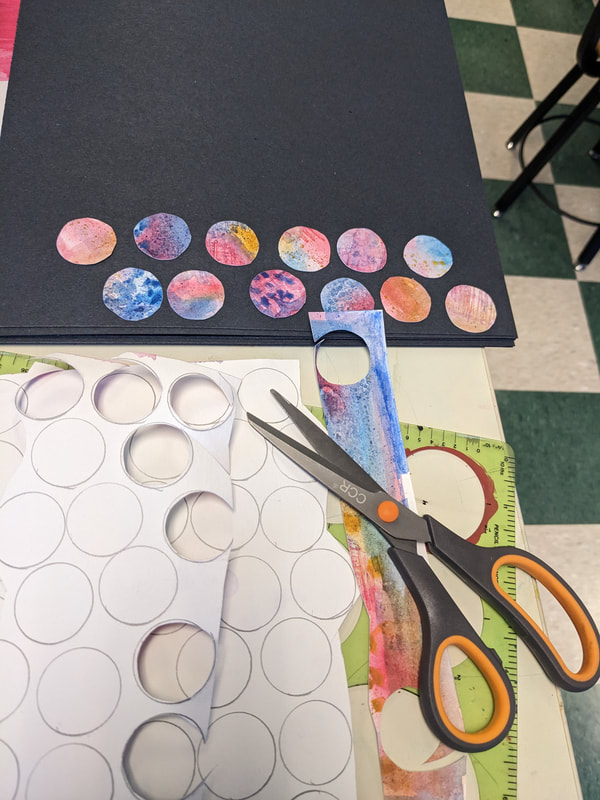
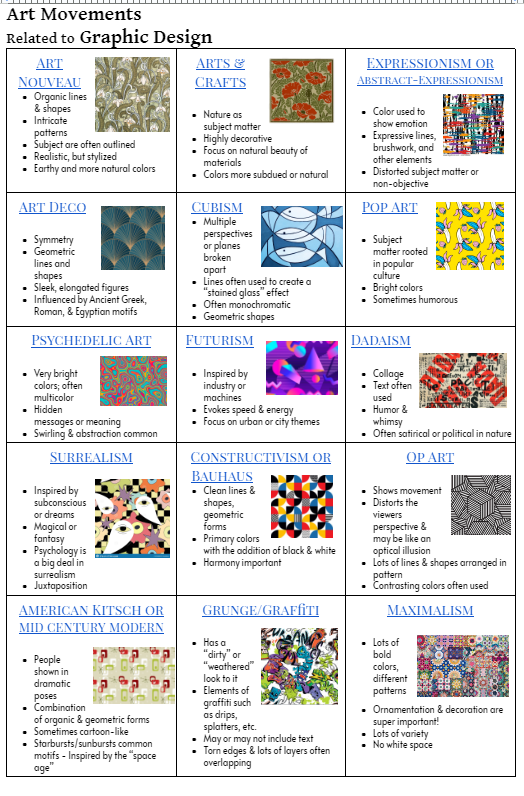
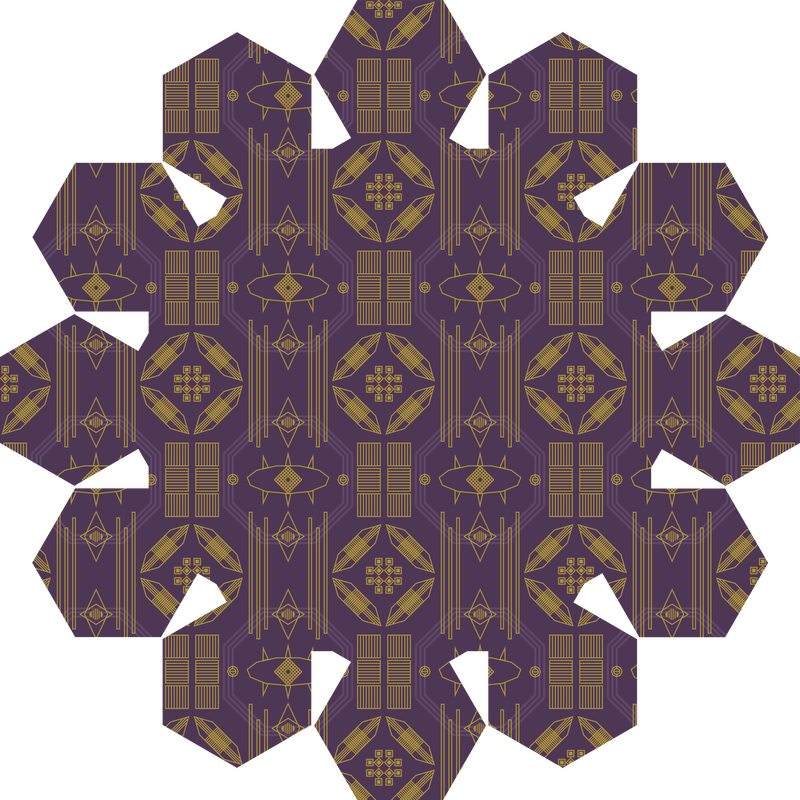 "The Piercing Eye" by Gabe. Pattern inspired by Art Deco. "The Piercing Eye" by Gabe. Pattern inspired by Art Deco. This project was an excellent introduction to pattern and history in graphic design. It was also a great way to refresh my students memories in terms of using Adobe Illustrator. Since some of my graphic design 2 students had never done anything in Adobe Illustrator due to the COVID-19 pandemic, this was a great first lesson for them too. Below is an explanation of the assignment, along with lots of examples of their work! I also included the PDF about the different art movements with links to examples for student inspiration.
Learning goals:
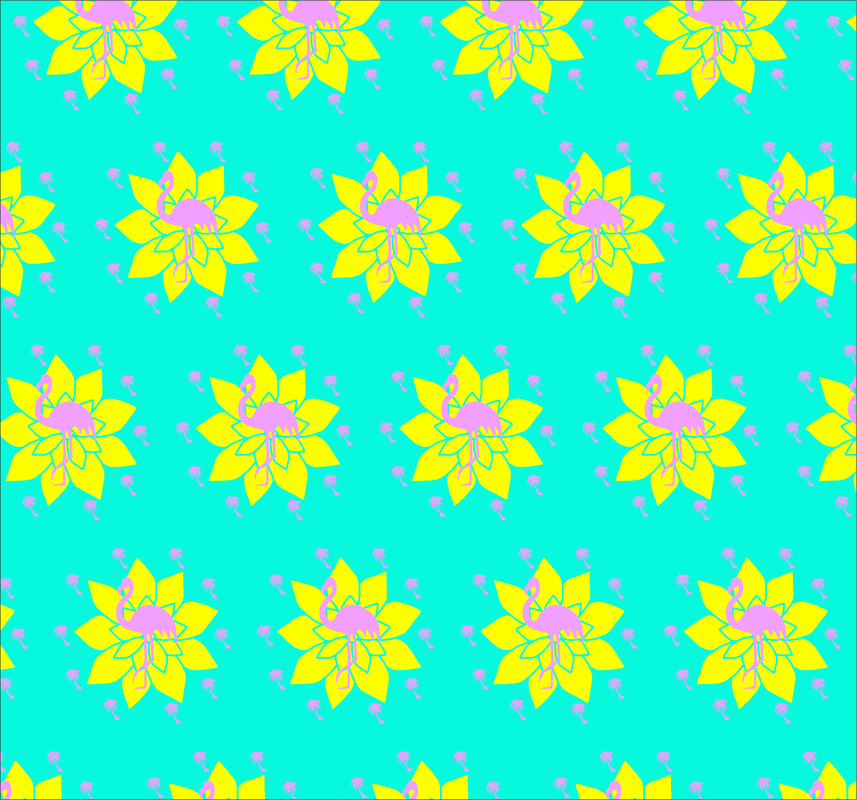 "Neon Tropics" by Hayden. Inspired by Pop Art 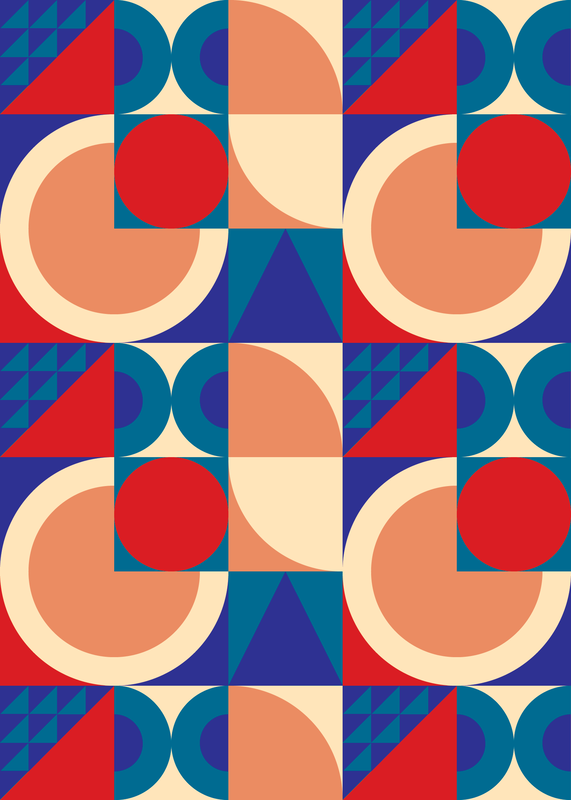 "Grandmas Pattern" by Josh. Inspired by Bauhaus Requirements:
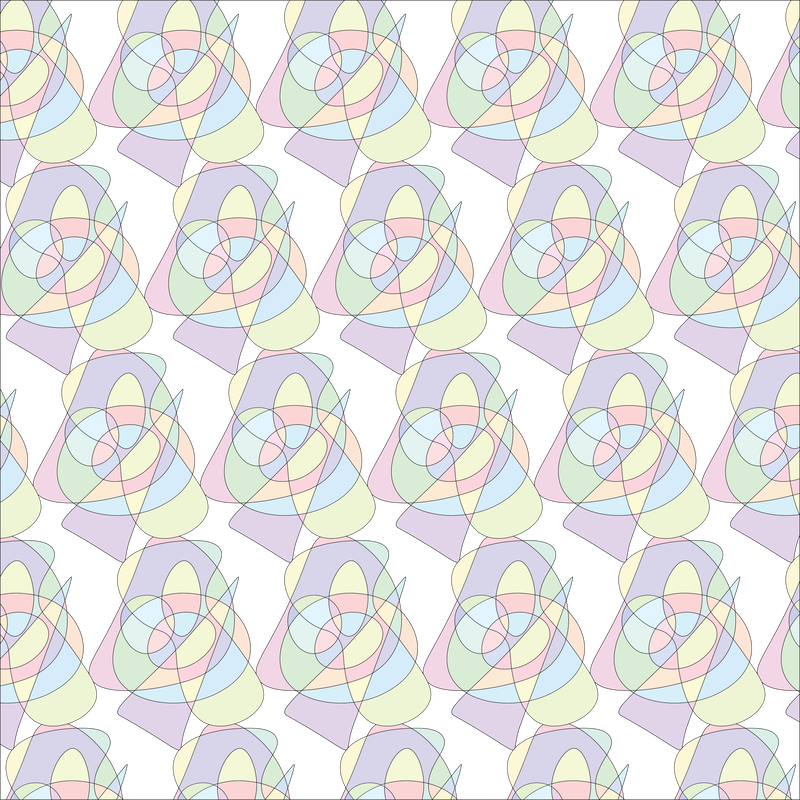 "Easter Egg Hunt" pattern by my student Golden. This pattern was inspired by Cubism. "Easter Egg Hunt" pattern by my student Golden. This pattern was inspired by Cubism. 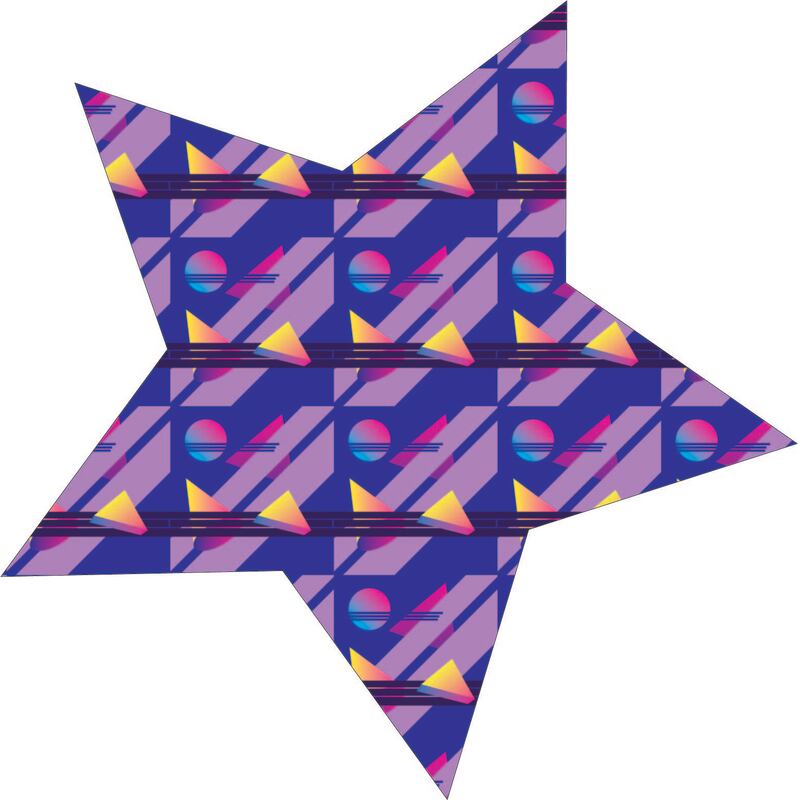 "Vibing in the 90s" by Zach. Pattern inspired by Futurism. 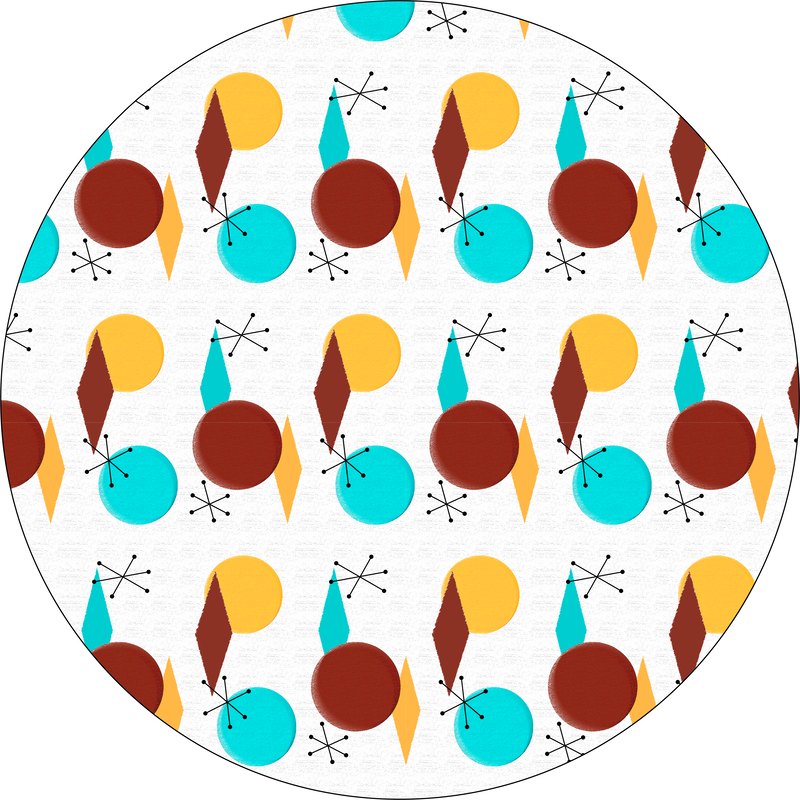 "Moons & Stars" by Madeline. Pattern inspired by Mid Century Modern Design. 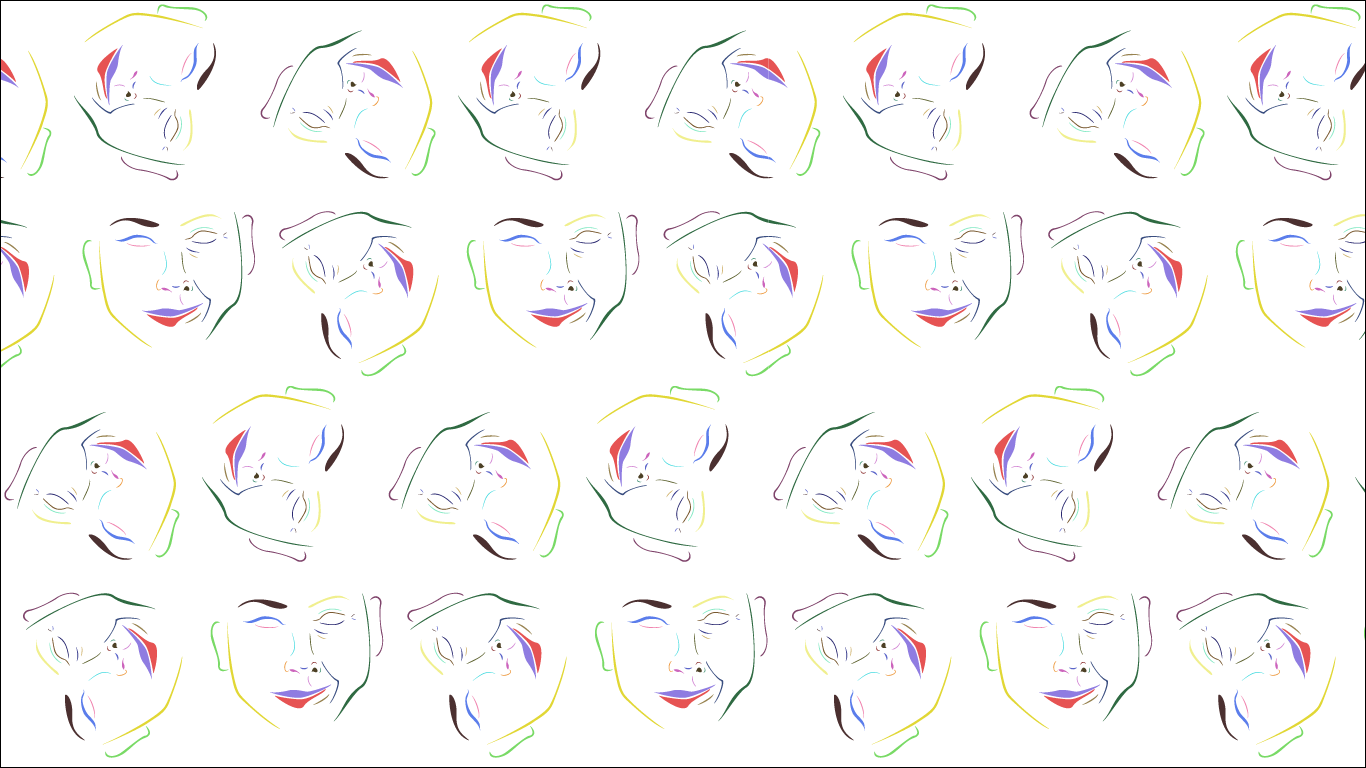 "Half of a Miracle or Misery" by Caleb. Pattern inspired by Pop art & Surrealism. 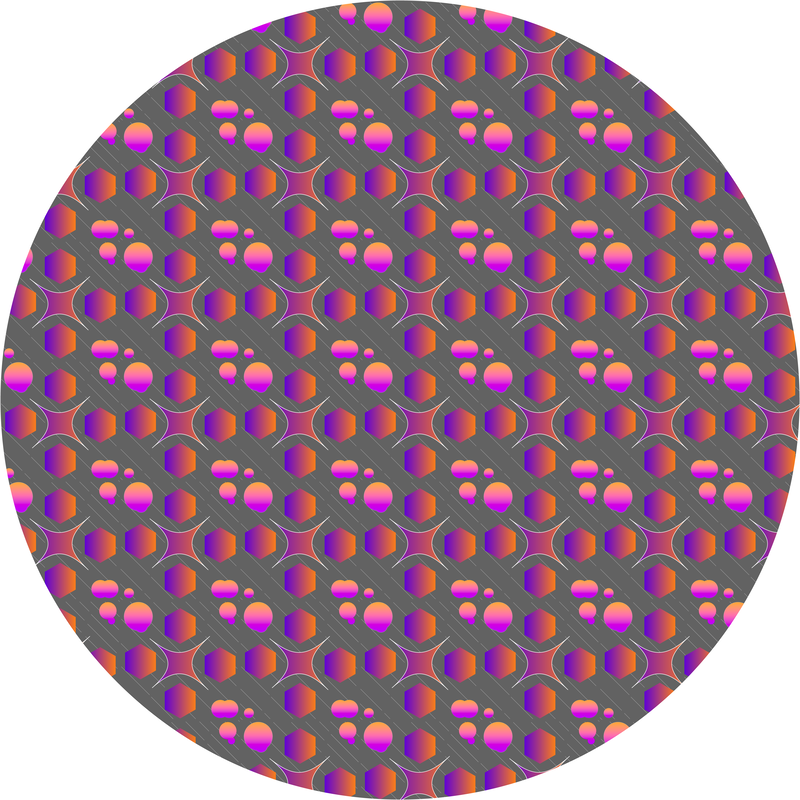 "RetroGloss" By Antonio. Pattern inspired by Futurism. 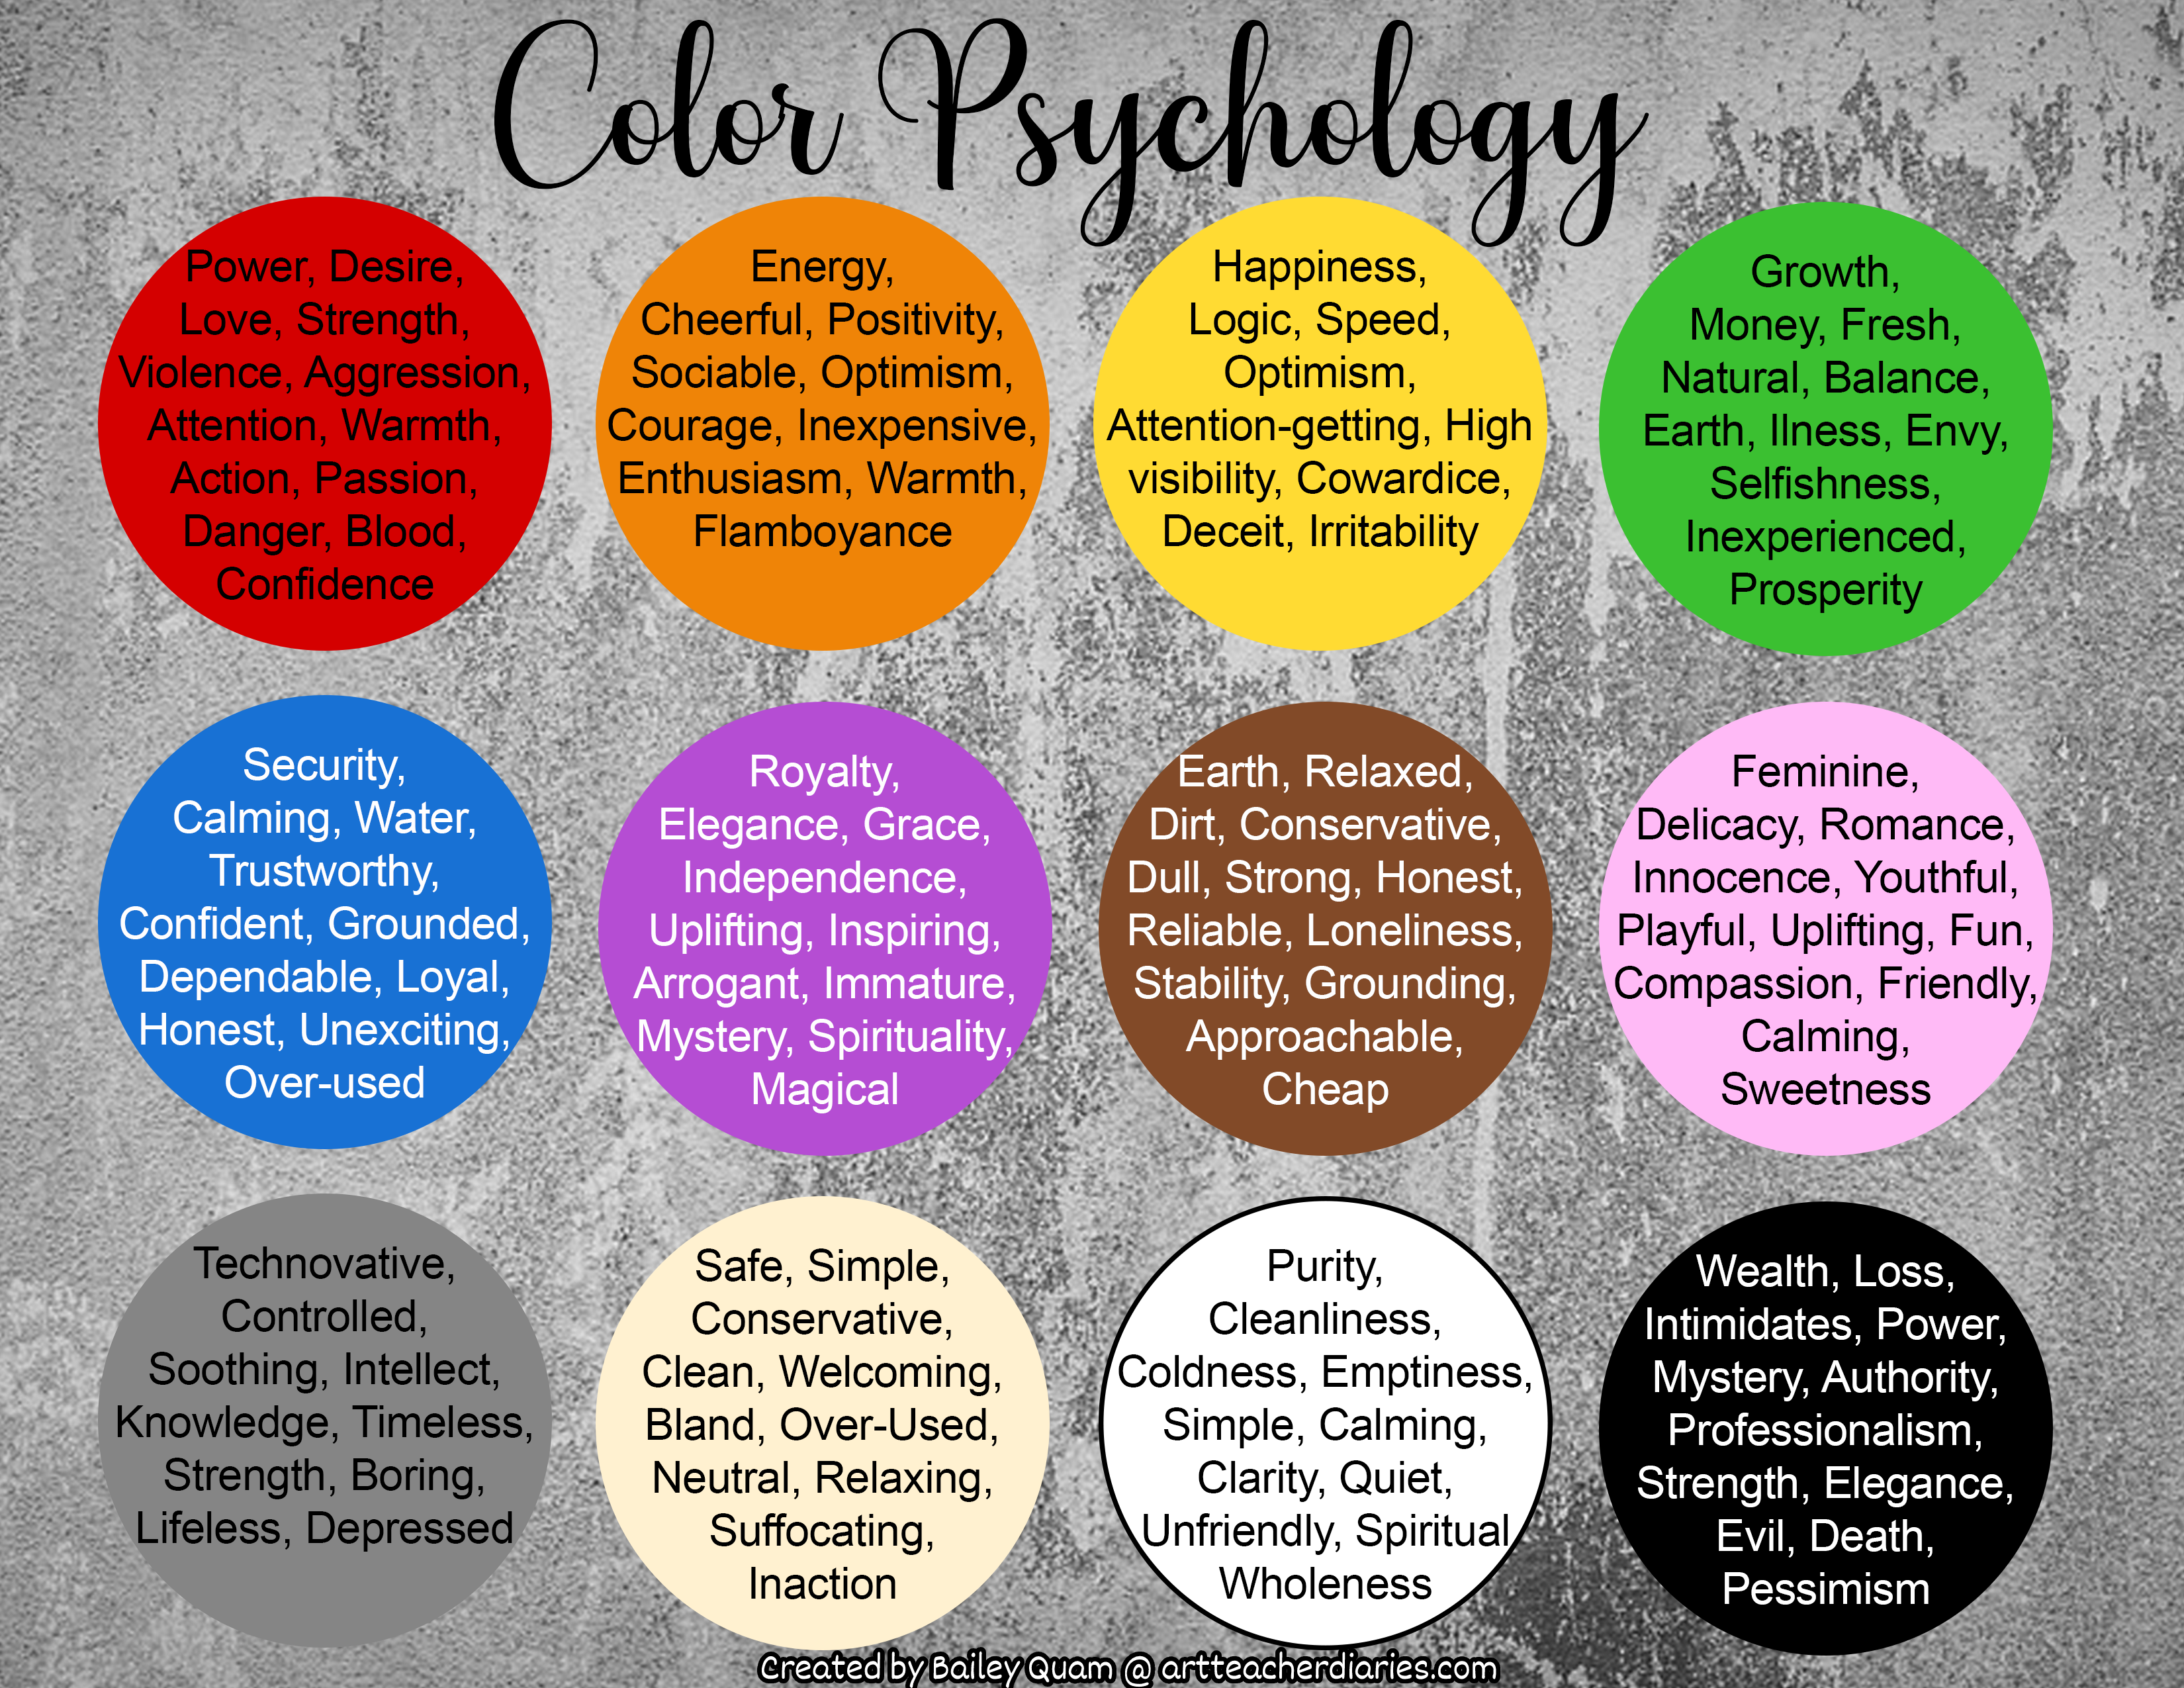
 Below are examples of student's original logo designs (completely illustrated!). Students drew logo companies and their briefs from a bucket. All companies are fake. Students then created their logo design ideas/brainstorm based on the brief, offered and received feedback, settled on a final design, created the design on Adobe Photoshop or Illustrator, and created a mock-up business card utilizing the logo design. THEN, to put it all together, students created a quick Spark Video presentation to show off their work. The Spark video really tied everything together and made grading much easier since there were so many components to this assignment. From start to finish, most students needed about 2 weeks in class. Check them out below! I've recently been trying to incorporate more fun into my art classrooms. My goal is to get students excited to come to art and graphic design class. One thing I've found that brings joy-- and even some social and collaboration opportunities-- is using games. I don't typically play an art-related game for an entire hour, but the following are art-related games I've researched and many that I've tried out in my own high school classrooms. Many of these games could be modified for younger students too. #1 Exquisite Corpse
How to Play:
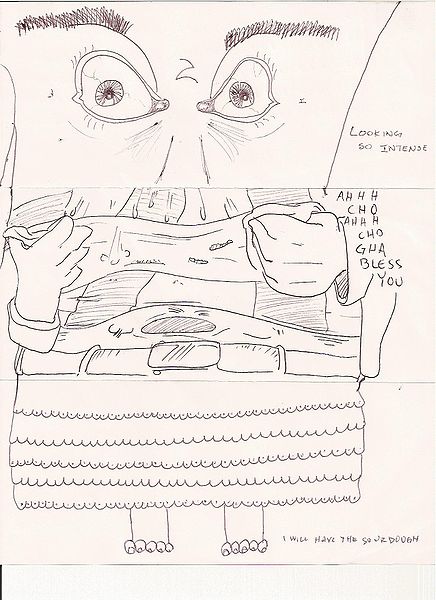
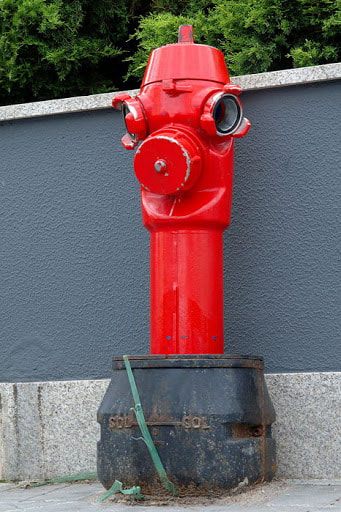
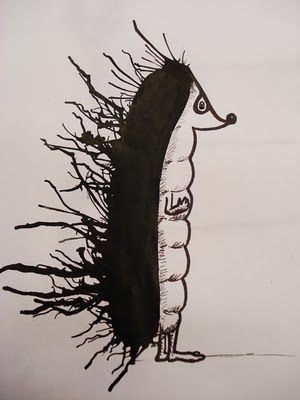
#2 Pareidolia Scavenger Hunt
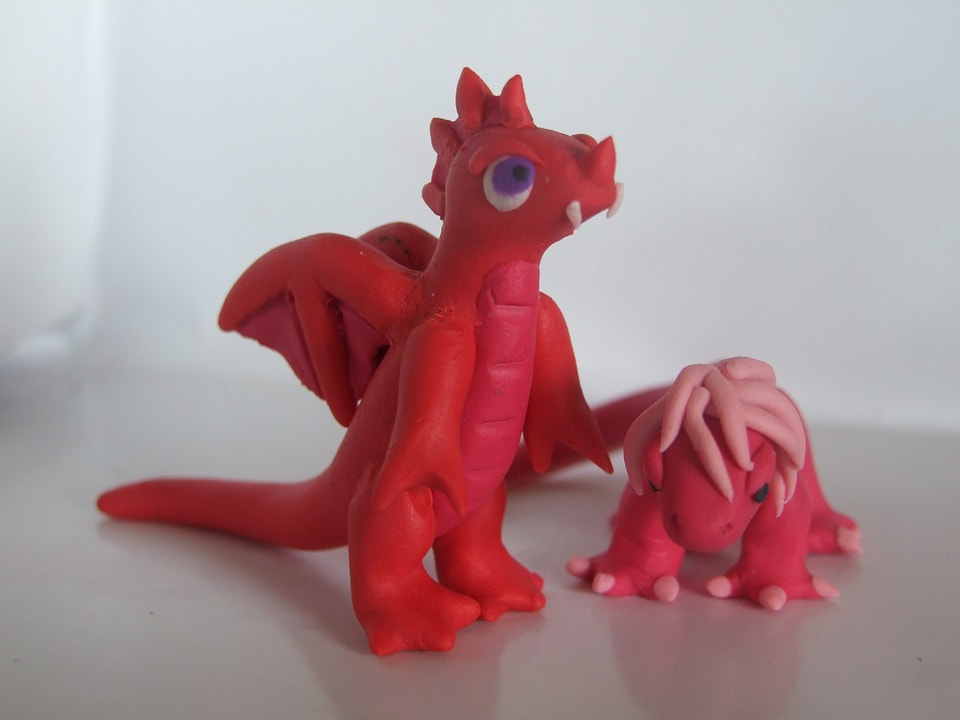
#3 Sculpey Pictionary
Need a list of pictionary words? Here are 138 different words at different difficulty levels I created for my classes. Download them free by clicking here!
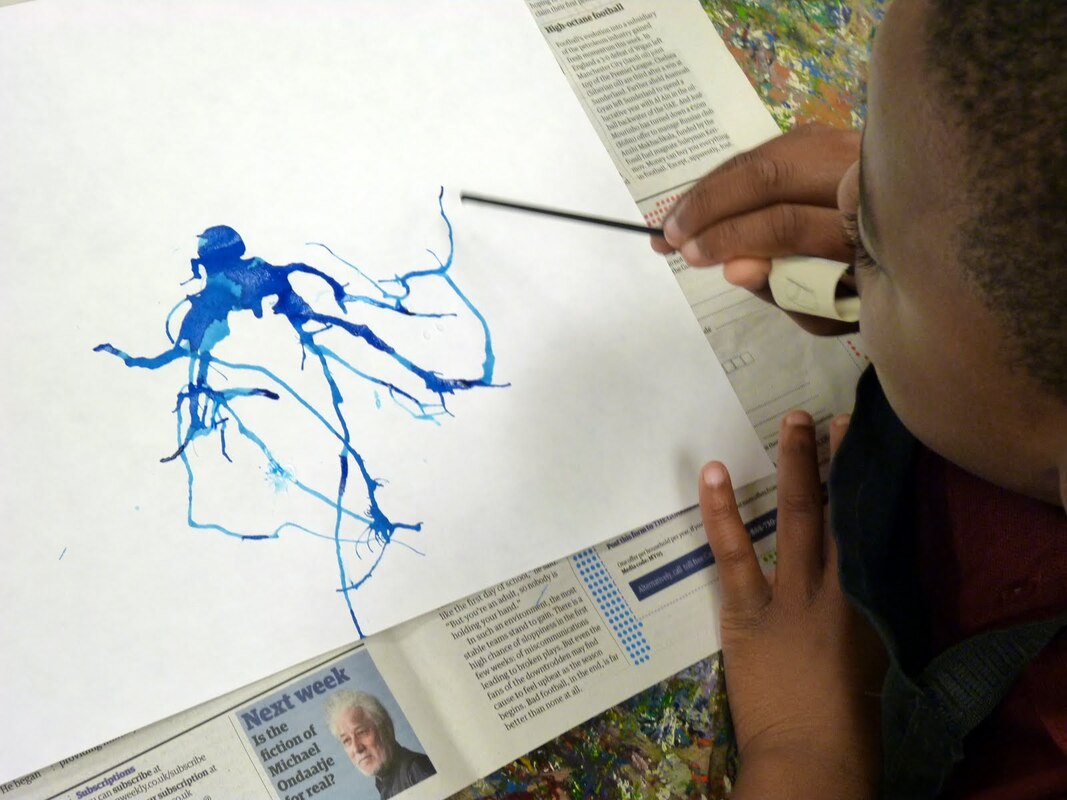
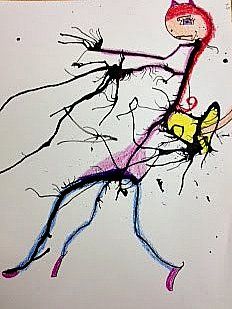
#4 Ink Blowing
#5 Street Art Online Game
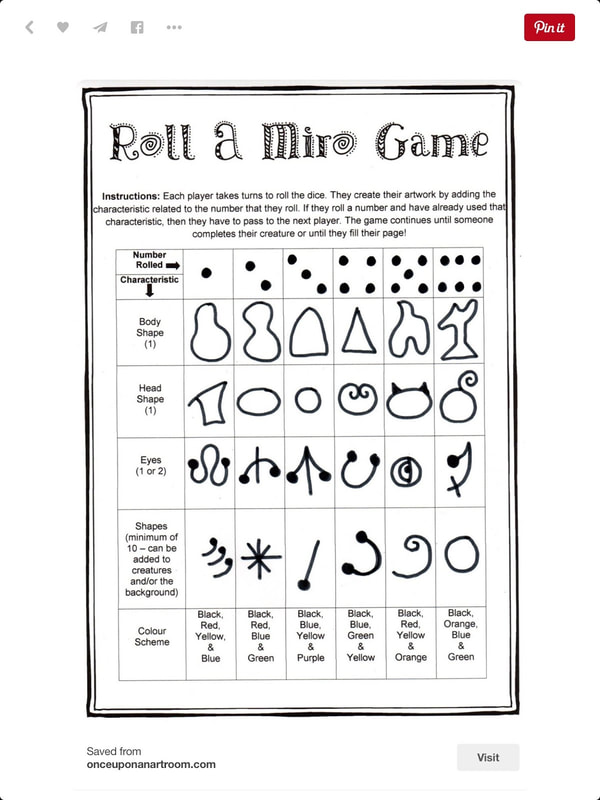
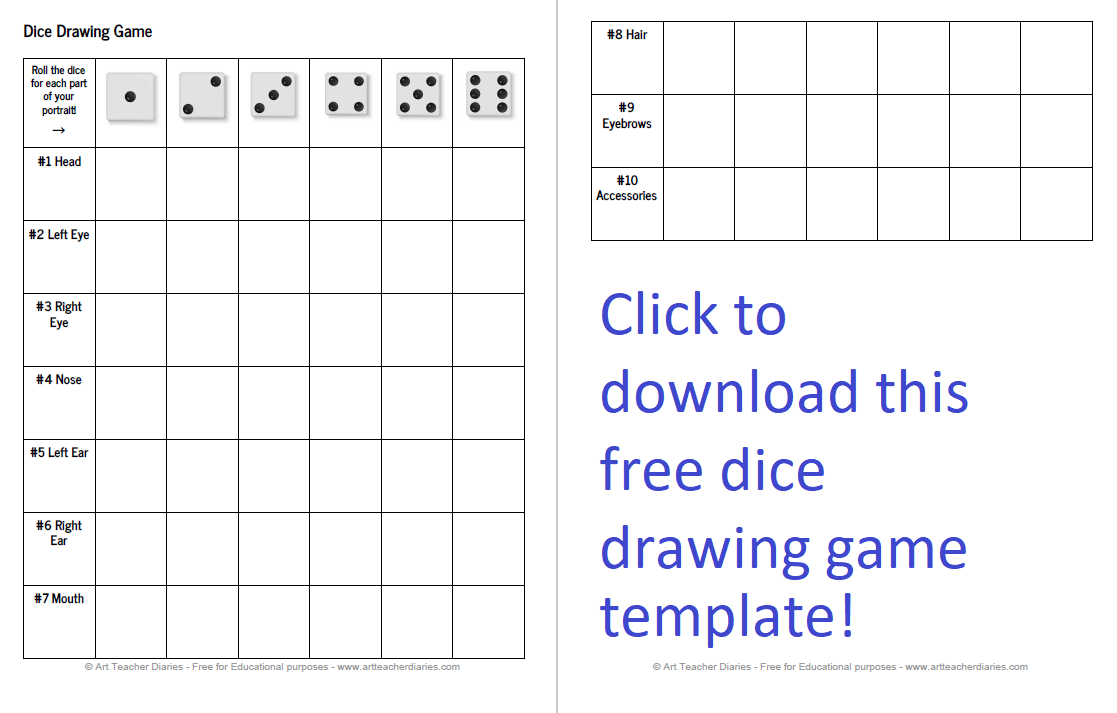
#6 Dice Drawing Game
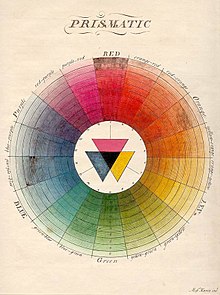
I recently discovered the awesome online app coolors.co and just had to make a quick post about how to use this amazing program to help students understand and choose color schemes for various projects. Students can even use this program on their phones or an ipad. 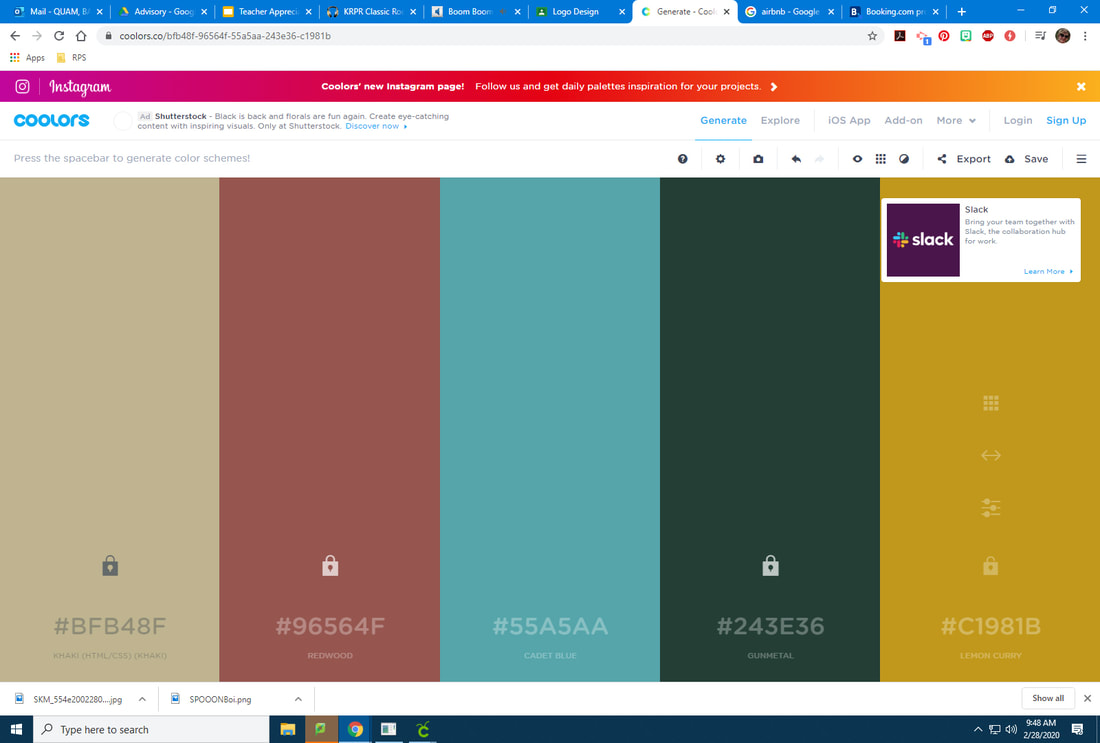 So how does it work? Simply go to https://coolors.co/ and click on the blue button to start. For my graphic design classes, each student was provided with one specific hex code (the 6 digit number after the hashtag under each color). Students had to enter that hex code as one of their necessary colors. The rest of the colors were decided by each student. I had students lock their required color and then press the spacebar on their computers to generate random colors. If a student saw a color they wanted to keep, I had students lock that color and continue pressing the spacebar. For students that wanted more control, I allowed them to find and adjust the colors using the adjust feature (see below). Students can adjust hue, saturation, and brightness. 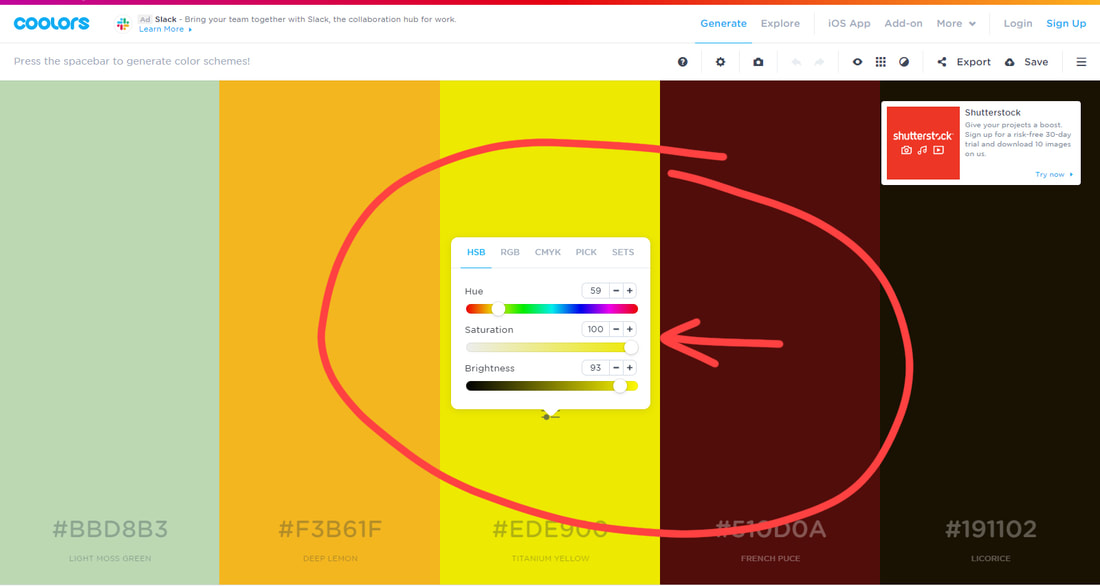 Once students chose their final color schemes, I had them record the hex codes in their logo design packet. Interested in seeing my logo design packet? Click the link or image below to view and download. This .pdf is currently free for all teachers personal and classroom use.
I have found using this packet to be very beneficial for students to slow down and think like a real graphic designer. In case you are curious, I give each student an assigned "company". This makes it more real-world too-- sometimes students get a company that really strikes a cord with them and others get something they think is boring. All of the companies I provide to students are made up and each student does a different design (no one has the same company assigned to them). But this emulates how it is to be a real graphic designer! Students are also put into small groups for the "pitch" stage. The other students in the group act like the "client" and give feedback on the 3 drawings eventually helping the designer decide which logo is strongest and what their final logo design will look like. Interested to see some of my graphic design 1 students logo designs utilizing their color schemes? Check out my gallery below.      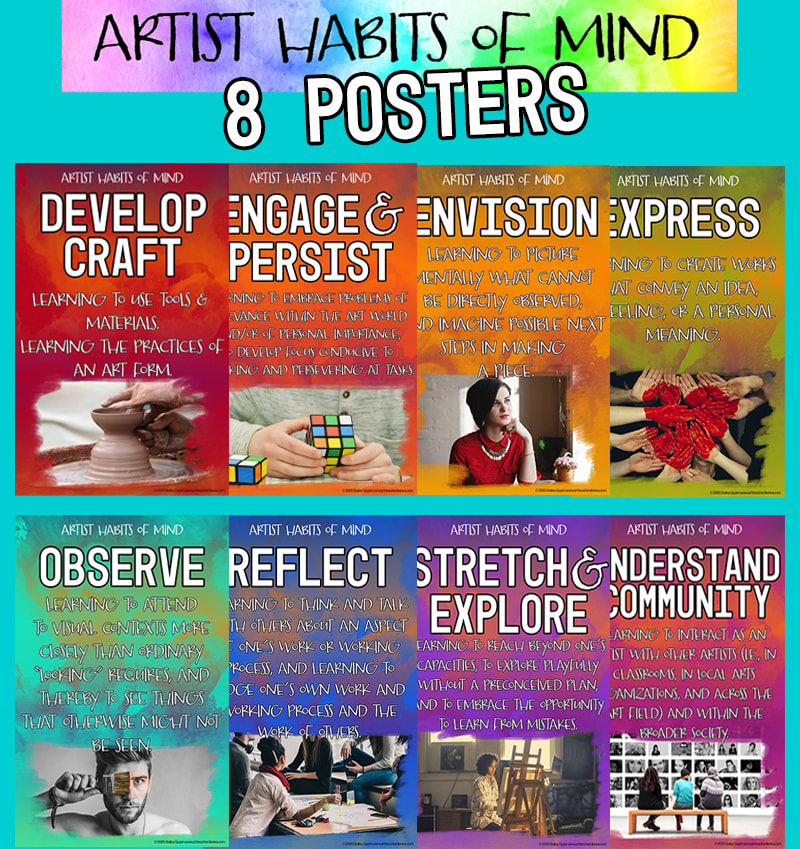 I just recently created a set of 8 artist habits of mind posters for my art and graphic design classrooms. These posters were developed by Harvard's Project Zero to create a set of habits they found to be best practices in the studio. These make excellent classroom decoration pieces as they are the colors of the rainbow and provide a definition and visual example. The posters come in two sizes: 11x17" and 8.5x11". They can be printed in color of black & white. See some of the posters below. If you are interested in grabbing a set of these posters for your classroom, simply head to my TPT store to purchase! I offer a bundled discount if you find other decorations or lessons in my shop that inspire you. I hope you and your students enjoy them as much and mine do!
 It is nice to make something crafty for yourself on occasion. I made these DIY magnetic spice jars for my fridge after struggling to find more cupboard space. I bought the 2 oz mason jars, heavy du5y magnets, and round white labels on Amazon all for under $30. Hint: Use a little super glue on each magnet on the lid side of the jar. Keep in mind that not all spices come in small containers. Since the jars I bought were 2 oz, I had to make do. In the end, I am so happy with them! They stay in place and add color to the kitchen! 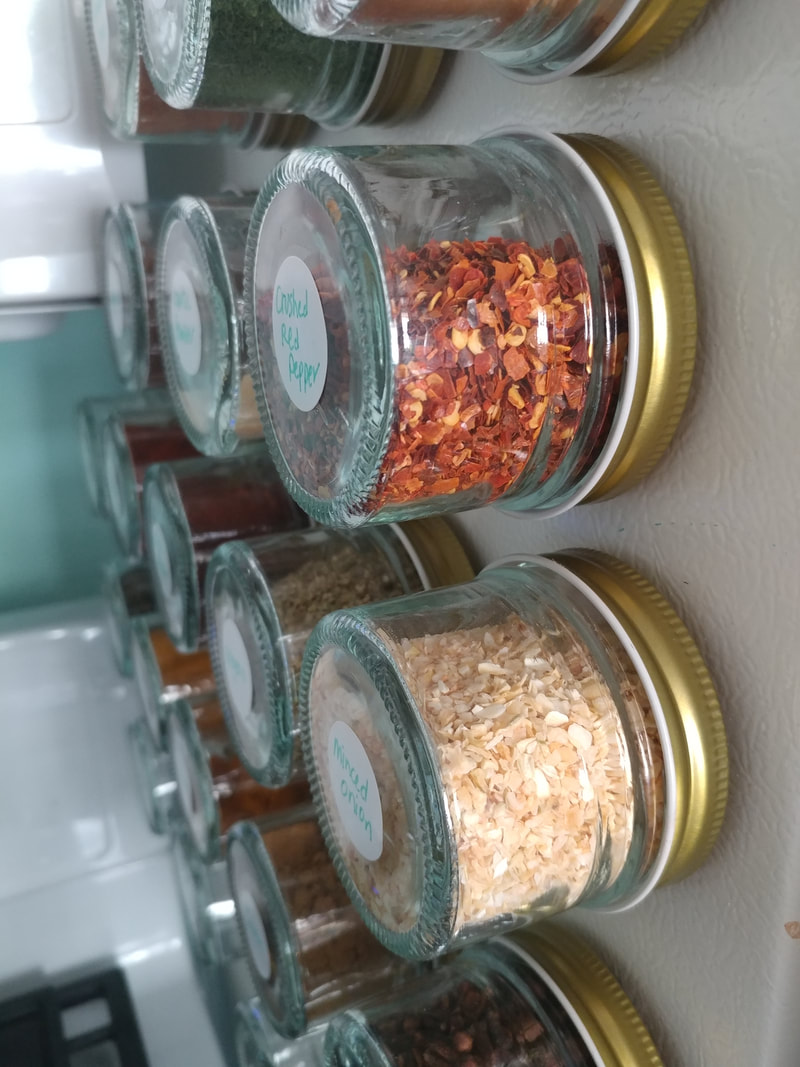 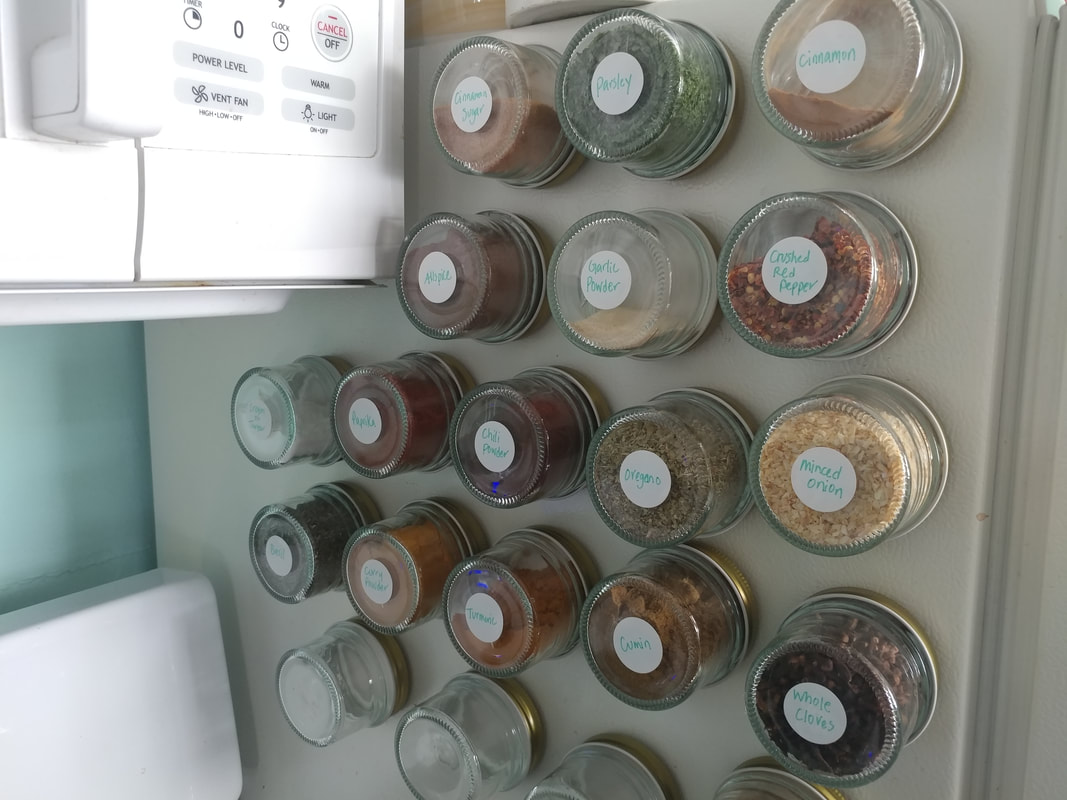 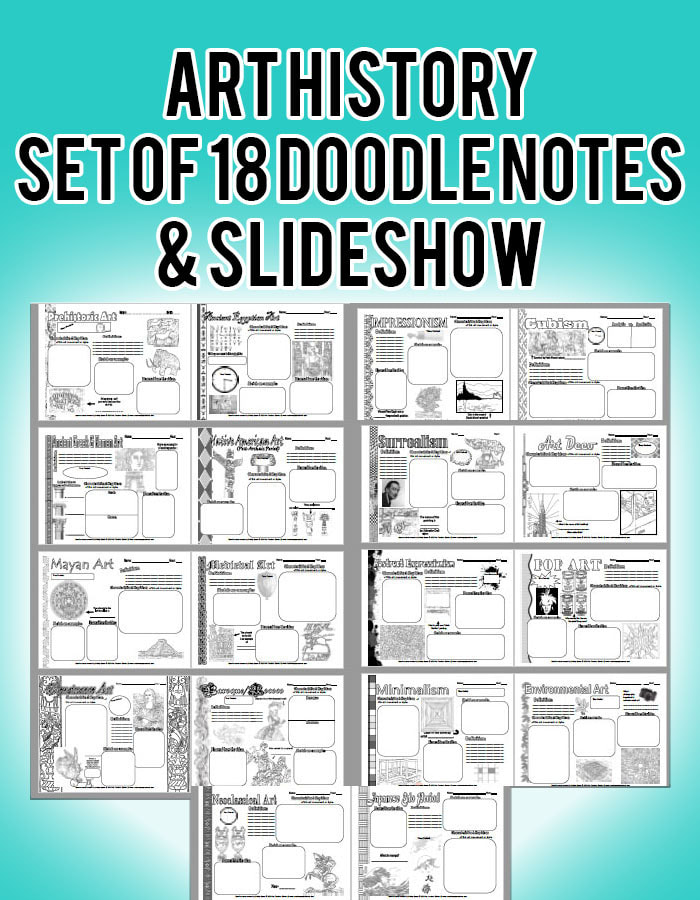 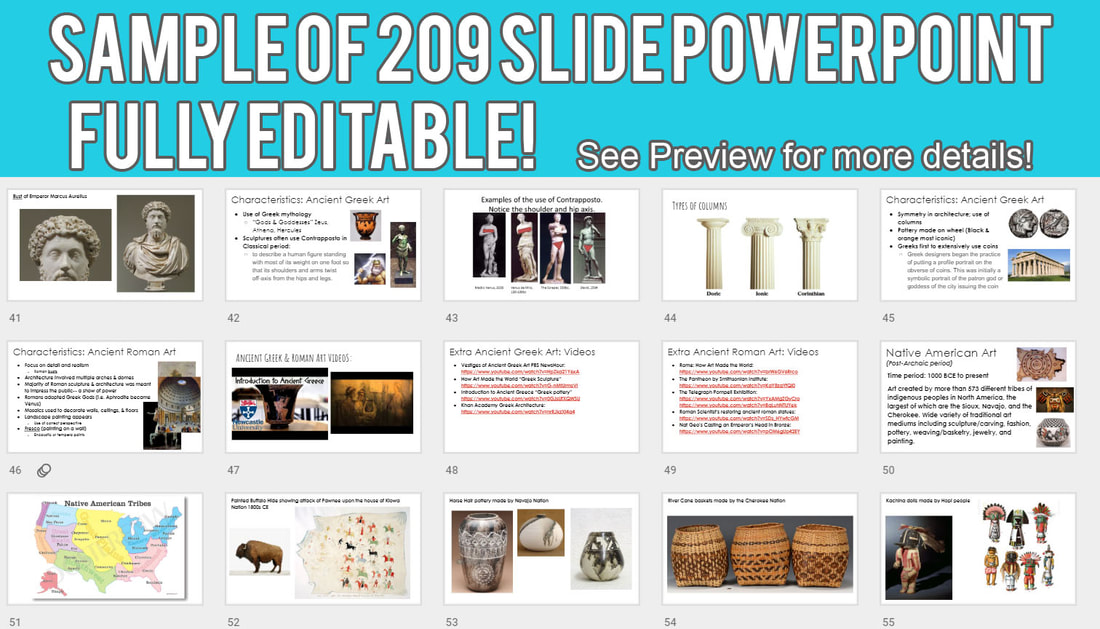 Just listed in my Teachers Pay Teachers store-- a set of 18 fully editable doodle notes about different art history movements. Each handout of doodle notes includes places to color in, short activities or fill in the blanks, space for writing or drawing characteristics, sketches, definitions, and time periods. Video links are also included that pertain to each art movement! This makes learning about art history far more enjoyable for middle and high school grade levels. Use these handouts and the included 209-slide powerpoint in multiple ways that work for your teaching style! Click the images above or go to this link to preview or purchase this awesome bundle to teach art history!
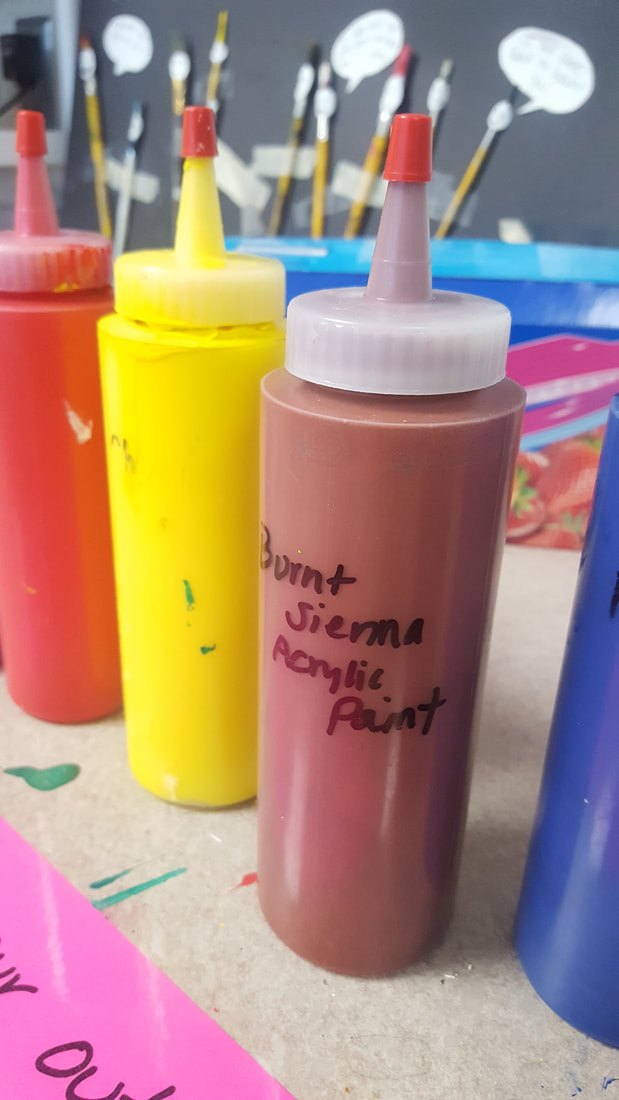
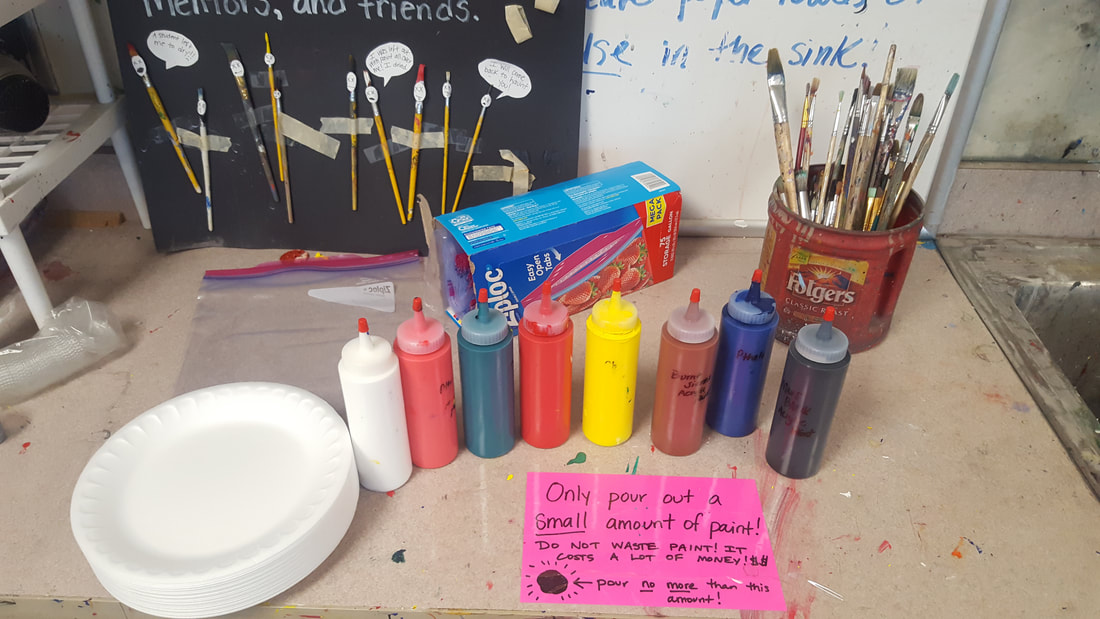 I love painting with acrylics-- but painting with 36+ kids can be extremely stressful. After lots of trial and error, I have come upon a few hacks I would like to share with ya'll today!
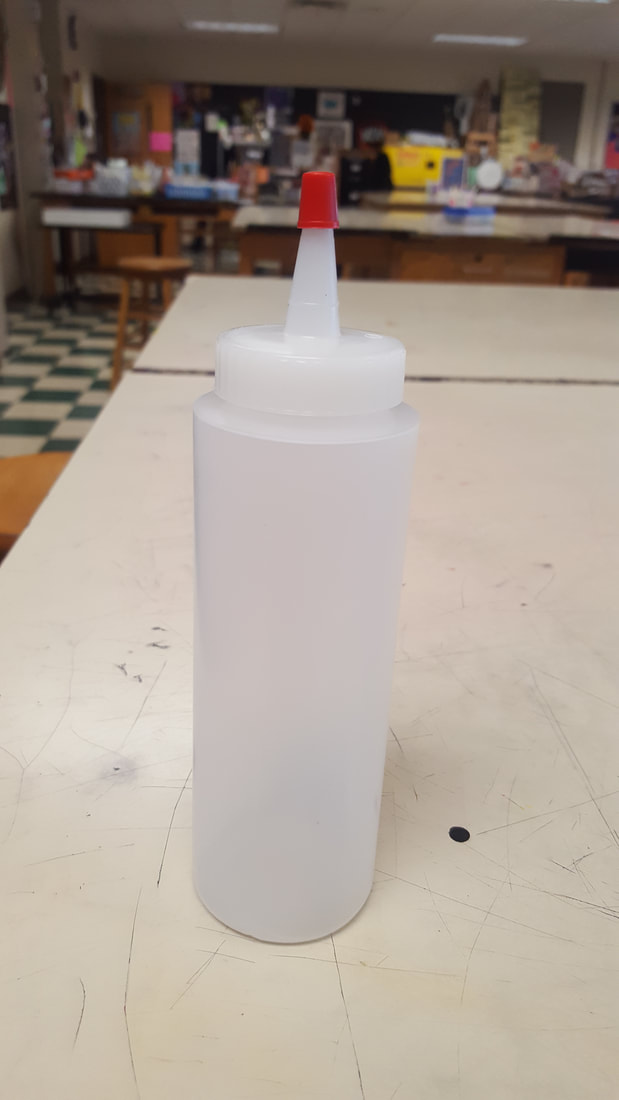
Hack #1: Use condiment bottles to hold acrylic paints! You can label the bottles with the name of the color to make refilling a breeze. The mouth of the condiment bottle is large enough to pour from a half gallon and the little cap fits neat and clean on the end to prevent clogging. Kids are less likely to take too much paint because it doesn't pour as fast too! I bought my condiment bottles on Amazon here. You can also find them at the Dollar Tree! 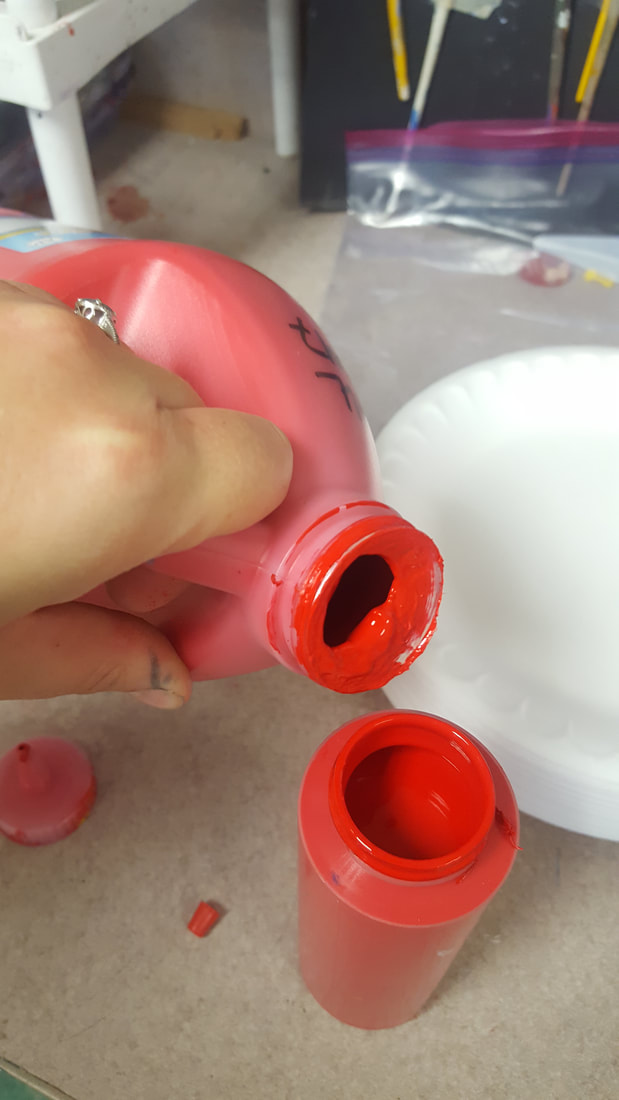 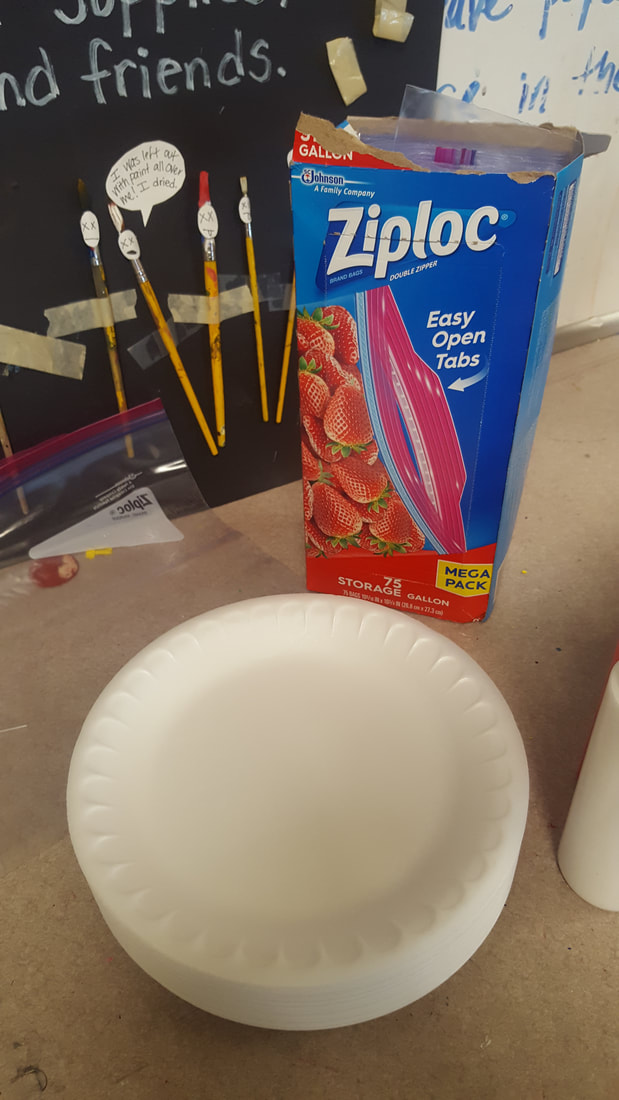 Hack #2: Use foam plates and gallon zip loc bags to store paint in. If your students are like my students, they like to save paint colors. The foam plates won't absorb the water from the paint like a paper plate would and the zip loc keeps it all from drying out! I have kids keep these in their drawers with their assigned paintbrushes. Hack #3: Speaking of paintbrushes....I have kids pick 2-3 general use paintbrushes to keep in their drawer for the entire painting unit. I repeatedly tell them that if they don't take care of their brushes, they are stuck with a gross, dried up brush for painting. Or they have they buy their own. They don't get replacement brushes! I can't tell you how much this has saved me from having to pick up brushes from the bottom of the sink! Make them take ownership of the supplies! 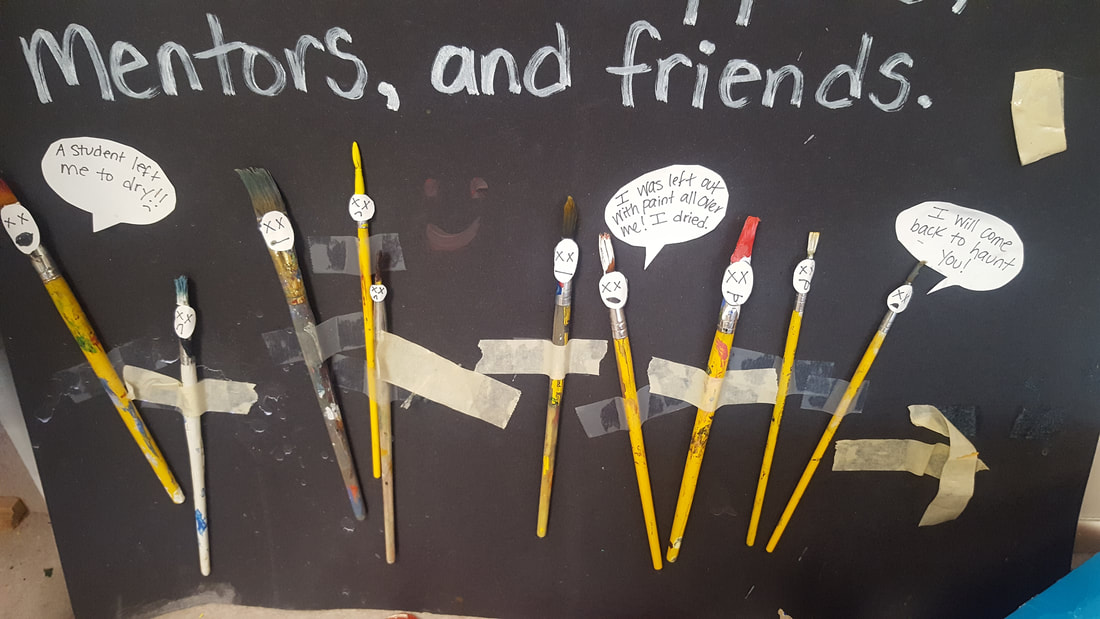 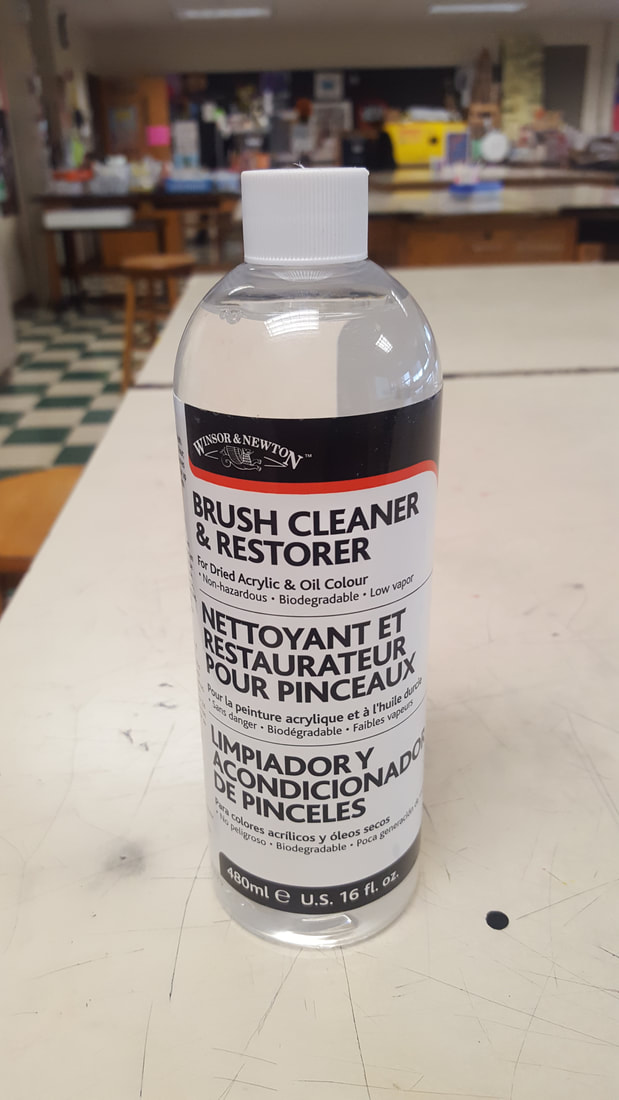 Hack #4: And for those brushes that do meet an ugly fate....THIS STUFF is great! The Winsor Newton Brush restorer can save a lot of brushes. Not all, but a lot! Simply use a small amount in a glass jar and leave brushes hair side down soaking in it overnight. In the morning, rinse! You may have some paint to peel off, but this has restored a lot of brushes for me. I NEVER TELL KIDS ABOUT THIS STUFF, simply for the fact that I don't want them relying on it and thinking they don't need to wash brushes. This stuff works on acrylic and oil painted brushes! The only downside of this stuff is the cost. $14.99 for a 16 oz bottle. Less expensive than new paintbrushes though! 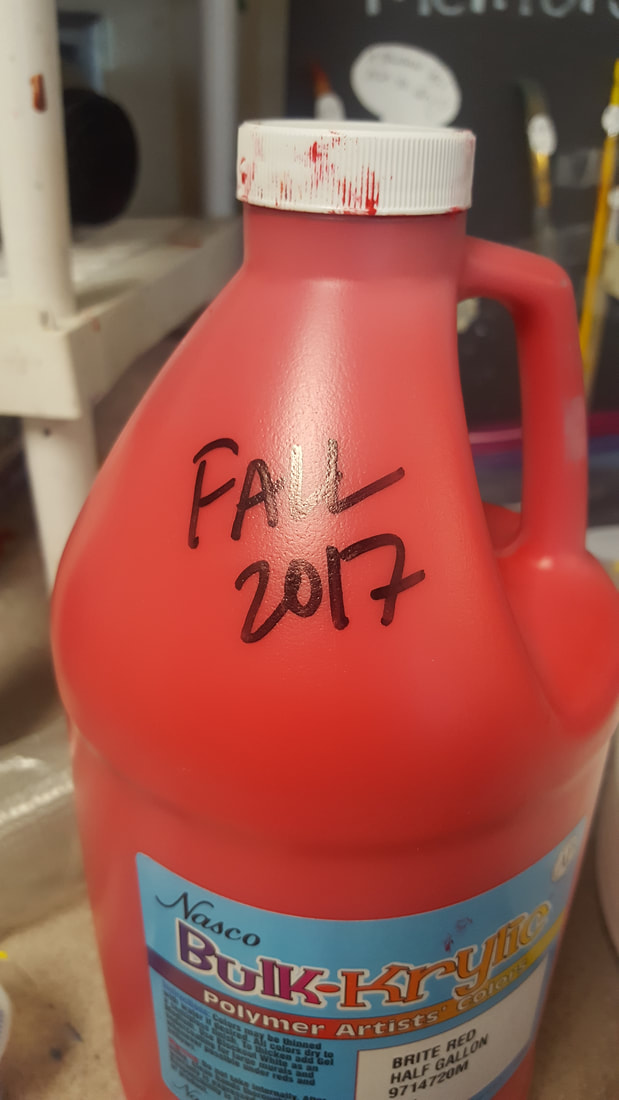 Hack#5: This may seem obvious to some art teachers, but labeling your jugs of paint with the season & year will take the headache out of figuring out which bottle to use first! We tend to have leftover paint from the previous year. This helps kids know which jug to open next...I tell them to look for the oldest bottle and use that first! Saves money and paint. I will be adding more painting hacks in the future! I hope you found some of this tips and tricks useful or that you will try them in your own classes! Let me know how it goes by leaving a comment below!
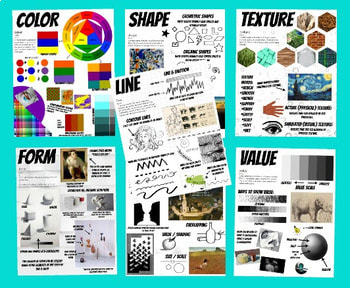
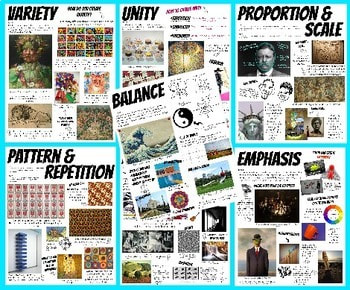
My teachers pay teachers store has a mini back-to-school sale on right now from 8/14/18 to 8/16/18! Get 10% off ALL products-- no limit! This is a great way to gear up for back-to-school and stock up on some great lessons! Several of my listings are great for sub lesson plans and can be modified and adapted to suit your needs. Click the image below or follow this link to go shopping for art education and graphic design lessons!  ALSO-- if you haven't seen my Elements of Art and Principles of Design block poster sets, I highly recommend you check them out here! See examples below. The entire set of 14 posters is only $16.20! Give me a positive rating and receive 16 TPT credits to use for future purchases. 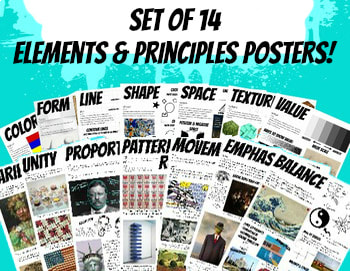
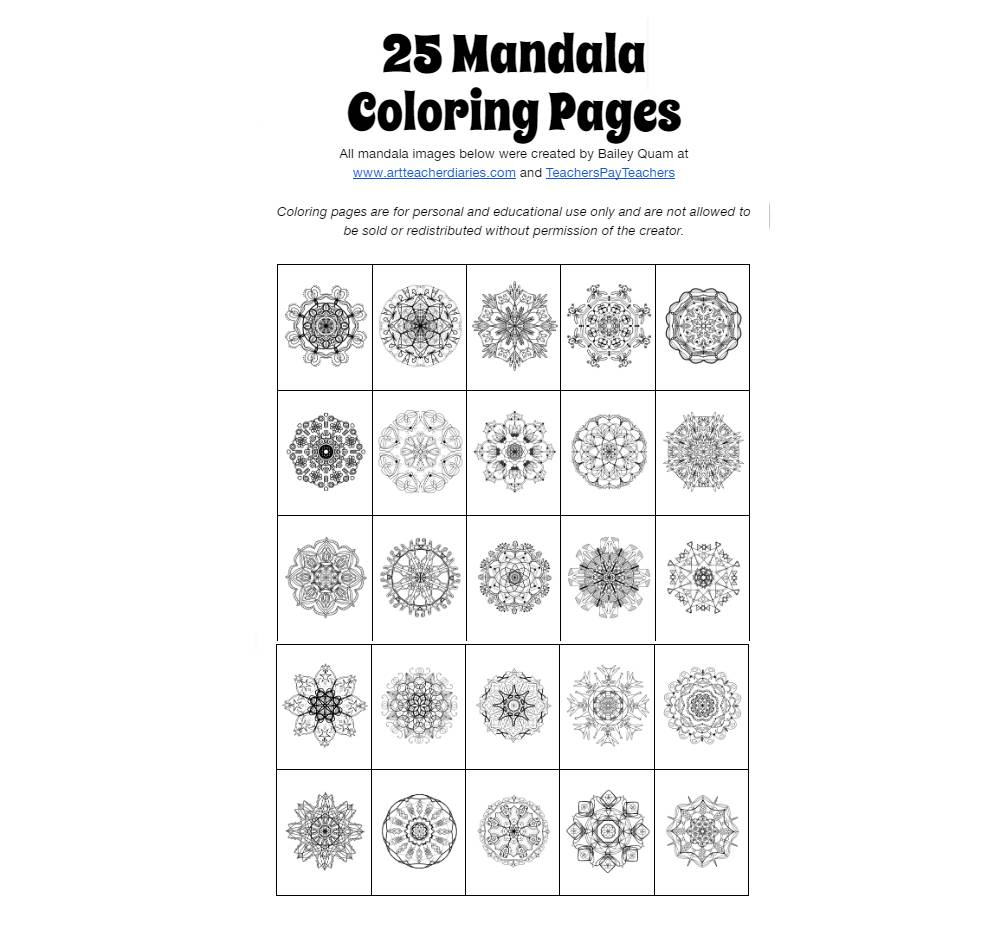
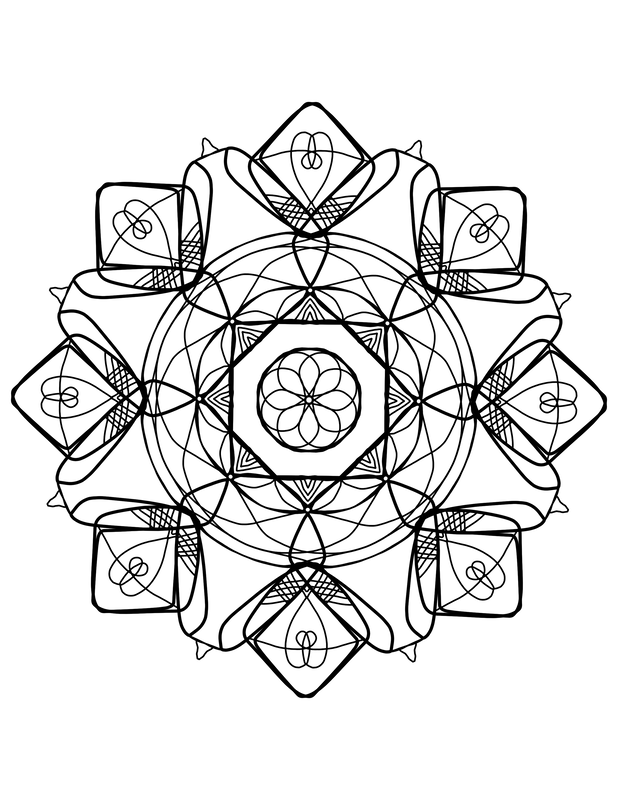
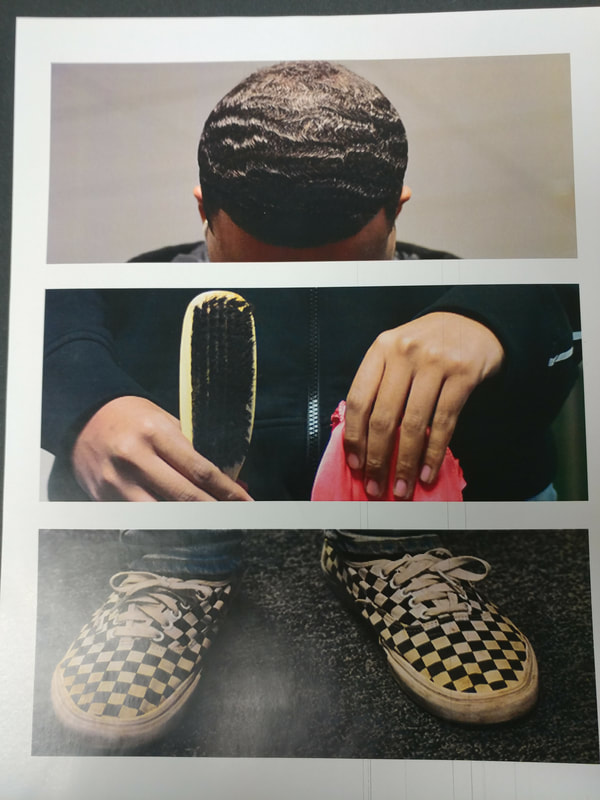
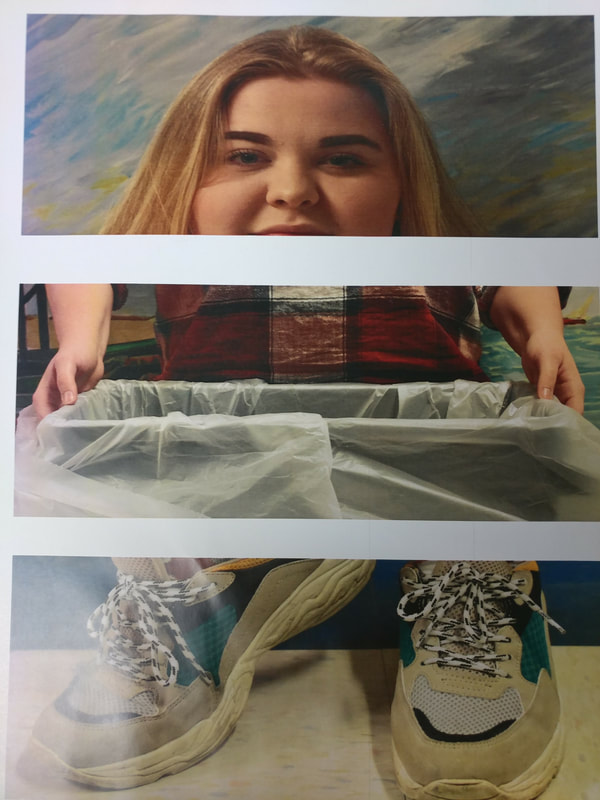
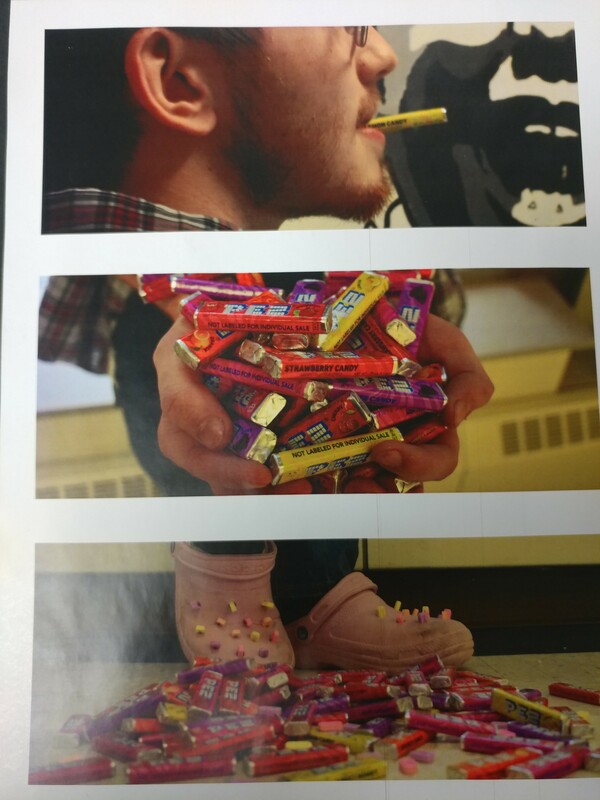
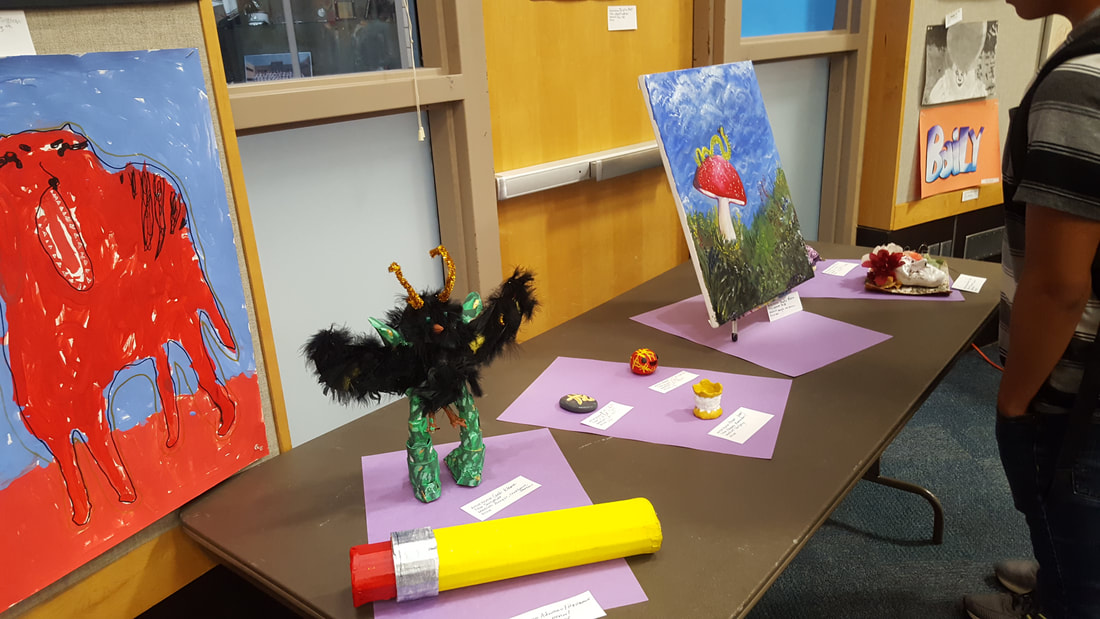
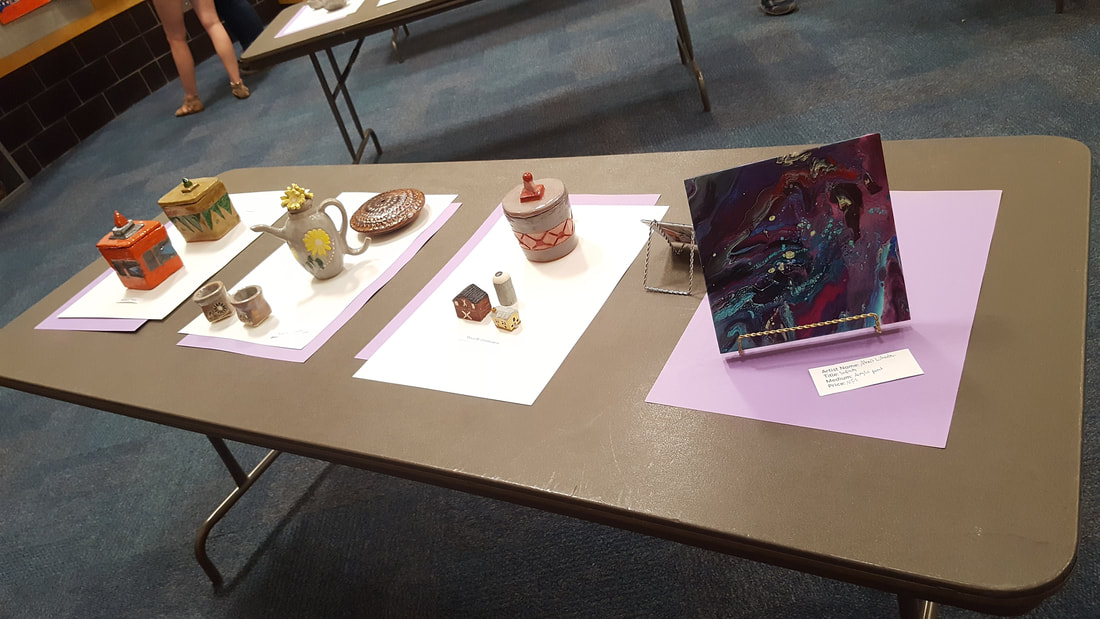
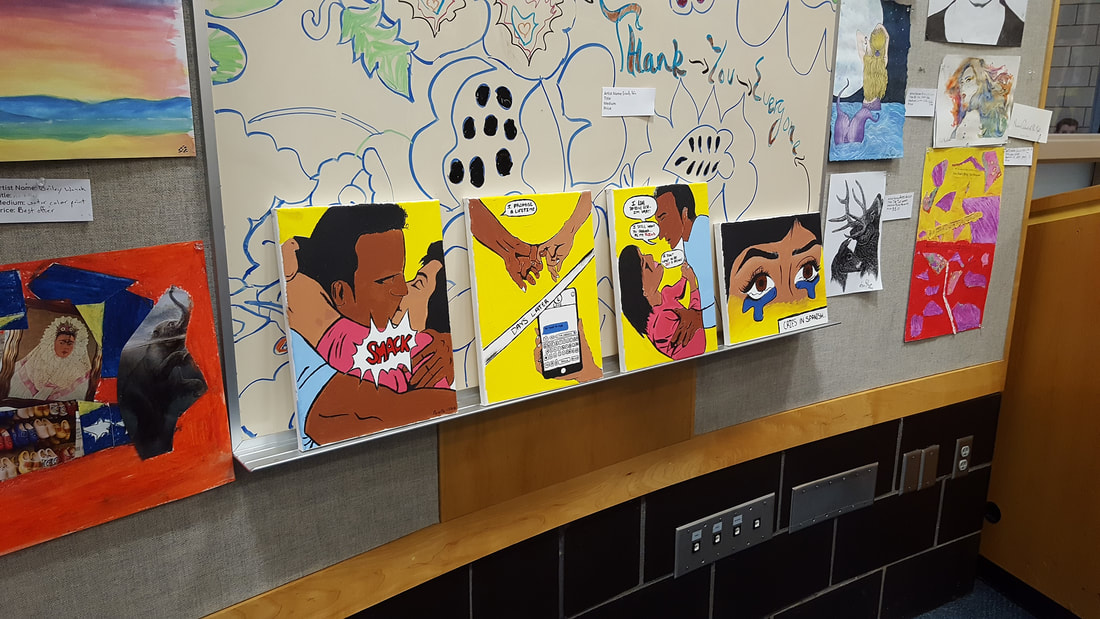
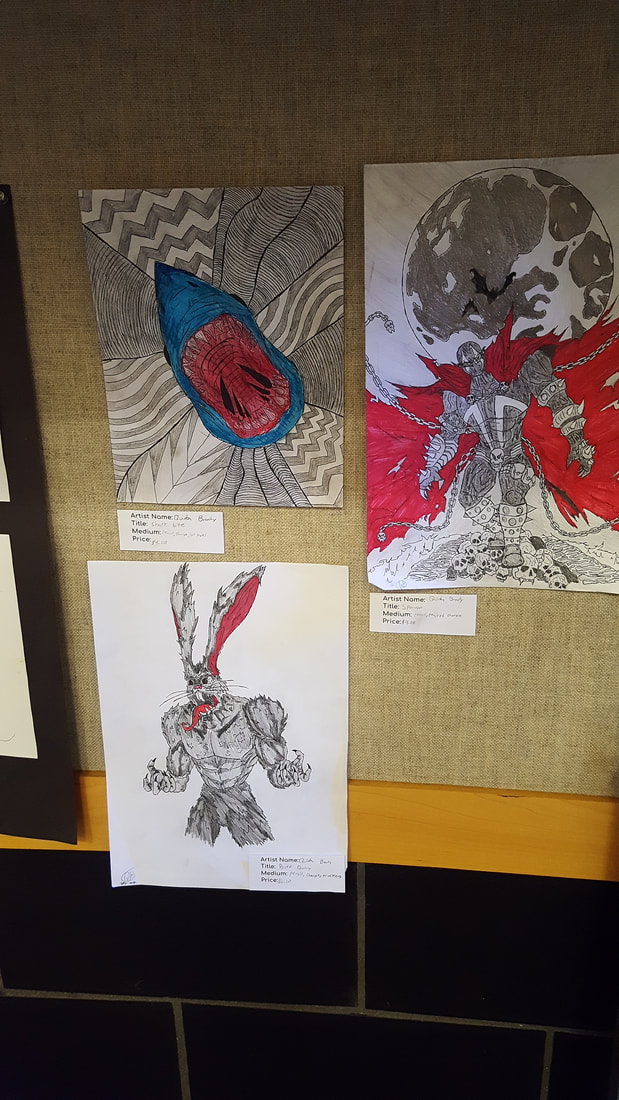
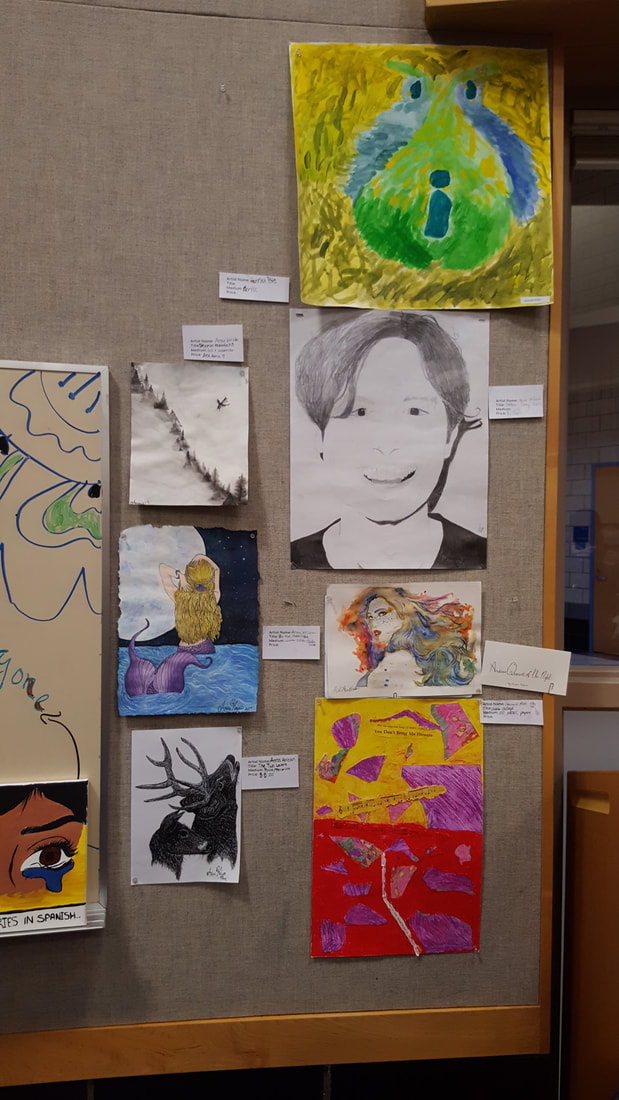
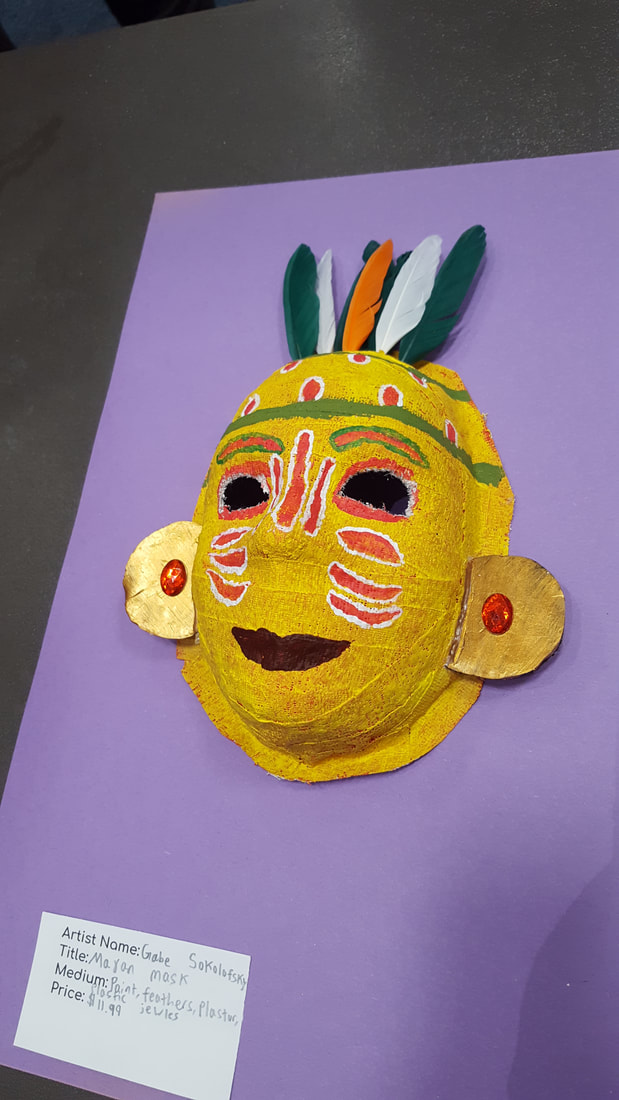
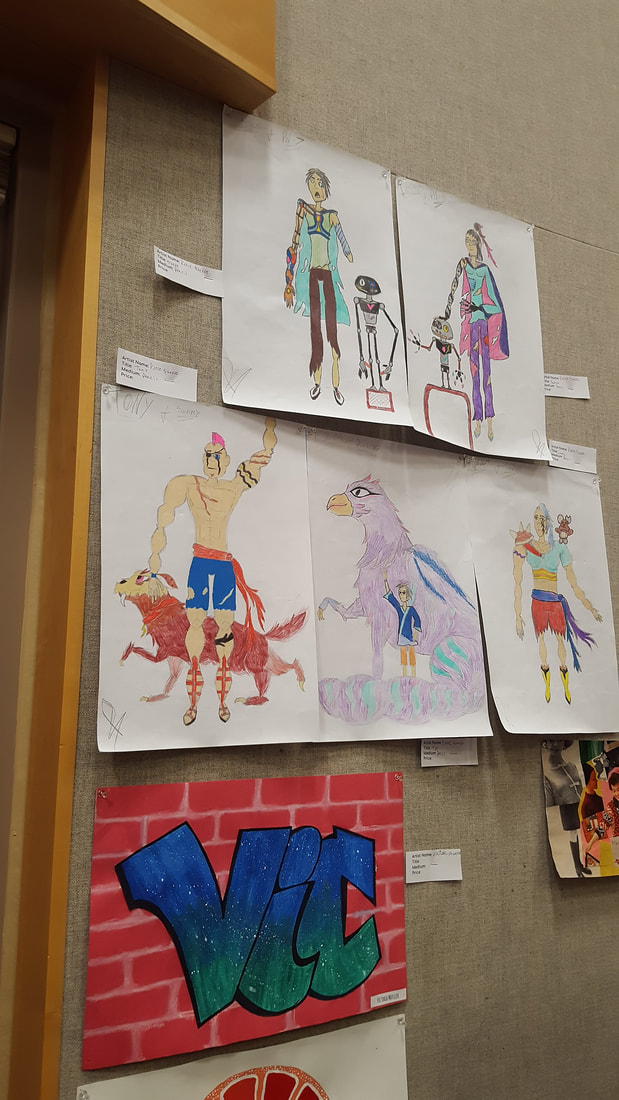
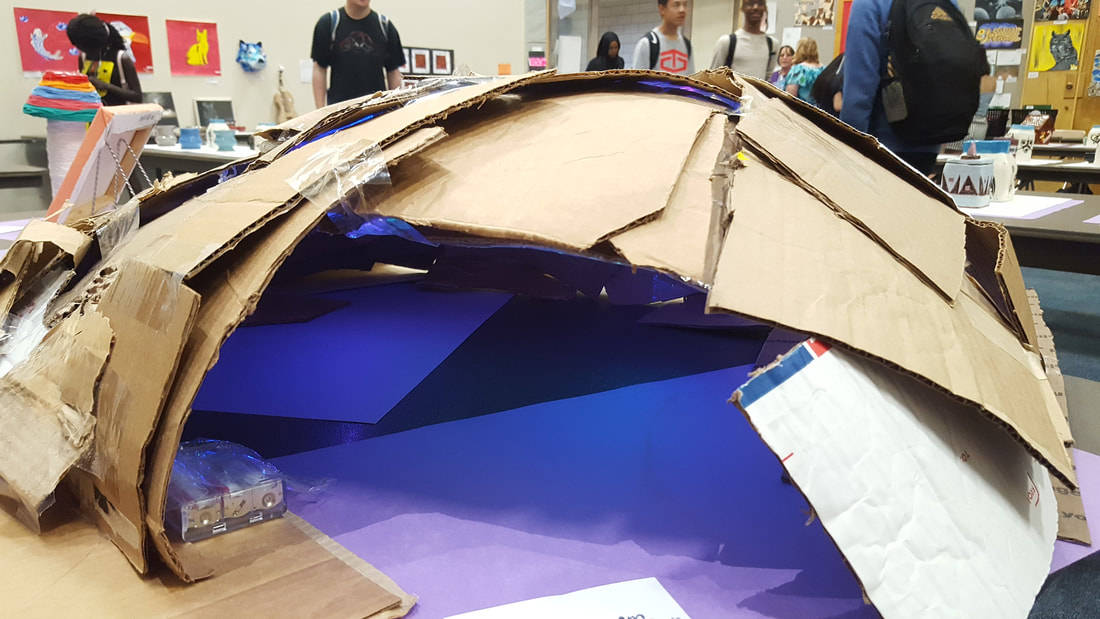
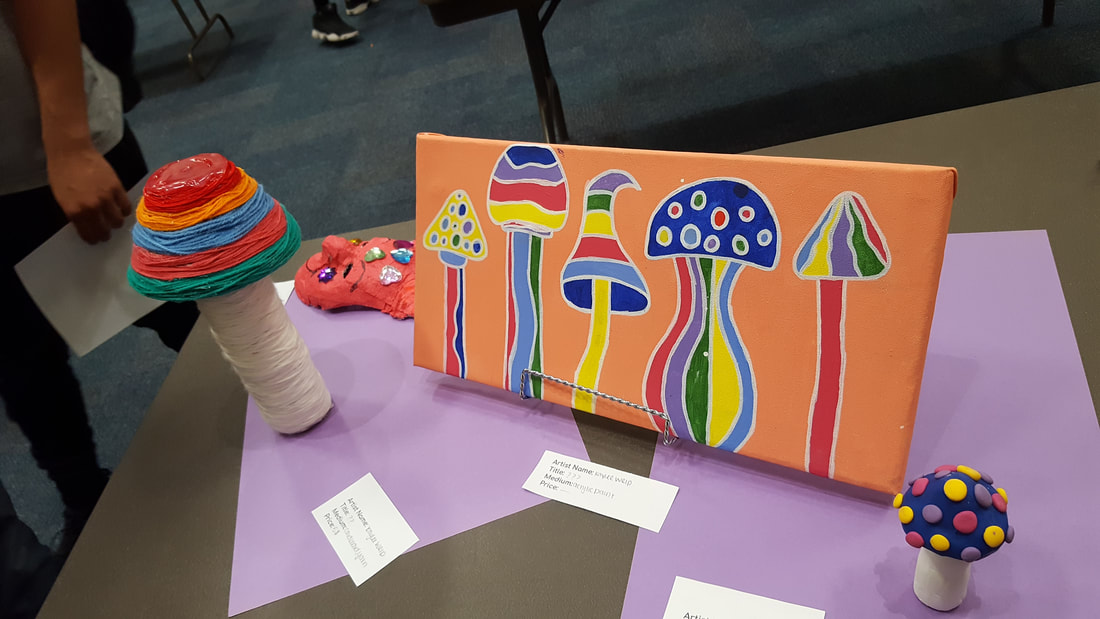
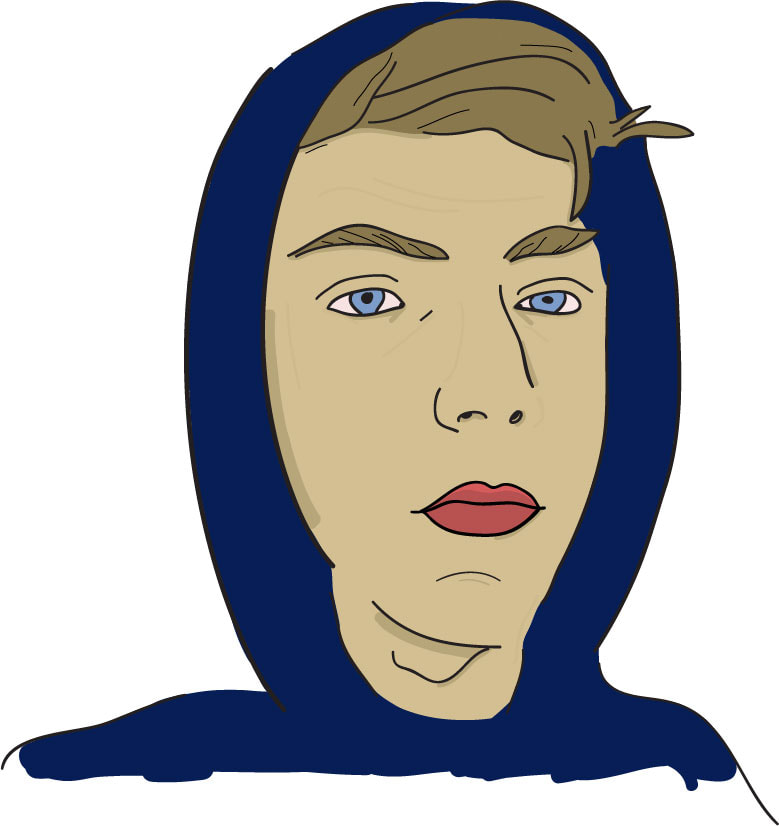
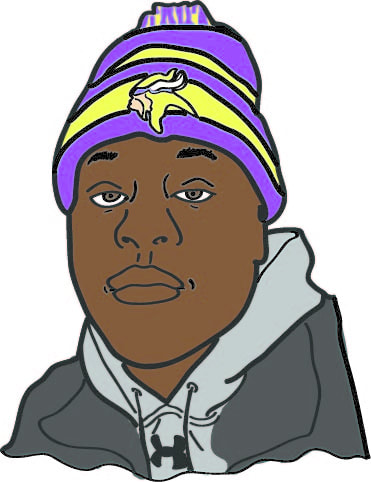
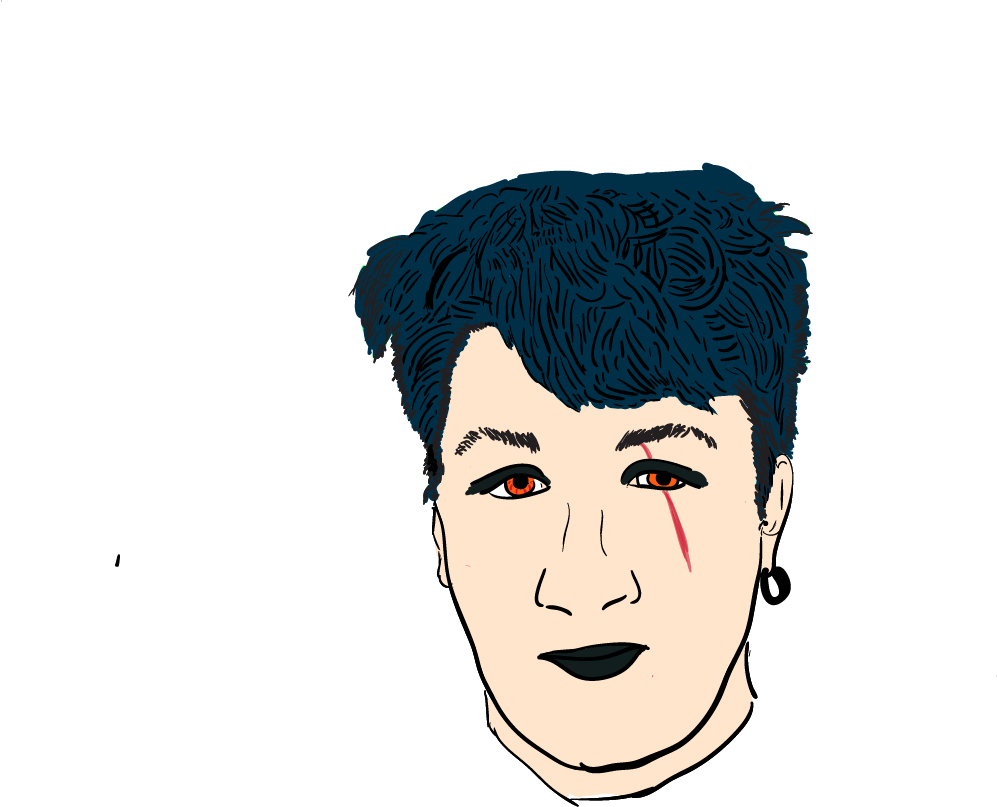
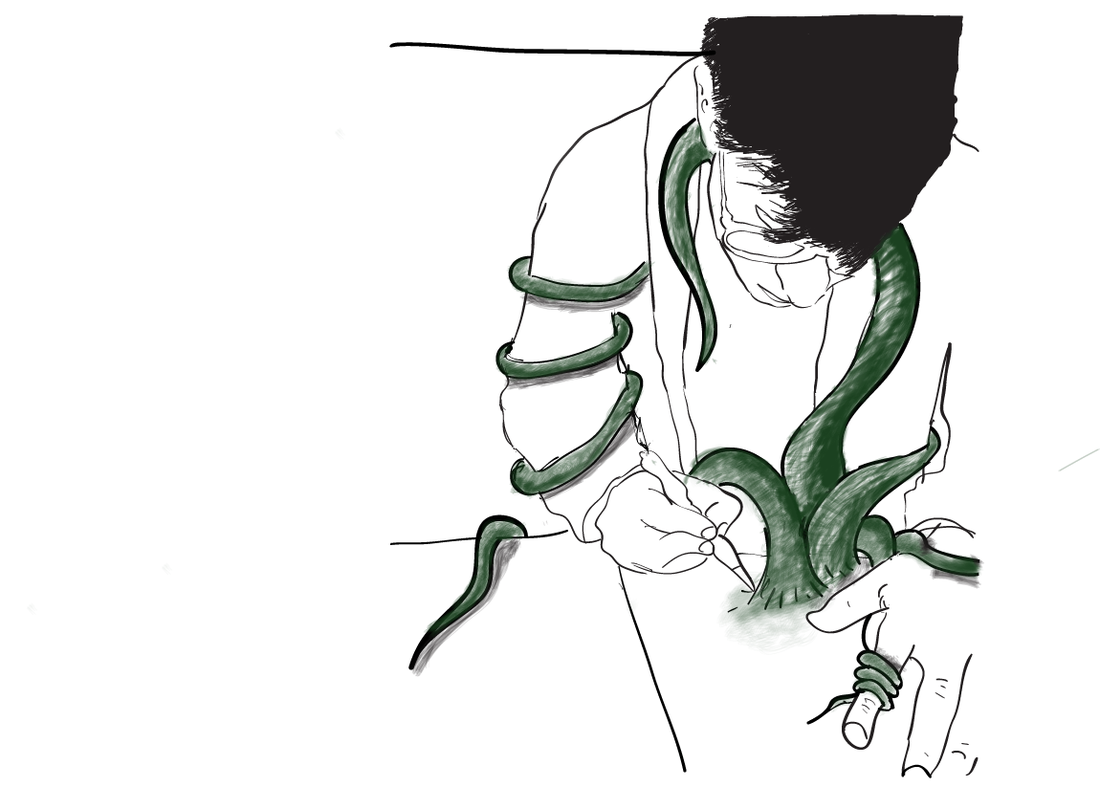
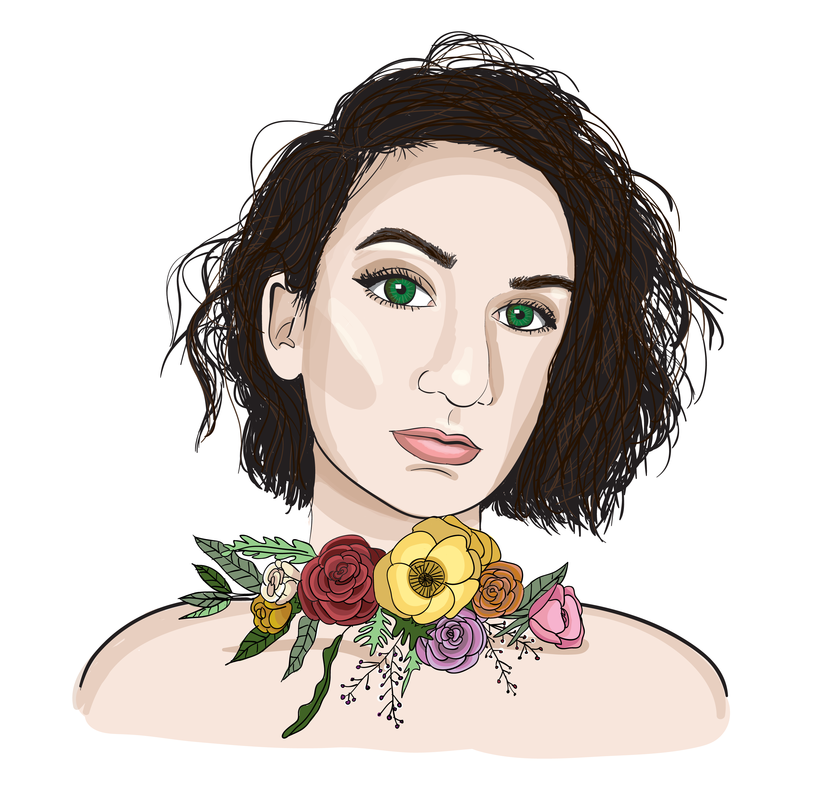
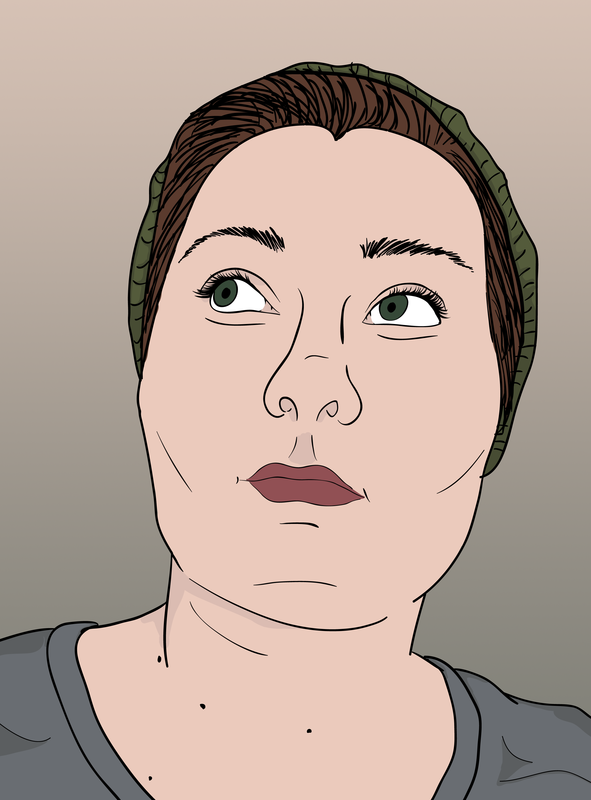
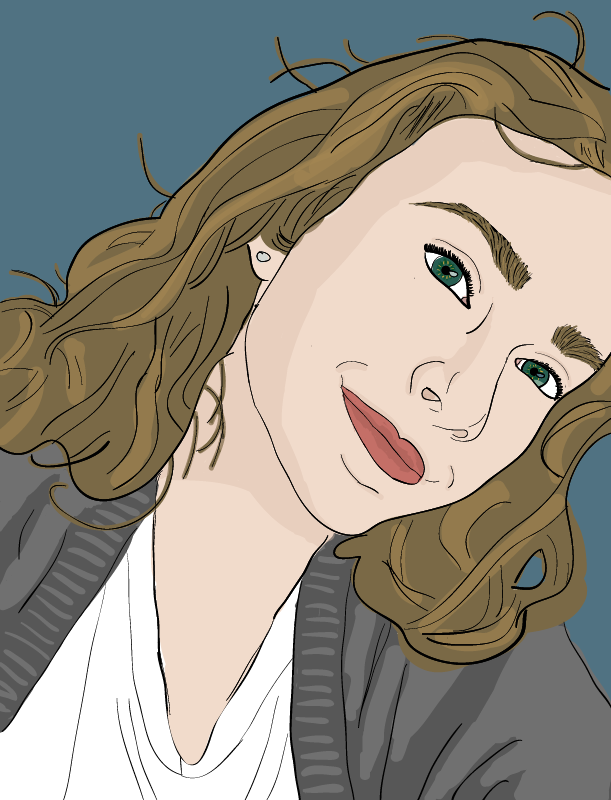
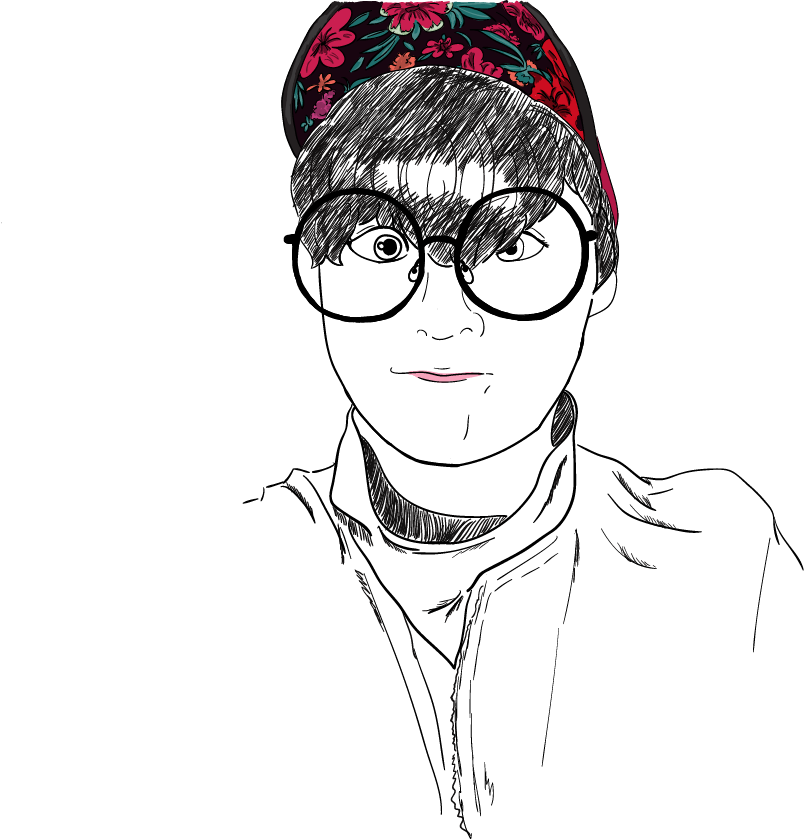
I have just added a new lesson with a template made by yours truly! Introducing the mandala color wheel lesson! I have seen this done on a larger scale with students measuring, but I wanted to take some of the headache out of the lesson to make it run a little smoother for my Art 1 students. Hence, the printable template! The template is intended for acrylic paint, but you could also use watercolor, colored pencils, chalk pastel, etc. This is an excellent project to introduce students to the concept of color & the kiddos love making an intricate and original design! Included in the Teachers Pay Teachers product listing is also a 19-minute demo video showing me create a mandala from start to finish using the template below. 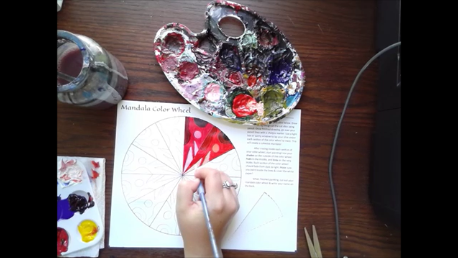 Screenshot of video included with the mandala color wheel lesson 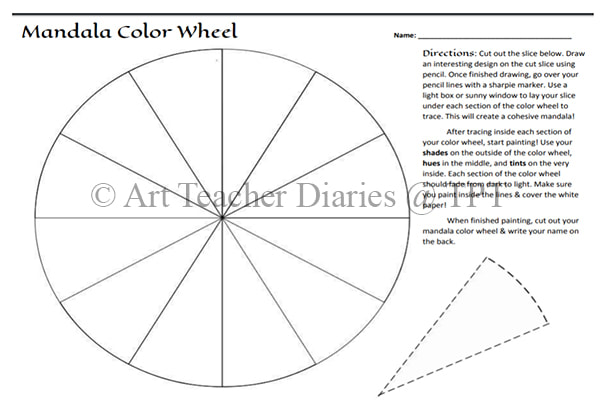 You can purchase the mandala color wheel template, video & powerpoint at my Teachers Pay Teachers store! 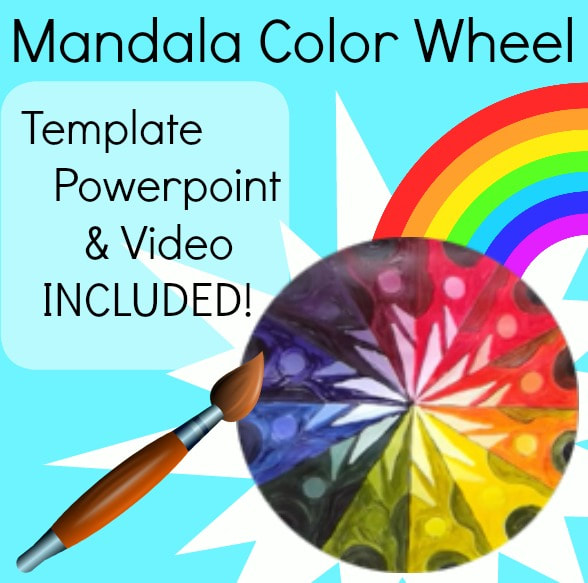 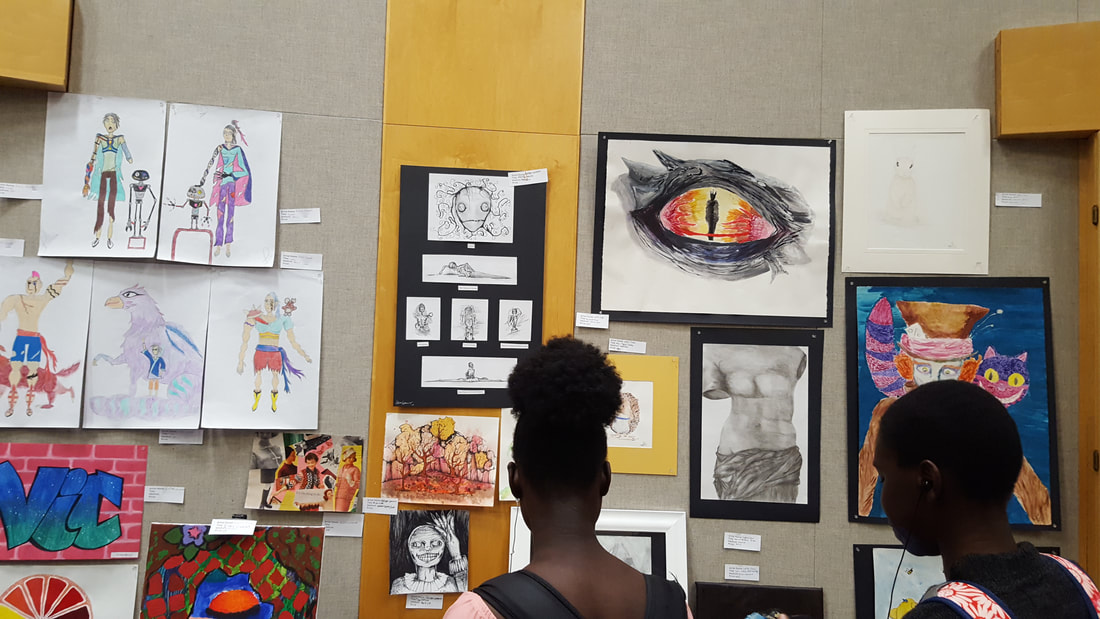 Our high school art show is held at the end of every May to showcase all student artwork that has been created throughout the school year. My other teacher friend teaches Ceramics and she includes her students sculptures & vessels. Students of all abilities and styles are represented in our show. I think it is extra important that students with special needs and students who are learning English feel included in the show. We only do our art show during the school day hours 1-8 and it feels like every student visits the show at some point! We have a People's choice vote where students get to vote for their top 3 favorite artworks. They put their votes in a bucket and my teacher friend and I count up the votes to see who wins. Every year I put together prize baskets (1st, 2nd, 3rd) for the art show winners. 4th, 5th, and 6th places get honorable mention ribbons. Each basket has art supplies like a sketchbook, Micron pens, Faber Castell colored pencils, etc. The 1st prize winner gets a gift card to Hobby Lobby. The kids get so into this! 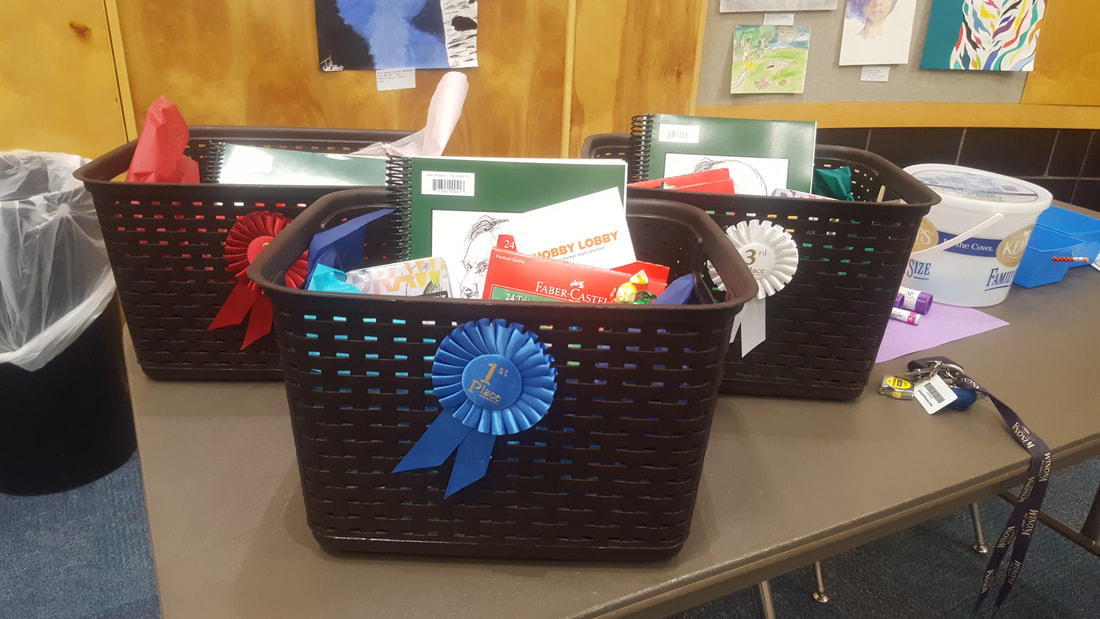 Gift baskets for 1st, 2nd, and 3rd place winners of the art show! Even though this time of year is crazy busy, showing off my students hard work is so worth it! The kids exhibiting show such pride in their work and their friends are left in awe! I look forward to seeing what my future students make next year! Keep scrolling to see examples from this year's art show . . . 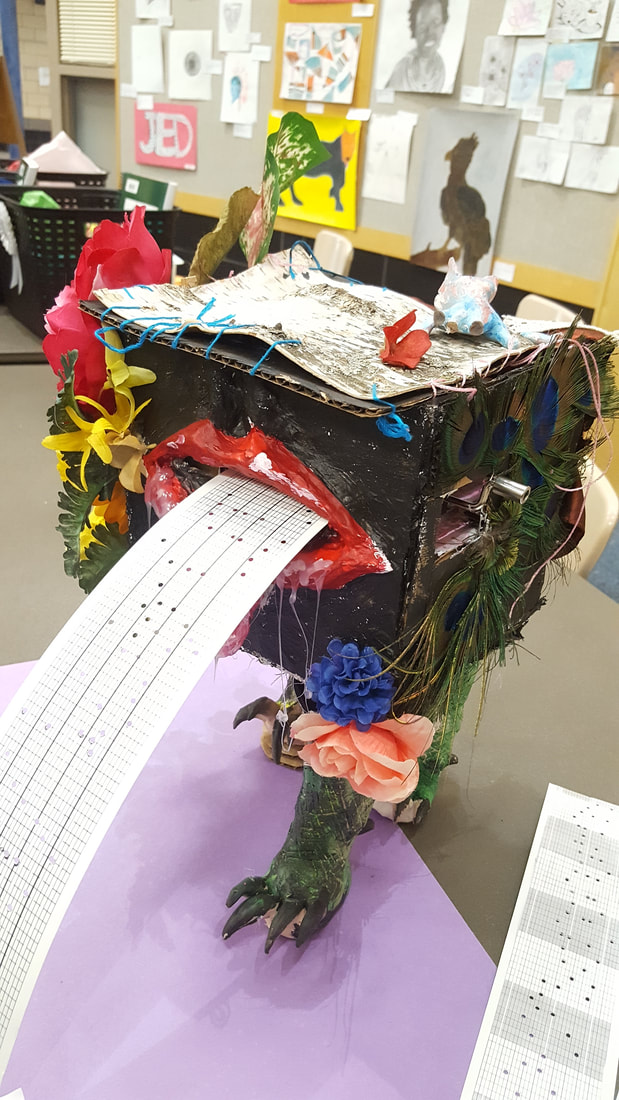 Music box piece called "Dreamwalker". For medium, this artist listed "Magic". That's just the type of student she is! This piece is really a cardboard box decorated with Sculpey legs/feet and a music box mechanism inside. She punched her own music box papers to insert and the paper comes out the back. SUPER cool and just about every kid wanted to hear this work sing!  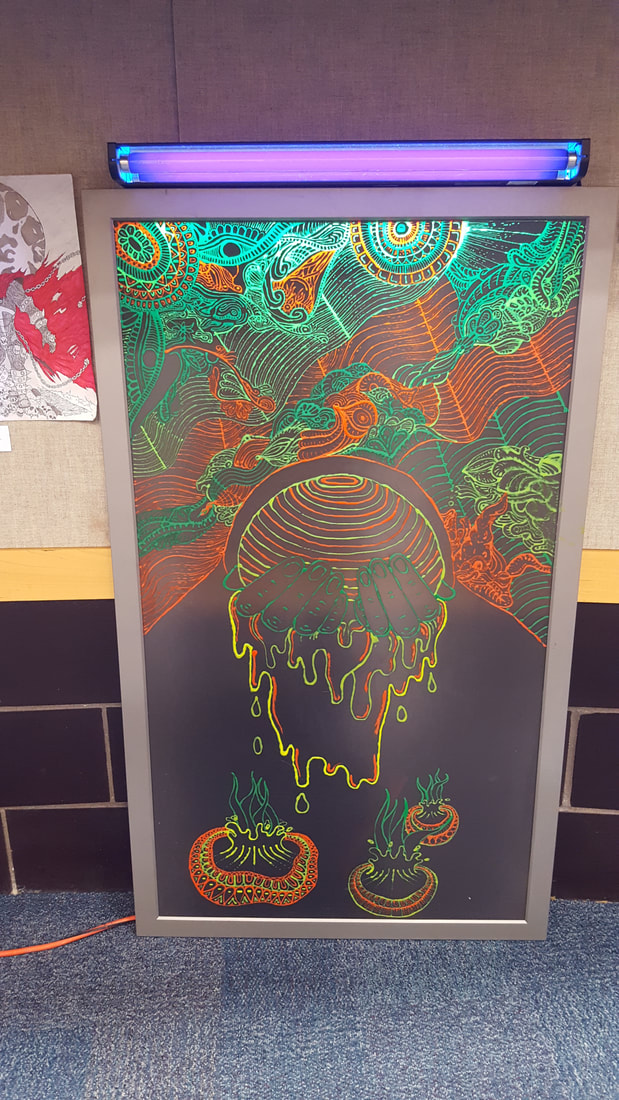 This piece was completed using an old TV screen, UV paint, and a blacklight. The student who created this piece spent MONTHS planning & completing it. 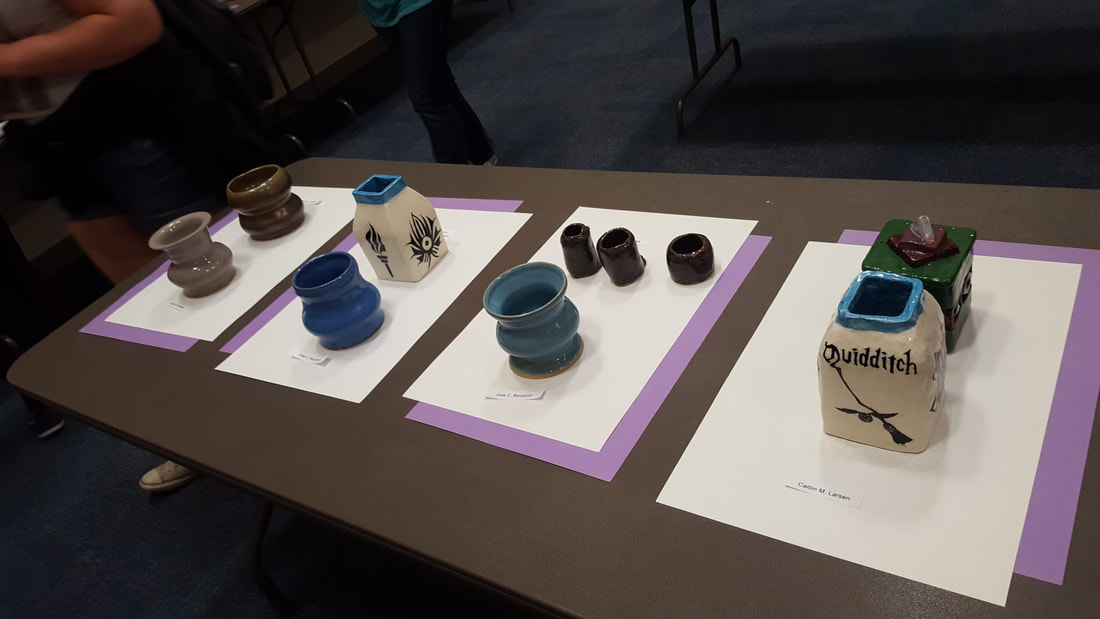  This student wanted to paint a series of different mosques in Pakistan shown in silhouette. She built each canvas herself! 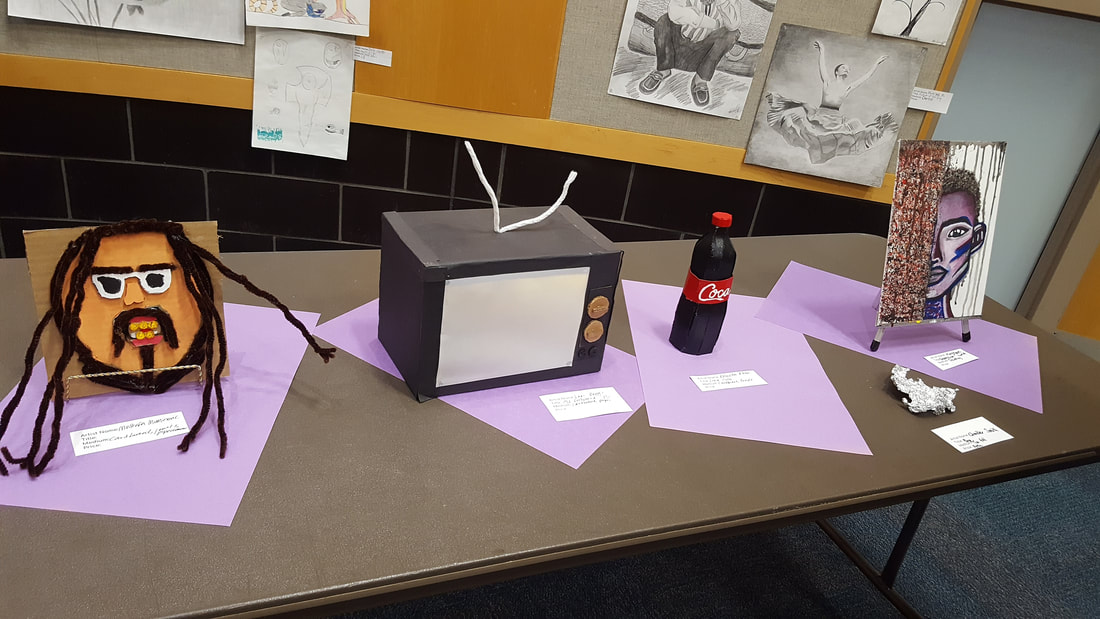  This piece by student Adison is a fish made out of recycled plastic bottles & acrylic paint. Quite the statement! 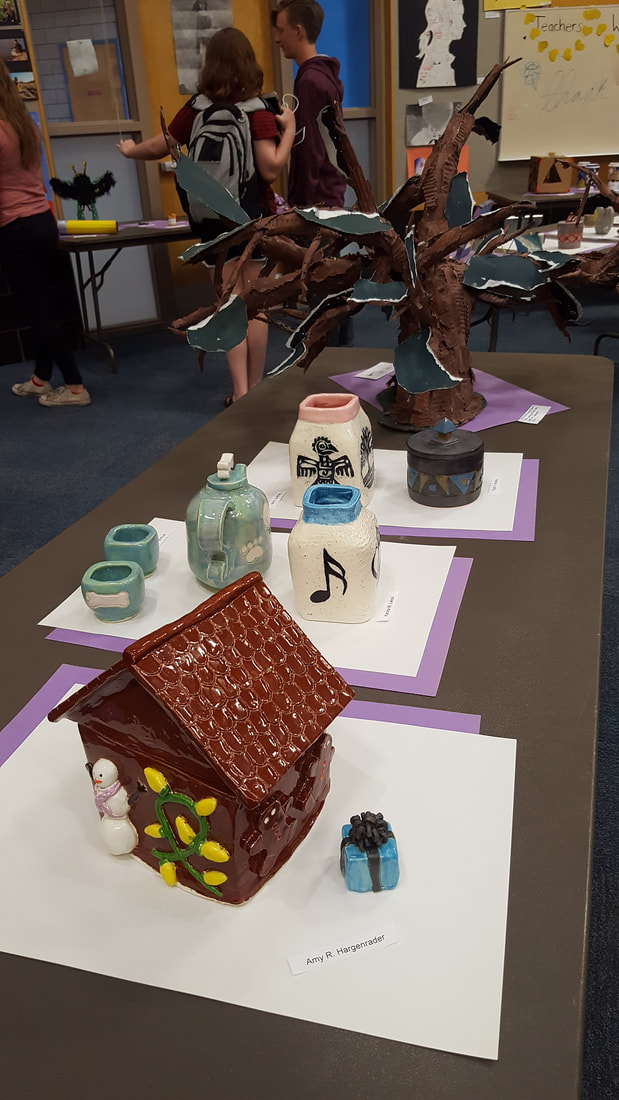 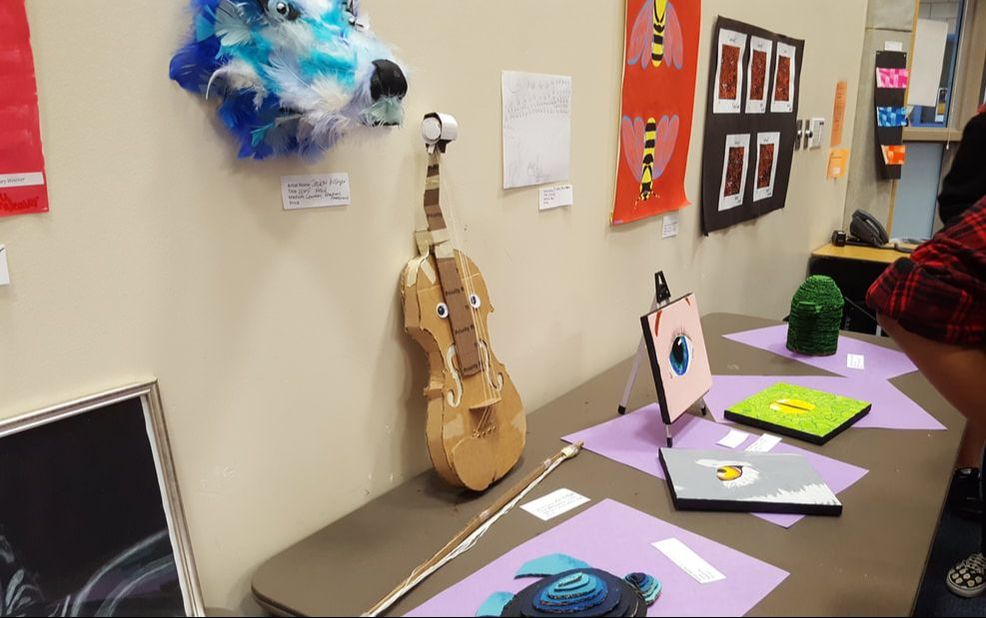 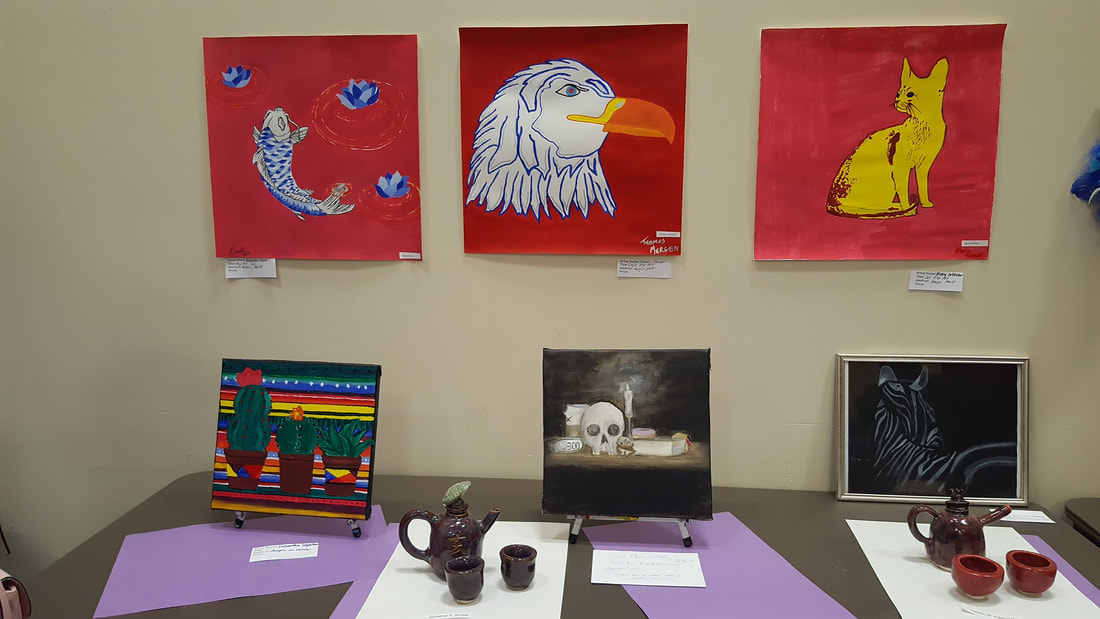 I started my graphic design 1 students on Adobe Photoshop CS6 standard version first. Eventually we started to move into Adobe Illustrator and this is a fun lesson to teach students the basics of Illustrator. Since Photoshop and Illustrator are very different programs, I informed my students ahead of time that this would be a another learning curve-- that some students might catch on quickly, while others might need more practice. Last year, I won a $4000 grant to purchase tech for our graphic design program from the Centurylink Grant award program. I purchased 36 small Wacom drawing tablets for students to use and I instructed my graphic design 2 students to use them for this illustrator sefie project. First, students took a selfie using their phone or one of my classroom cameras. I instructed students that their face had to be showing, but the artistic style, color, line quality, was up to them. I also told students they could change their selfie to an "alter-ego" which made for some very interesting changes to their actual look. This tutorial below by RiceGum on Youtube is both entertaining and informative & we watched the video as a class and then I posted it to the graphic design 2 google classroom for students to reference. When I first taught this lesson, I was worried that it would be too "tracey" and boring for my more advanced students, but it ended up being really okay! Since I allowed students much creative freedom, they were able to really have fun with it. I even had a girl turn herself into a werewolf! After everyone was finished, I created a simple google slides slideshow of each student's selfie to share with the class and I plan on sharing them with future graphic design classes. It was fun having the students guess who each person was! Check out additional examples of graphic design 2 students illustrator selfies below: |

Mrs. QuamThis is my 11th year teaching art & graphic design! I have taught middle school for 2 years and high school for almost 5 years. I truly enjoy working with students on a daily basis. I also enjoy teaching real-world skills such as problem solving, using technology, and the power of teamwork and collaboration. My joy is sharing my passion for art with others! Archives
March 2024
Categories
All
|
||||||||||||||||||||||||||||||||||||||||||||||


 RSS Feed
Photo from Rob Qld
