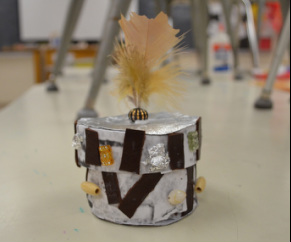
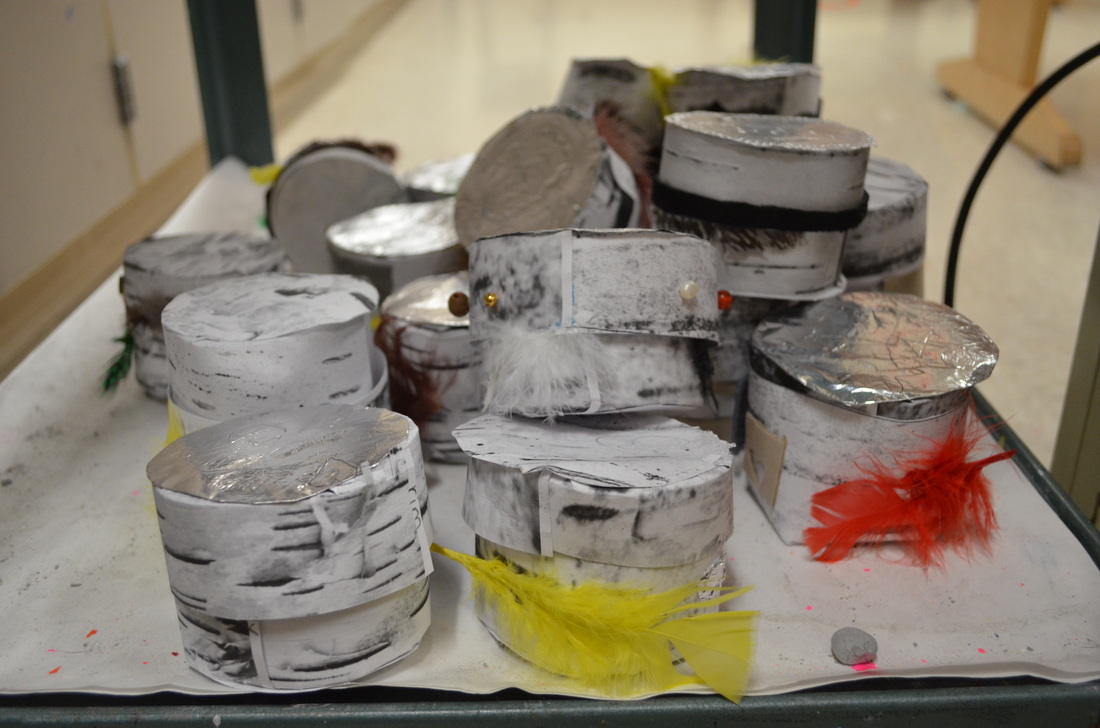
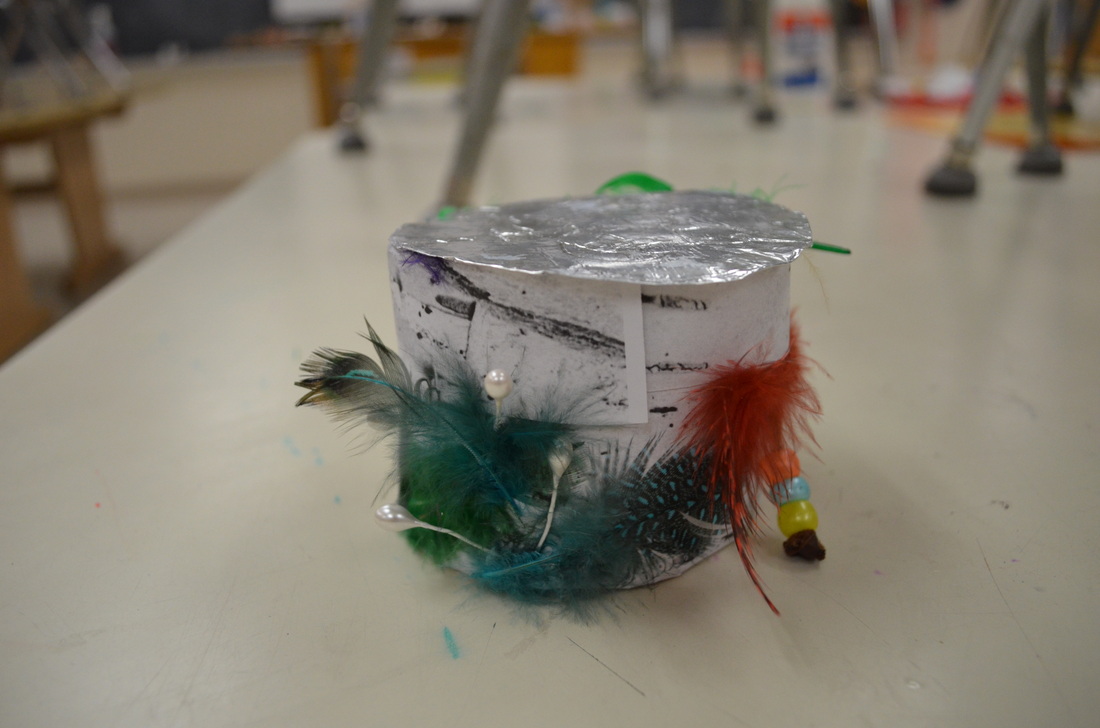
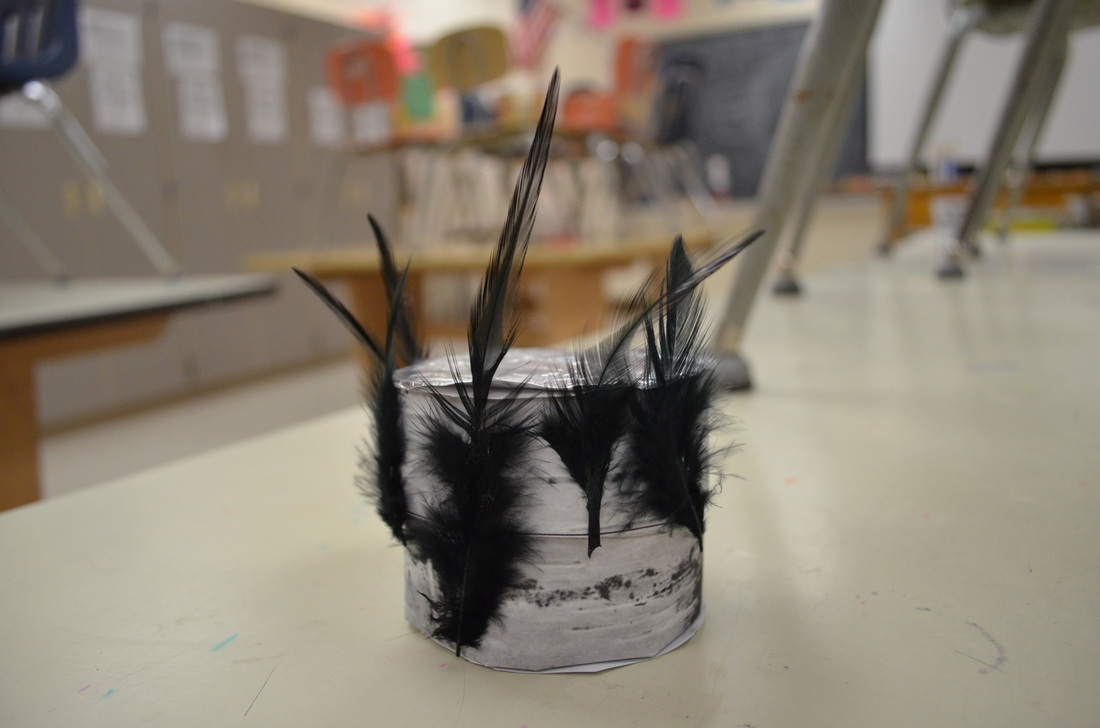
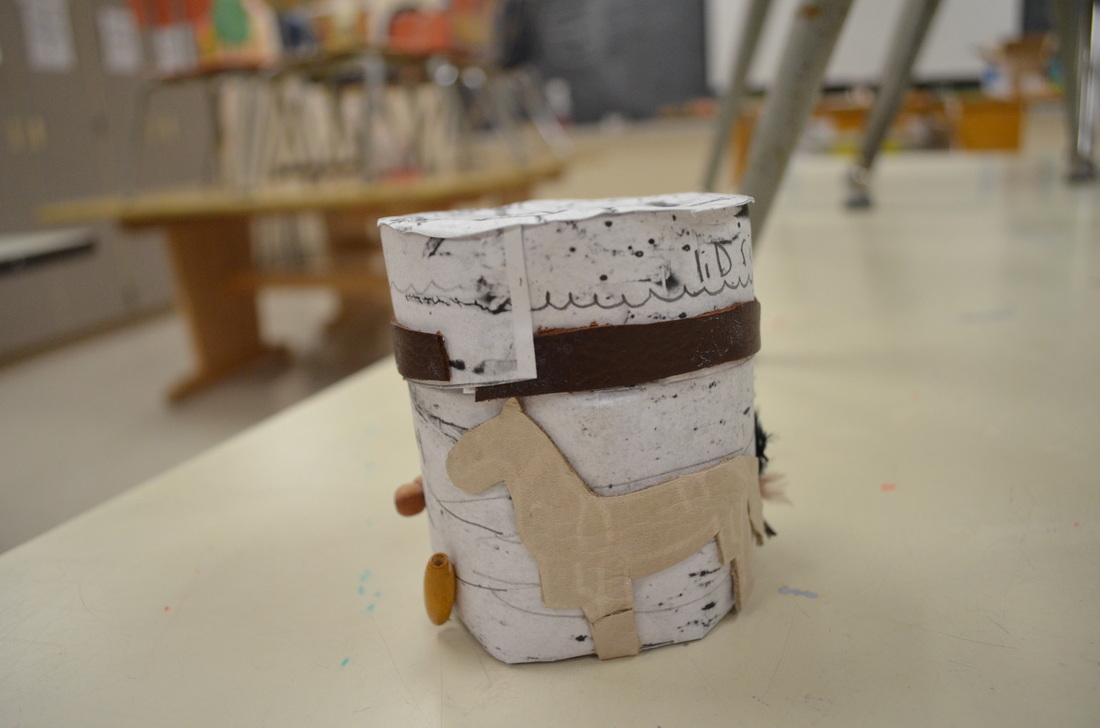
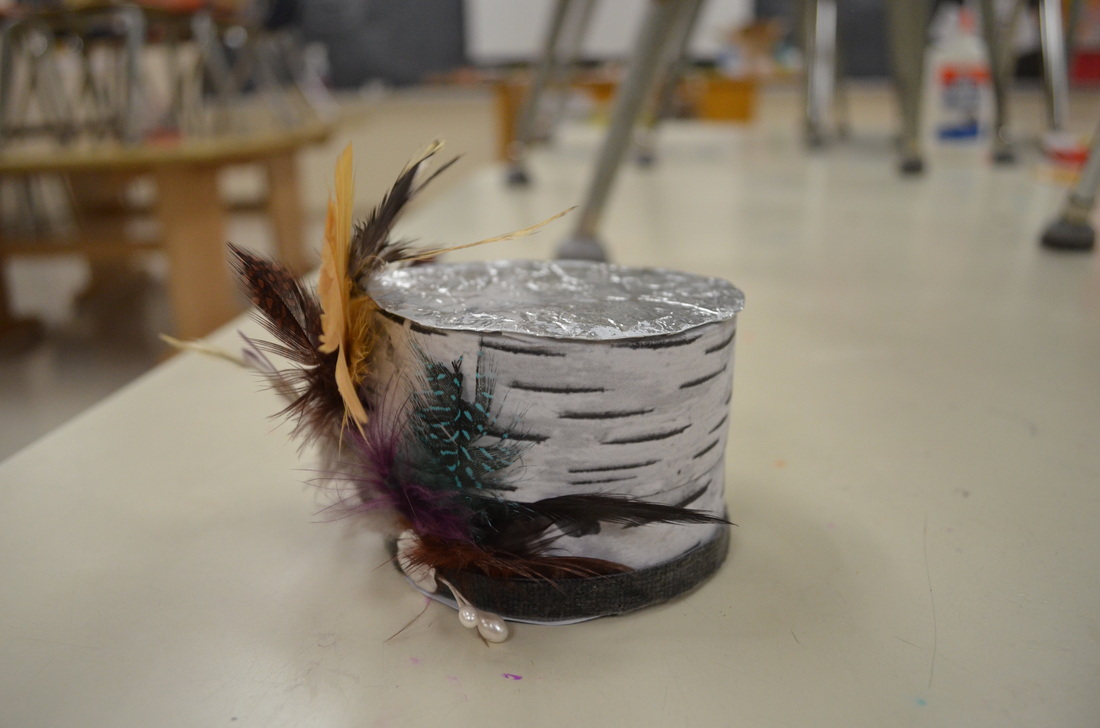
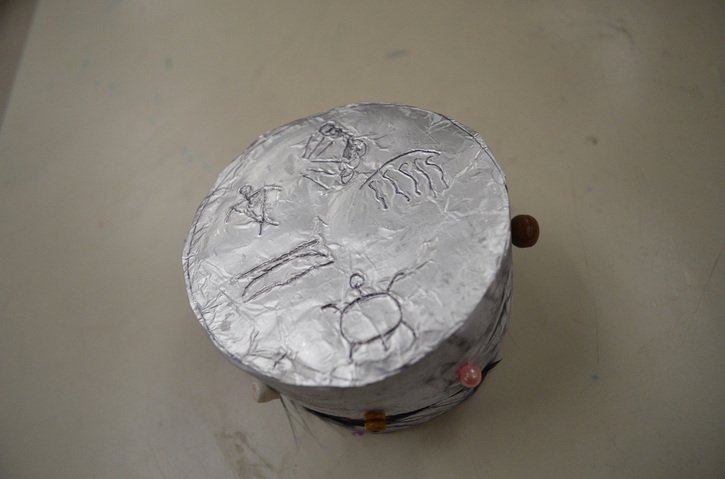
 Well the American Indian art unit is complete! We made birchbark boxes from cardstock paper with printed birchbark textures. I had students use beads, feathers, and leather scraps to decorate their boxes. Some students got a bit over-excited with the decorations, but some boxes turned out so cool! We did a compare/contrast between the artist Bobby Wilson and traditional Ojibwe art. We also did a graffiti write on what they knew already about Ojibwe art. In total, the unit took about 5 (50 min.) class periods in total for most students to finish. Some students really struggled with assembling their boxes, but most seemed to get it. One thing I added to this lesson was a tooled metal lid. I had students do some beginner metal tooling in heavy duty aluminum foil. Students were asked to tool with a blunt pencil at least three Ojibwe symbols into their aluminum foil. We cut and glued the foil to the paper lid. We also talked about the differences between traditional and contemporary Native American art. This led to a great discussion on how stereotypes can hurt people and what kind of stereotypes we all experience on a daily basis. It was pretty powerful, and overall, a fun project!
1 Comment
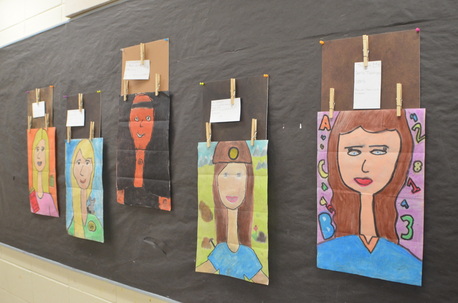
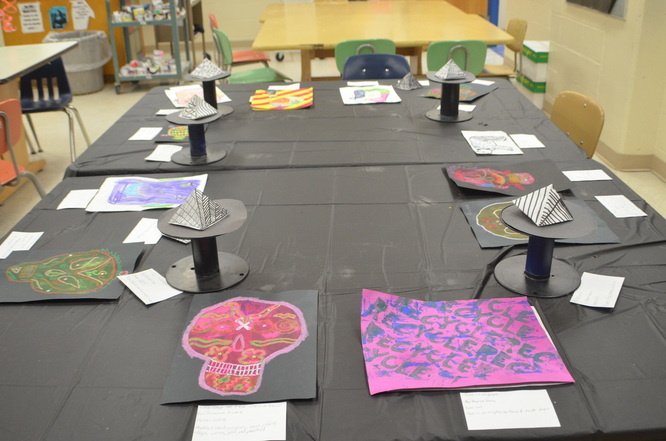
I used disposable black tablecloths on the tables and reused old wire/thread spools as pedestals for the 3-D work. The image above shows how I hung up the larger artworks using scrap mat boards and clothespins. Students were asked to fill out an "Art Sandwich" about the artwork created by the student to their left. We talked about writing respectful comments and using professional language. Since this was our last day, I brought snacks and pop for the kids to munch on while they looked at each other's work. Overall, I think it was a great success and such a great opportunity for students to experience an "art show". We had a few minutes of spare time, so I showed them this "Latte Art" video. Kids had a lot of fun trying to figure out how it's done.  When I first started teaching last year, I hunted the web in earnest looking for "first year teacher tips". I found some pretty depressing stuff. I remember seeing things like, "You will never have a life. Get ready to spend every waking moment worrying". Needless to say, I was a bit petrified with fear my first day of teaching. But in the last four months, I have survived and I definitely feel like I still have a life. However, I did find some tips that made being a brand new teacher easier to bear. My top 10 tips for new or first-year art teachers: 1) Caffeine. A cup of coffee after lunch is the perfect pick-me-up for afternoon classes. If you don't like coffee, pop or tea works well too. 2) Student help. Hanging artwork up around the school is great, but takes A LOT of time. I have several students who finish early on projects and volunteer to hang things up around the school. It's also great to have students go through supplies and help organize the last few minutes of class. 3) Snacks & Gum. Have some granola bars and Mentos on hand. I don't know how many times I got all the way to school and realized I forgot to eat breakfast. Having a snack in your desk drawer can keep you tided over until lunch time. Keep a stash of gum for when your breath starts going south. 4) PlanbookEdu.com. This website is basically a daily plan book, but entirely online. It is free to use and you can organize all your lesson plans by classes. I like the fact I can insert websites/URLs into the plan for easy access. You can even "bump" your schedule ahead if you have a snow day or unexpected day off. 5) Footwear. While those 4-inch black heels look fabulous on you, you'll probably be cursing them an hour into teaching class. Choose footwear that feels good and have more than one pair. If you wear the same pair everyday, your feet can still get achy. Switch up some ballet flats with some dressy tennis shoes. My favorite footwear is a pair of leather cowgirl boots I found at a thrift store. 6) Organization. Use folders or a binder to organize lesson plans, assessments, PGP stuff, etc. Use sticky labels on classroom drawers to organize art supplies. Keep each lesson and the handouts/resources needed together in separate boxes or folders. This makes packing up at the end of the year so much easier. 7) "Me Time". As soon as you come home from work, do something for yourself for at least 30 minutes. Take a bath, paint your nails, have a glass of wine, read a book, watch Downton Abbey, WHATEVER you enjoy. Whatever you choose, make sure it relaxes you and takes your mind off of teaching. 8) Go away. Go to a conference if you are able to. Visit an art museum on the weekend (and take a camera with you). Getting away not only leaves you feeling refreshed, it can give you ideas and resources for teaching new lessons. 9) Connect. I consider myself a bit of a loner when it comes to my personality. I like being independent and my own boss. However, connecting with other teachers and parents can mean a world of a difference. Having one person you can go to when you have any questions is extremely helpful, whether it's a receptionist, veteran teacher, or if you're lucky like me, another art teacher. Connect with parents by sending a monthly newsletter. It doesn't have to be anything fancy, just a quick note about what you're doing in the classroom and what is coming up. 10) Stay positive. Build positive relationships with students. We've all heard it, but I mean it. Some of my best students are the ones struggling in every other class. If you can be the one person that a student looks forward to seeing, your job is already half-done. Talk about what they like to do. Talk about yourself and what you did over the weekend. I like to tell my students about what I was like in middle school. Stay positive. Smile, even if you have a pounding headache. Kids can quickly sense if you're in a bad mood, and they will try to take advantage of it. Act positive and everything will be just fine. 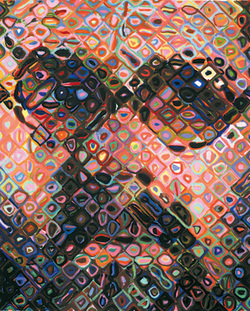 The end of this semester has proved to be quite busy. We are currently working on our birchbark boxes and will hopefully be finished by the end of this week. I will be moving schools for the second semester and that means an entirely new group of students. It also means that I am working on planning the curriculum for this second semester. As an artist who likes to work in a variety of mediums, I am definitely one who likes to try new things and experiment with different lesson plans. A few of the projects we did last semester (pop bottle drawings and zentangle pyramids) will be repeated but I will be teaching many new projects this second semester. One project I have been dying to have students try is a large-scale collaborative grid drawing. I think I will be doing this project instead of the Chihuly sculptures with this group of students. I took inspiration for the grid drawing lesson from Chuck Close's gridded portraits. This lesson is still in the works, but I think it will be a great lesson on drawing what we SEE, rather than what we think we see. This is something I know a lot of 6th grade students struggle with and breaking it down into 5"x5" square chunks should ease frustration. The 7th & 8th graders do their own personal grid drawings and this should be a nice precursor for building up background knowledge of grid drawing. I chose six artists and their portraits for this lesson. I copied and pasted their images into a word document and overlayed a 7"x9" grid over each image. I applied the artistic filter "pencil sketch" over each image to show contour lines more effectively. The Artists:
The hardest part was narrowing my choices down to six artists. These may not have been your own choices, but my criteria for selecting artists was based on the lessons I will be teaching throughout the semester and I wanted to represent different cultures and show a balance of both men and women artists. I plan on printing each gridded artist image twice. I will use my paper cutter to cut out each small 1"x1" square from the image. I will then label the back of each square with a number so we can keep track of which image goes where. Then I will give students a handout for the project with a 5"x5" square box to draw in. Each student gets a small 1"x1" square and will be asked to transfer the 1" box into the 5" box on the handout. I plan on showing students examples of what we are doing, but not what our final image will be. I like a little mystery! :) Once students have their drawing in pencil finished, I'll have them color with markers or colored pencils. I will be testing this project out myself to see how it works before teaching it. The worst case scenario is that it doesn't turn out to look like a portrait. Each final work will be a combination of two art classes (approx. 30 students in each class). The final work will be 35"x45" in size with a total of 63 5"x5" squares in each work. Time required: 2 (50 min.) class periods You can see the document I created with the six artist images below. I will keep you posted about how this project works out!
|
Mrs. QuamThis is my 11th year teaching art & graphic design! I have taught middle school for 2 years and high school for almost 5 years. I truly enjoy working with students on a daily basis. I also enjoy teaching real-world skills such as problem solving, using technology, and the power of teamwork and collaboration. My joy is sharing my passion for art with others! Archives
March 2024
Categories
All
|
||||||||
Photo from Rob Qld

 RSS Feed

