|
Since 3rd quarter is just about done, I decided to try something new with my art students. I just finished having what I call "Mini conferences" with my high school students, and I had to write a blog post to report my findings! Basically, I spent two days meeting with each of my high school students one on one during class. Half the class was on the first day, half the class was on the second day. I focused on talking about the following with each student:
1. Get Feedback from Your Students This was something I was not expecting, but was beyond value to me! While talking with each student privately, they provided me with a ton of feedback to improve my teaching and curriculum. When I asked students how they felt about the class, most students said "Good". When I asked them about the pace of the class, I had several students say they felt that it was going too fast. Many students said they'd like to spend more time on their paintings. If I had never asked them this, I would have kept trucking along! I also asked students how they felt about the projects. Many students shared their own ideas for projects they would like to try. They gave me so many ideas, I just wish I had them for the entire year so we could do them all! 2. Identify Strengths and Weaknesses While discussing grades, I also talked with students about their strengths and weaknesses. Even if a student has 100% in my class, I know they are not perfect. For example, I have a student who has exceptional skill and a high level of perfectionism. Her artwork is college-level work, but her artist statement writing is below average. When discussing this with her, I discovered that she has always struggled with writing and just doesn't know where to start when writing an artist statement. She said she really struggled with getting her thoughts onto paper. We talked about this for a bit, so I offered a piece of differentiated instruction: I would walk her through the questions for the artist statement verbally, then she would orally respond with her answers and I would take notes for her on her responses. Next, I had her re-write my notes as a 2-paragraph artist statement. This seemed to really help her through the process and she still demonstrated her learning (which is the goal, right?) Identifying strengths and weaknesses with students helps them understand where they need to improve and grow, but it also helps me understand where I need to start with a lesson. It helps me differentiate depending on student skill level and readiness. 3. Help them Stay on Track I don't know about you, but I have a few students who would rather sit on their phones all day looking at themselves than work on their projects. For these students, I found the mini conferences to be extremely valuable. First, I showed them what work they were missing. One girl literally had no idea she was missing 3 assignments. Turns out, she forgot to turn 2 of them in. She immediately went to her drawer, got the 2 assignments out and turned them in. I didn't take points away. She had done the assignments and demonstrated her learning. Next, we talked about participation. I showed students the total number of points they had received and why they lost points (on their phones, not working during class, etc.). I think this was a real eye opener for some students. While the points don't negatively affect their grade, I keep track during class as a way to collect data. If a student is not doing what they are supposed to do, I take a point away, and attempt to redirect them. While I love my cell phone, I explained to students that when they're just on their phones the entire time, they are not able to focus and also miss important things like announcements, lessons, and the real world around them. I ended the conference by telling them that I care about their success in my class, whether they like art or not, and that my job was to help them succeed. I can't tell you how many of my struggling art students went right to work afterwards!
0 Comments
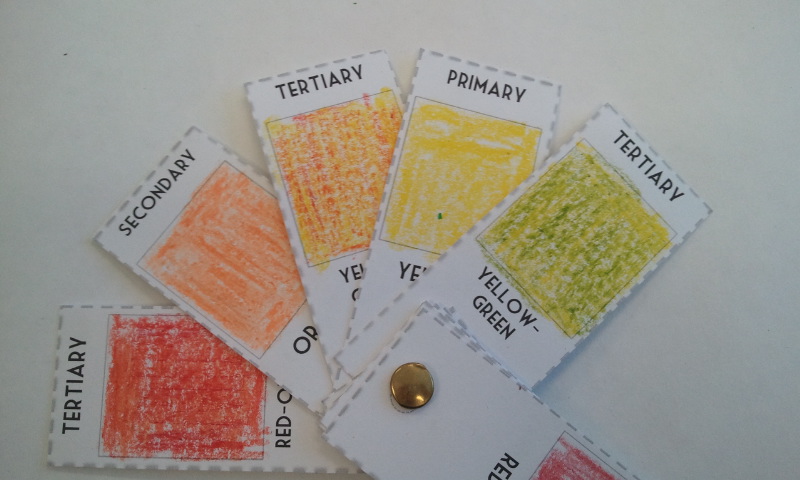
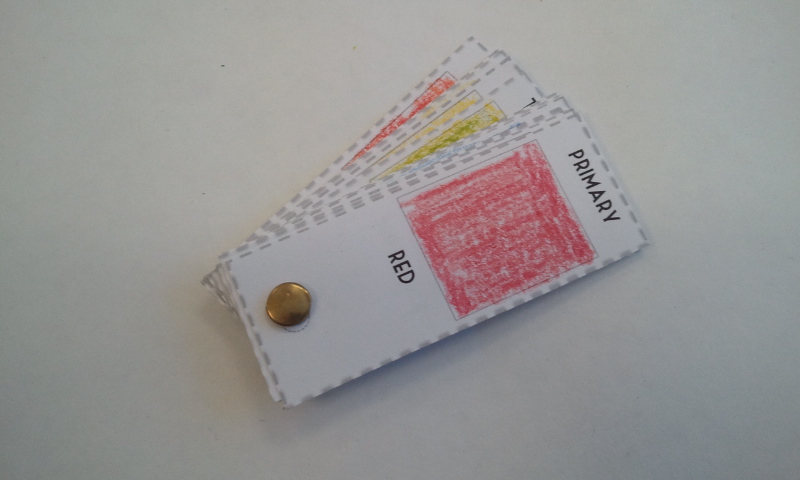
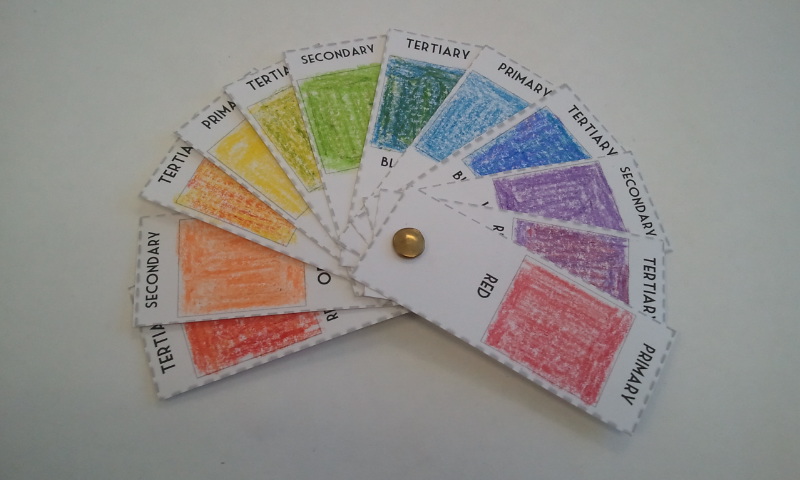
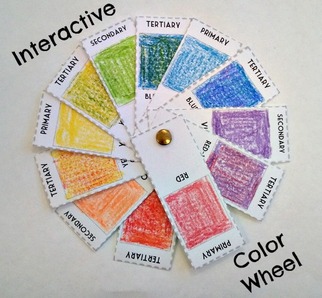 I was looking for a way to teach my 6th grade art students how to mix colors and create their own color wheel without using the old-fashioned (and somewhat boring) color wheel model. Unfortunately, my web search turned up few results. That's when I came up with the idea for a moveable and interactive color wheel that students could construct themselves. This is a great project for those kinesthetic learners who like to keep their hands busy! I created my own handout that could be printed off on regular or card stock paper. The handout includes all 12 colors on the color wheel (Primary, Secondary, and Tertiary). The project involves students coloring in each color card using colored pencils, crayons, paint, etc. Then students cut out the cards, hole punch in the designated circle, and secure them together using a brass brad or string. The final product is a color wheel that folds out like a fan and can be arranged into the traditional color wheel layout. Each card is labeled with it's color category and color name. This is a great tool for students when using color in their following projects. I've found it very handy for when students are struggling to choose a color scheme. It was also a great project for Special Ed learners to work on cutting/hole punching skills while also learning to mix the different colors. The lesson only takes two 50-minute class periods and students really enjoy "playing" with their color wheels. I've included the interactive color wheel handout (print as much as you want!), lesson plans, rubric, and example photos for sale. Check it out in my TeachersPayTeachers online store. |
Mrs. QuamThis is my 11th year teaching art & graphic design! I have taught middle school for 2 years and high school for almost 5 years. I truly enjoy working with students on a daily basis. I also enjoy teaching real-world skills such as problem solving, using technology, and the power of teamwork and collaboration. My joy is sharing my passion for art with others! Archives
March 2024
Categories
All
|
Photo from Rob Qld



 RSS Feed

