|
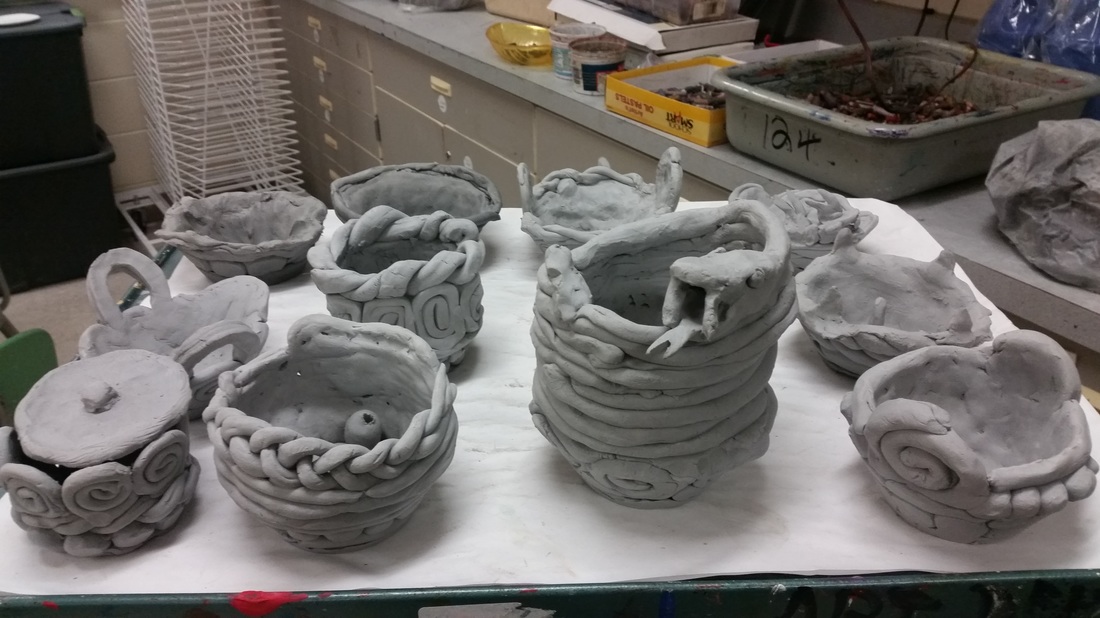
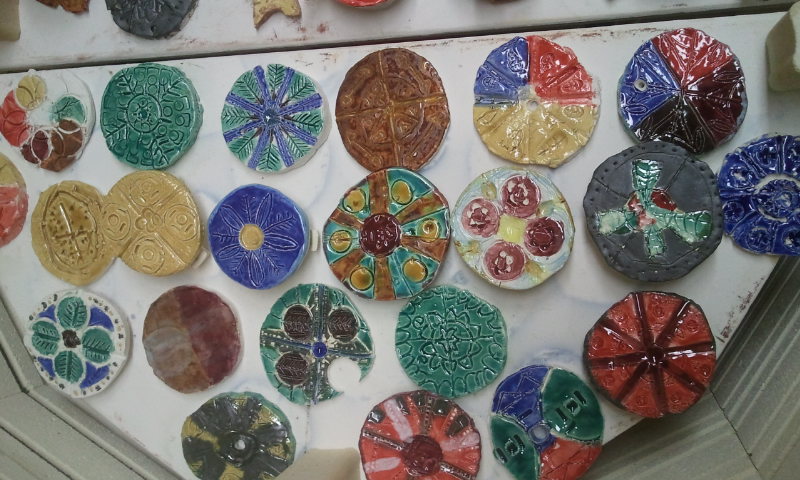
Just had to share a photo of the crazy coil clay projects that are drying. These were made by 6th graders! I will post more details about the lesson when they are finished, but I just couldn't wait that long!
0 Comments
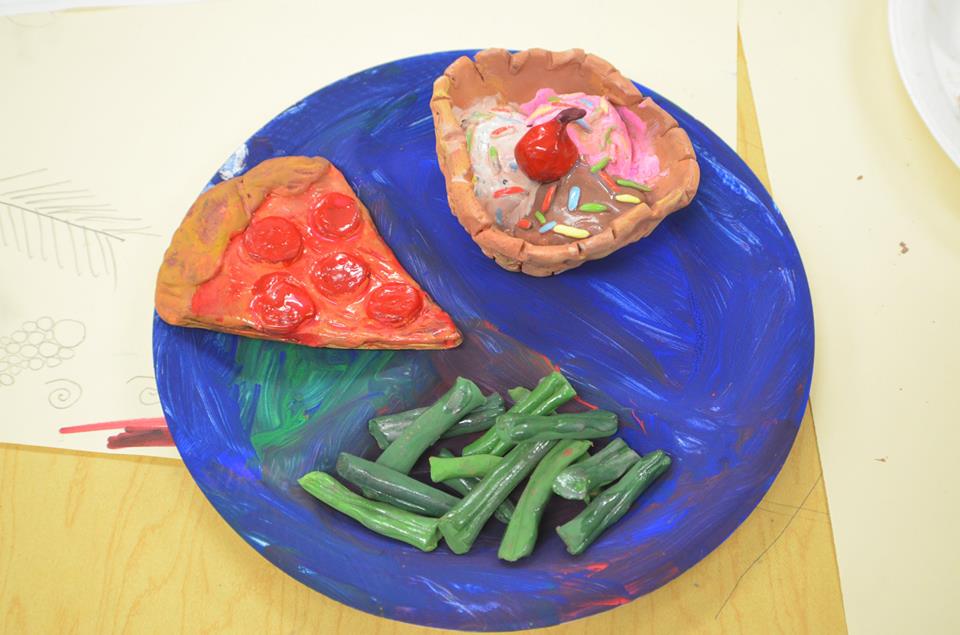
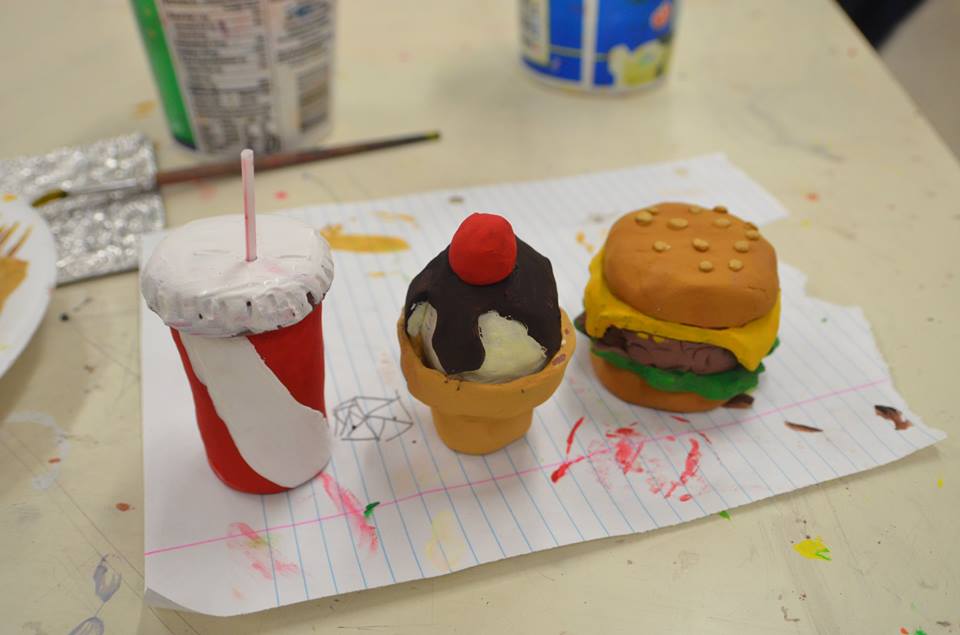
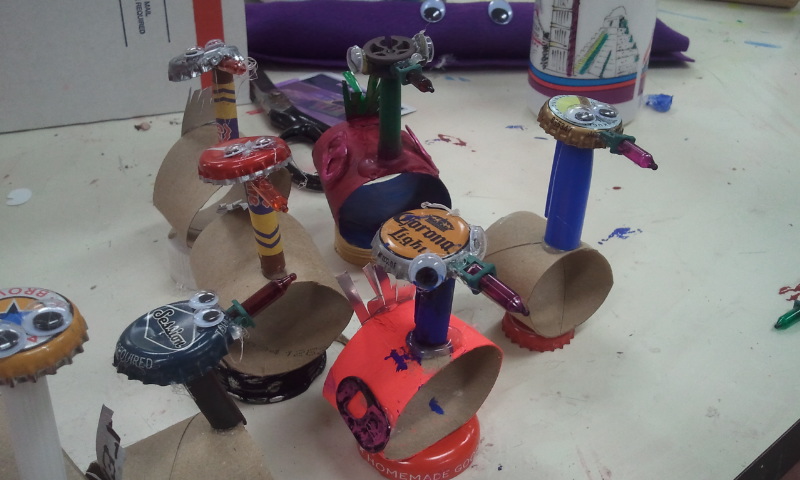
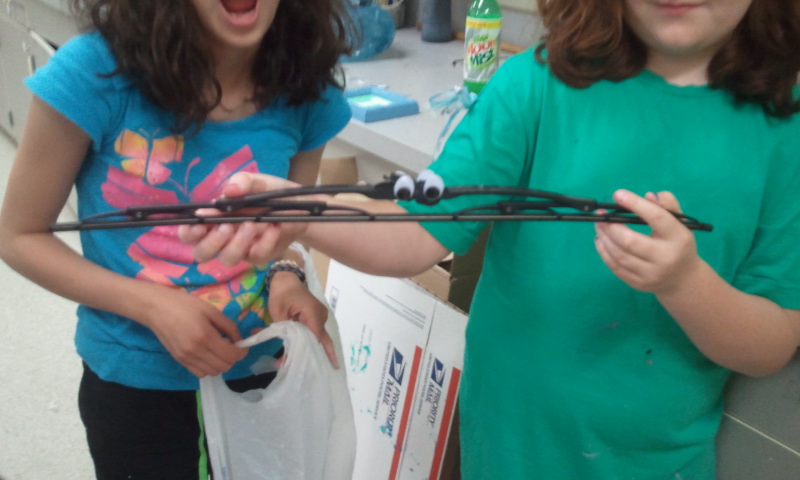
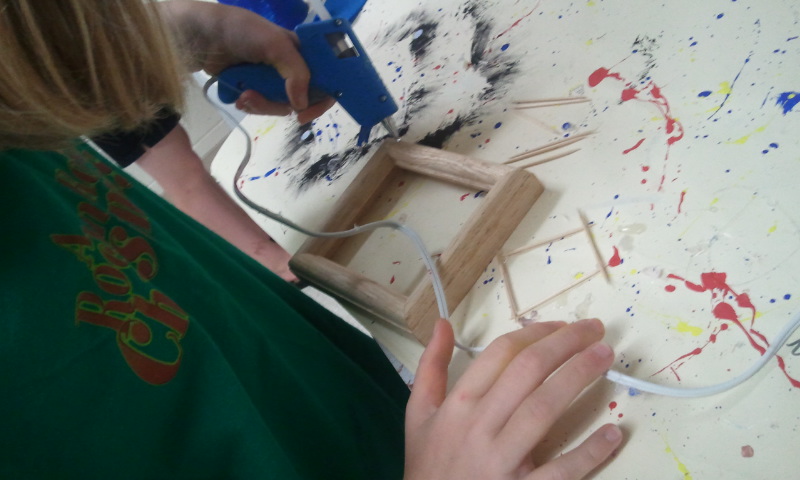
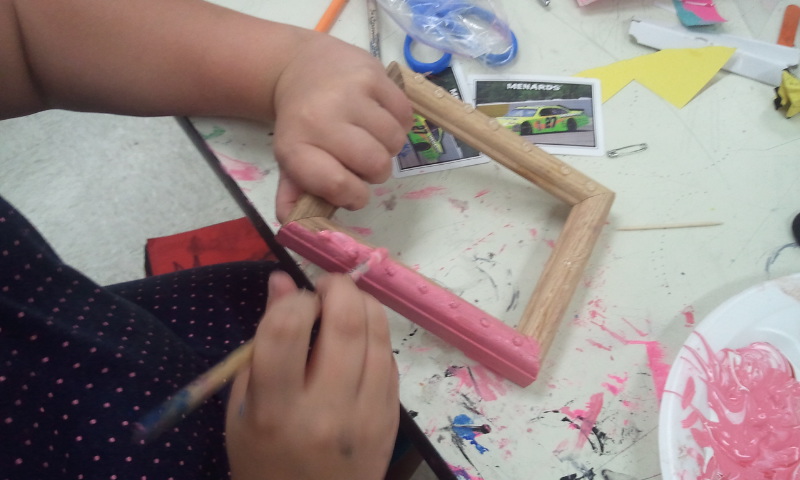
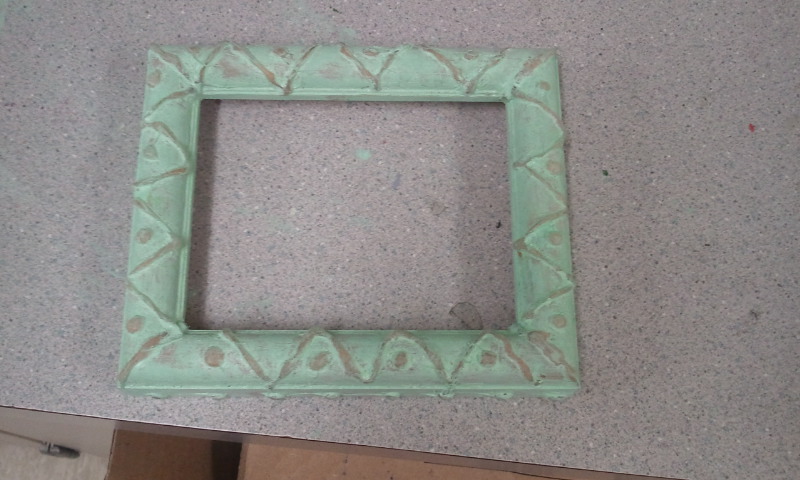
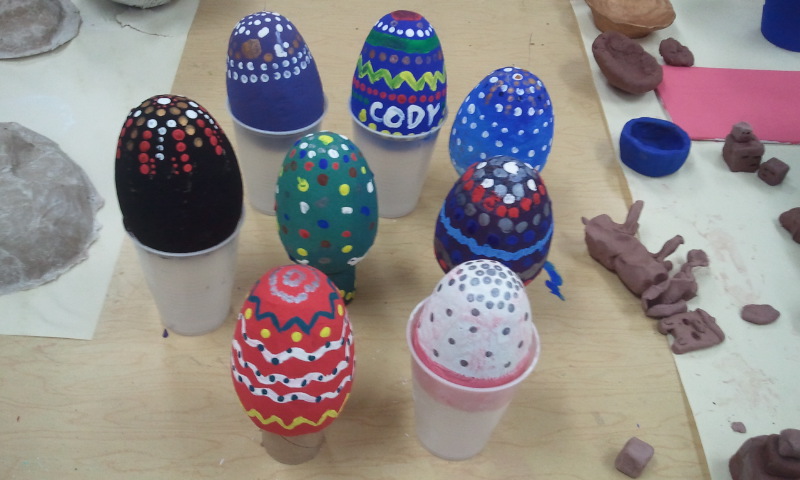
I decided to create two summer art classes that were each a week long through Community education in my district. The first class was called "Art Around the World" and featured projects such as a chinese lantern, making didgeridoos out of PVC pipe, and multicultural paper mache masks. The second class was called "Arts & Crafts Camp" and I definitely think this class was my favorite. The Arts & Crafts camp really let student's imaginations run wild and create some really cool art! Each class included students from the ages of 9 to 13. If you've never taught a community ed art class before, you should know it's a blast! No tests, no standards, just a room full of art supplies and enthusiastic students. For any other interested art teachers out there, I included the schedules for each class's days below for your reference. Art Around the World Day One- Mexican Folk Art terra cotta pots & Paper mache mask Day Two- Australian Didgeridoos made out of PVC pipe with a beeswax mouthpiece Day Three- African Adinkra printmaking on t-shirts Day Four- Ukrainian painted eggs & Russian architecture metal tooling Day Five- Chinese Calligraphy lantern & Free Art Time Arts & Crafts Camp Day One- Cardboard Challenge & Leather tooling/stamping Day Two- Travel Posters & Clay food Day Three- Dada-inspired lamp & Drawing to Music Day Four- Metal tooling & painting clay food to look realistic Day Five- Junk Sculptures & Hot glue fancy frames Check out the photos below to see all of the cool art we created & tips for doing the same! 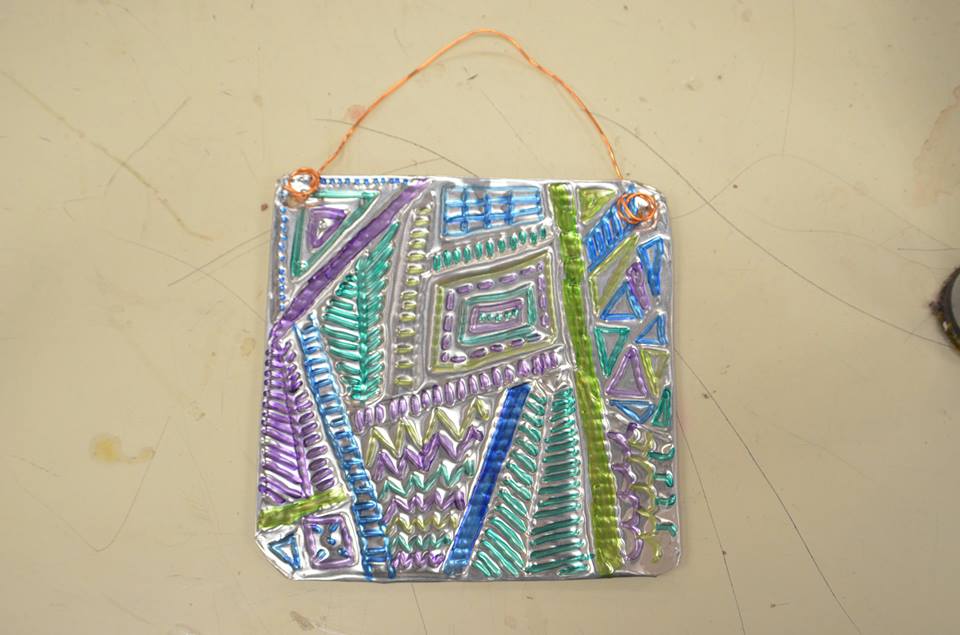
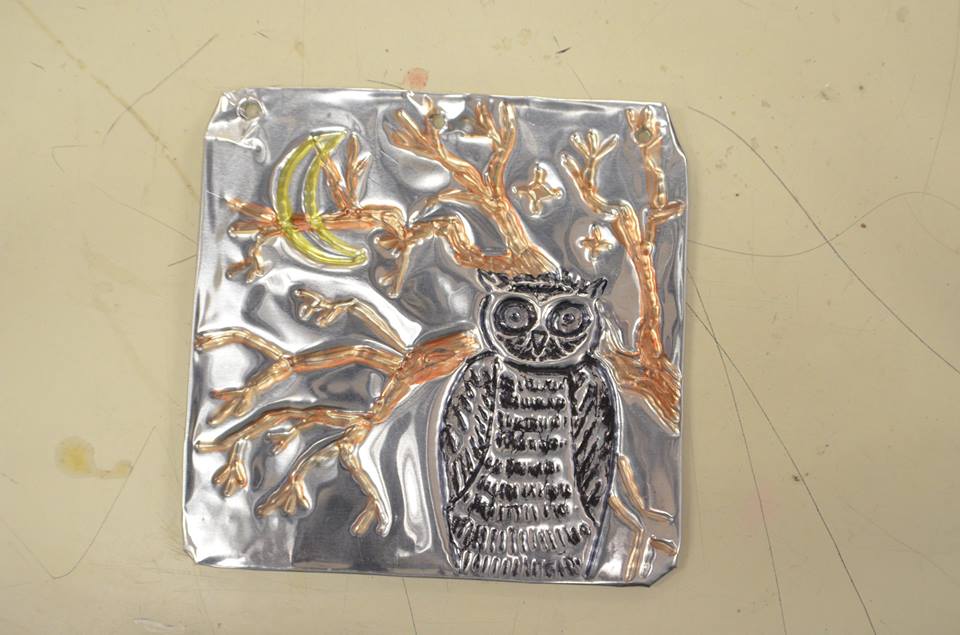
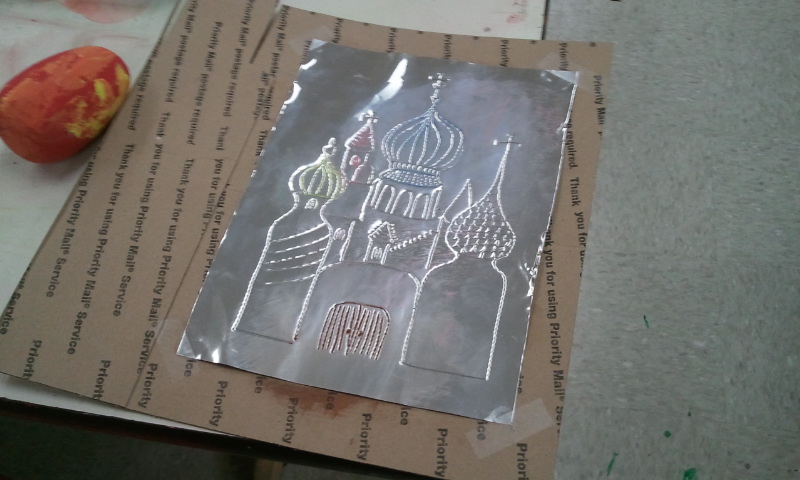
Metal tooled tiles. Cut 38 gauge aluminum metal into 6"x6" squares. The foil I purchased was from Dick Blick and came in 12"x25 ft rolls for around $16. Fold a 1/2" over on each side to prevent injury. Use a blunt pencil to tool designs. I had students draw their design on scratch paper first and then put their paper over the metal and traced to transfer. Use colored sharpie to highlight the areas you tooled. You can also turn the metal over for an embossed effect.
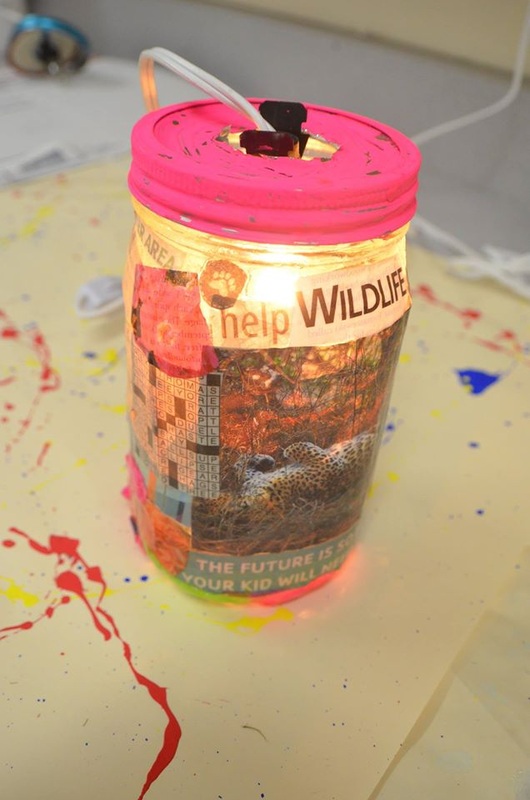
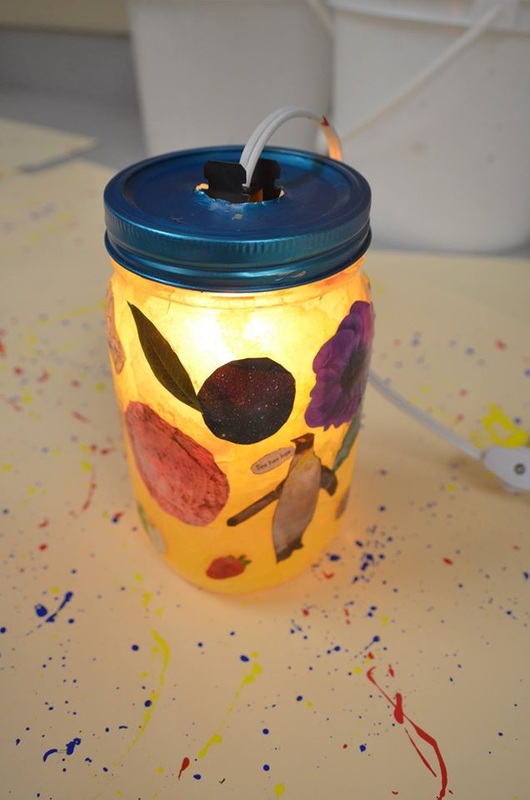
The lamps were created using pint size mason jars, socket light switch kit ($3.99 at Menards or other hardware store), modge podge, tacky glue, and an assortment of magazines and newspapers. Students decoupaged their cut outs onto the lamp using the tacky glue and modge podge. Some students used shredded up tissue paper and decoupaged the tissue paper to the inside of their lamp for a cool background. We used a nail to pound a hole into the lid and then used tin snips to cut a larger hole (this was mostly done by me due to sharp edges). Then the sock was inserted into the hole and a nightlight bulb placed inside that! The original project idea was for a hanging lamp, but some students designed their lamp to sit on a table. We simple cut a small notch in the lid for the cord, so the lamp could sit level. This was probably my student's favorite project!

A cool way to work on the didgeridoo was actually discovered by accident! We placed didgeridoos on sturdy, over-turned chair legs so we didn't have to worry about smearing paint. 1 1/2" schedule 40 PVC was used and cut in a variety of lengths from 3.5 ft to 5.5 ft. Students sanded the PVC and then painted at least two coats of acrylic paint onto the PVC. Next, students took q-tips and paint to create aboriginal-inspired dot paintings on their didgeridoo. The last step was adding melted beeswax to the top to create a mouthpiece and a few beads/feathers for decoration. This project was student's favorite from the Art Around the World class!
 The face pot lesson was a big hit! This lesson focused on so many different elements and techniques in using ceramics. Students learned about:
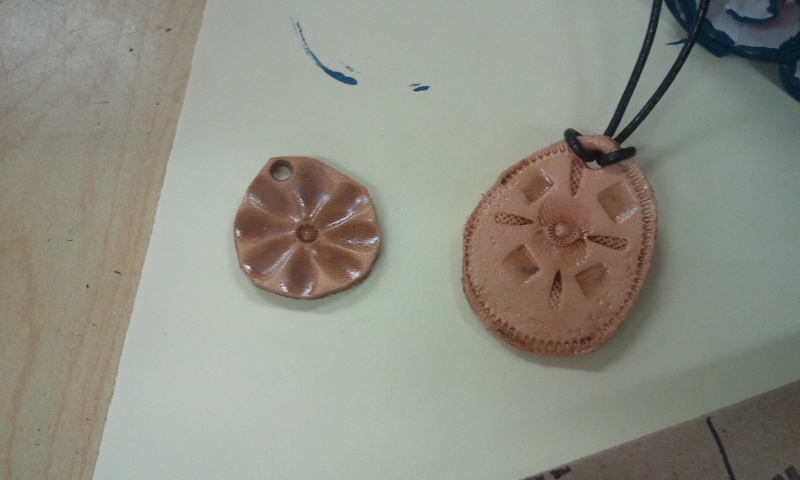
Videos created for this lesson . . .Well, my first glaze fire was a success! These Amaco F-series glazes sure are forgiving. We went through 10 bottles of glaze! Since we were so low on clay, my original plan for students to create a plate had to be sized down. Instead, I had students create a small 4-5" medallion and create a design using radial symmetry and texture. We looked at other Islamic tiles for inspiration and even took a virtual tour of the Blue Mosque in Turkey. The tour got a lot of enthusiasm! I gave students a choice on how they wanted to use their medallions. Some students chose to create a wind chime, others chose to make them into a necklace or to hang on the wall, and some students said they'd like to use their medallions as a coaster or candle holder. Some students even included Arabic writing in their designs! 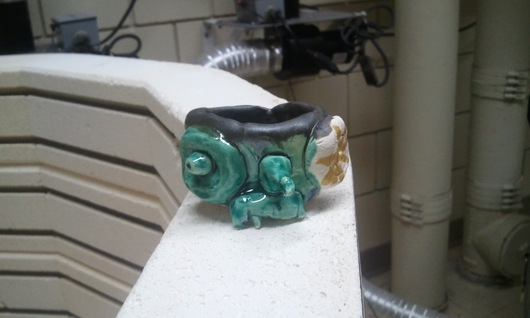 Students also had one day to create a simple pinch pot with a face using addition (slipping & scoring method). I had students poke a hole in the bottom to turn them into mini flower pots. We are planting chia seeds in the pots when we come back from Spring Break. We'll let them grow in my window for a week, and then students get to take home a "living sculpture"! 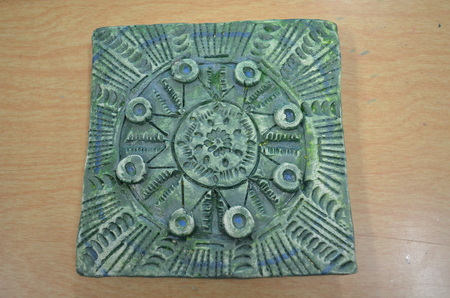 I have seen many art teachers teaching Islamic tiles to middle schoolers. It's a fun lesson and I took it even a step further by teaching addition and subtraction. Students were required to create a 5"x5" clay tile using at least one piece of addition and one piece of subtraction. Students were also required to use radial symmetry in their design and use non-objective shapes, patterns, and lines (no smiley faces or names...or "peace" and "love for that matter). I made copies from the book "Decorative Tile Designs Coloring Book" and laminated them so each table had a reference point for designs. Some students knew exactly what designs they wanted to do and other students really struggled, so having these reference points helped a lot. This also lead into teaching about medieval stained glass windows. We also watched a short video about Buddhist mandalas (which my 6th graders REALLY got into!) Age: 6th graders Time required: 4 (50 min.) class periods for construction & 3 (50 min.) class periods for painting/finishing I created videos for each step of this project's process. These were my first instructional videos, so they are somewhat rough. I made these videos because we are limited on space and resources in the classroom. I also find that videos are much more engaging for students than a live demo. I had each class vote on whether I should do live demonstrations or videos and ALL the kids voted for the videos. It saves my voice too. 1st Step ~ Planning the Clay Tile (with Buddhist Mandalas for inspiration) Step Two ~ Rolling a Clay Slab Step Three ~ Making Designs in Clay Using Radial Symmetry & Addition/Subtraction Step Four ~ Finishing the Clay Tile Step Five ~ Painting the Islamic Tiles One problem we ran into was that many students did not sufficiently score/slip their feet so we had a lot or some fall off (we learn from experience, right!?). This was remedied by some epoxy glue and then having students paint their tiles once the glue had dried. I also made sure to make some extra tiles before firing and it was a good thing I did. One student's tile cracked into a million tiny pieces and another student promptly dropped theirs while it was still drying. I decided to be a nice art teacher and let these students have an extra I had made.
Some students used mica flakes after they had finished glossing their tiles. This added a unique sparkly effect while avoiding craft herpes (glitter). The Artist Statement I also had students write a one-paragraph artist statement answering the following questions:
The statement was low pressure as I told students they were graded for content and not spelling/grammar errors. This statement was part of my assessment to check for understanding. We finished these right before winter break. Some students were very excited to wrap their tiles up in newspaper and take them home as Christmas presents. I stole some paint sample chips from the local hardware store and hole-punched them in the corner. I told students they could use the paint samples as gift tags. They turned out so cool! |
Mrs. QuamThis is my 11th year teaching art & graphic design! I have taught middle school for 2 years and high school for almost 5 years. I truly enjoy working with students on a daily basis. I also enjoy teaching real-world skills such as problem solving, using technology, and the power of teamwork and collaboration. My joy is sharing my passion for art with others! Archives
March 2024
Categories
All
|
Photo from Rob Qld





 RSS Feed

