|
Below are examples of student's original logo designs (completely illustrated!). Students drew logo companies and their briefs from a bucket. All companies are fake. Students then created their logo design ideas/brainstorm based on the brief, offered and received feedback, settled on a final design, created the design on Adobe Photoshop or Illustrator, and created a mock-up business card utilizing the logo design. THEN, to put it all together, students created a quick Spark Video presentation to show off their work. The Spark video really tied everything together and made grading much easier since there were so many components to this assignment. From start to finish, most students needed about 2 weeks in class. Check them out below!
0 Comments
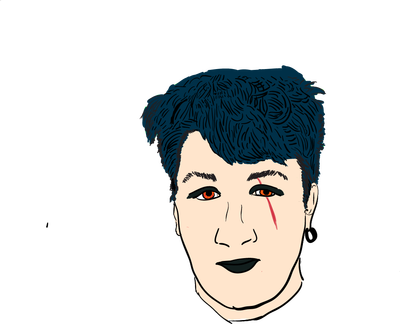
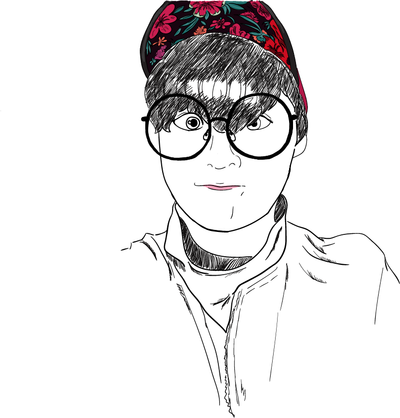
I started my graphic design 1 students on Adobe Photoshop CS6 standard version first. Eventually we started to move into Adobe Illustrator and this is a fun lesson to teach students the basics of Illustrator. Since Photoshop and Illustrator are very different programs, I informed my students ahead of time that this would be a another learning curve-- that some students might catch on quickly, while others might need more practice. Last year, I won a $4000 grant to purchase tech for our graphic design program from the Centurylink Grant award program. I purchased 36 small Wacom drawing tablets for students to use and I instructed my graphic design 2 students to use them for this illustrator sefie project. First, students took a selfie using their phone or one of my classroom cameras. I instructed students that their face had to be showing, but the artistic style, color, line quality, was up to them. I also told students they could change their selfie to an "alter-ego" which made for some very interesting changes to their actual look. This tutorial below by RiceGum on Youtube is both entertaining and informative & we watched the video as a class and then I posted it to the graphic design 2 google classroom for students to reference. When I first taught this lesson, I was worried that it would be too "tracey" and boring for my more advanced students, but it ended up being really okay! Since I allowed students much creative freedom, they were able to really have fun with it. I even had a girl turn herself into a werewolf! After everyone was finished, I created a simple google slides slideshow of each student's selfie to share with the class and I plan on sharing them with future graphic design classes. It was fun having the students guess who each person was! Check out additional examples of graphic design 2 students illustrator selfies below:
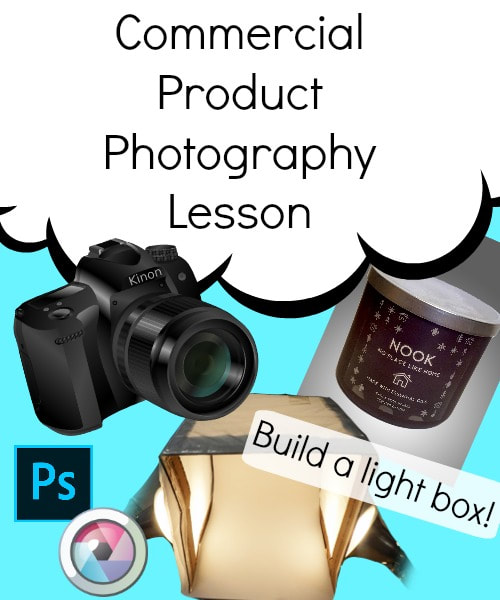
This product photography lesson includes everything you need for students to learn how to create their own product photography! This lesson works well for multiple discipline areas such as visual arts, graphic design, business, STEM (or STEAM!), or computer education. Students learn how to make a lightbox, set up lighting for their photography, edit their images in Photoshop or Pixlr, and analyze and reflect on their product photography and design choices. You don't need to know anything about product photography to teach this lesson. This photography lesson is most suitable for older grade levels including 6th, 7th, 8th, 9th, 10th, 11th, and 12th grade students.
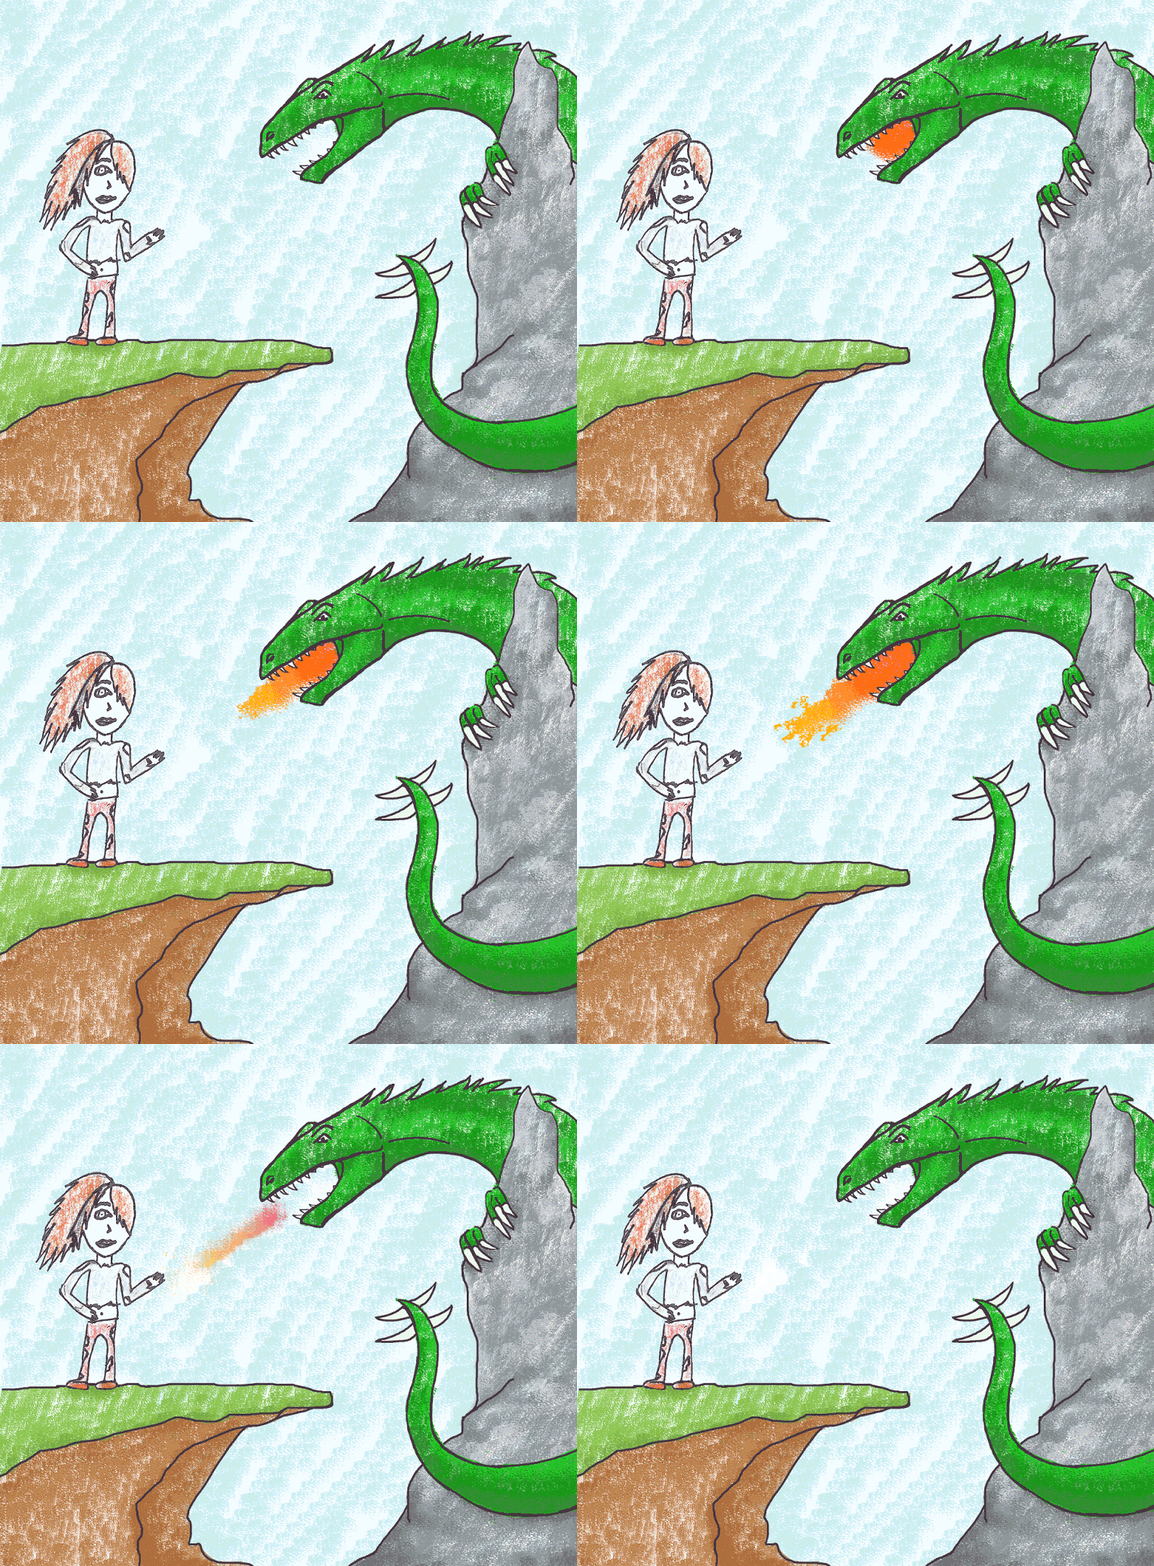
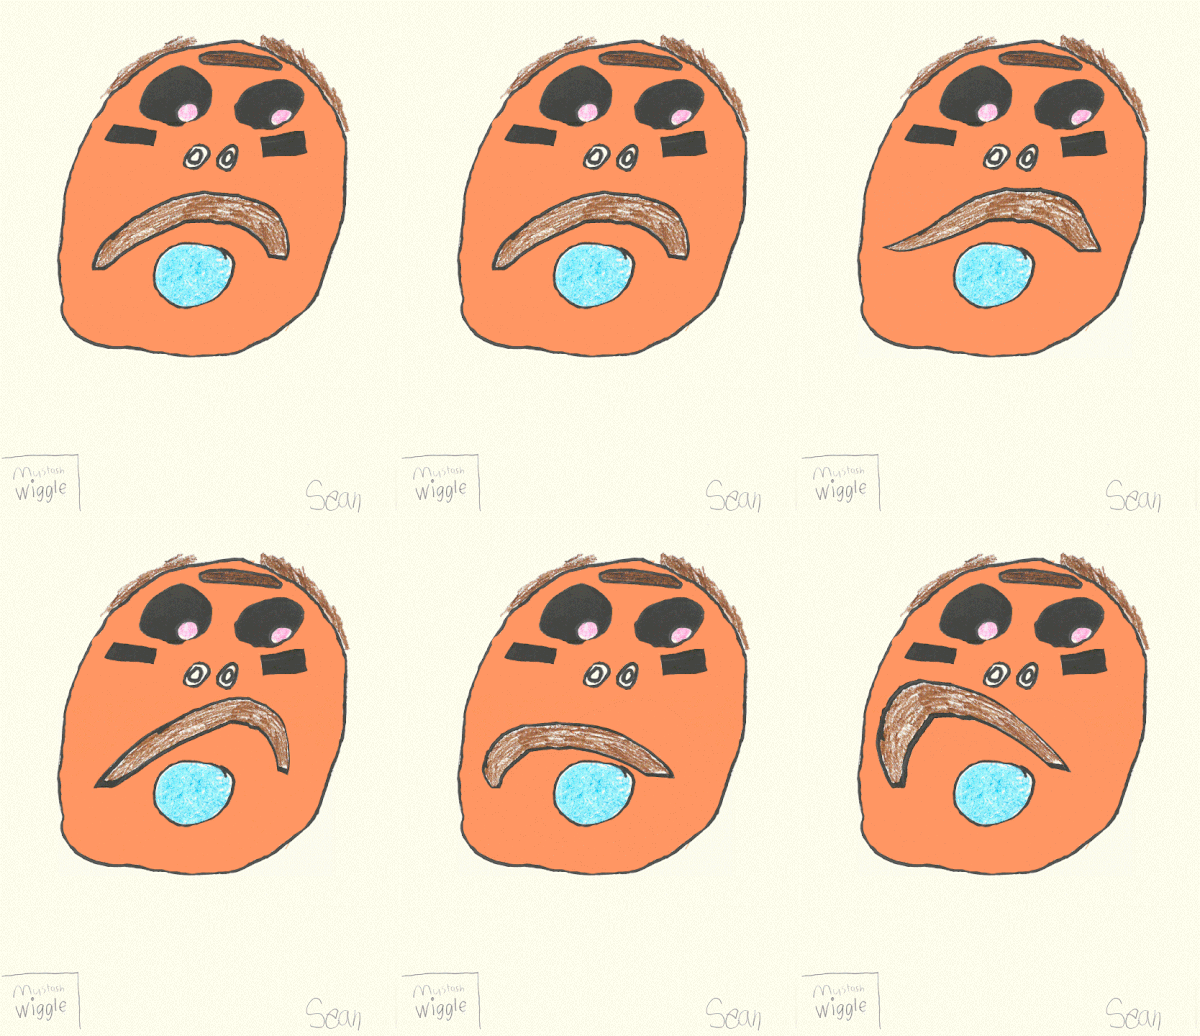
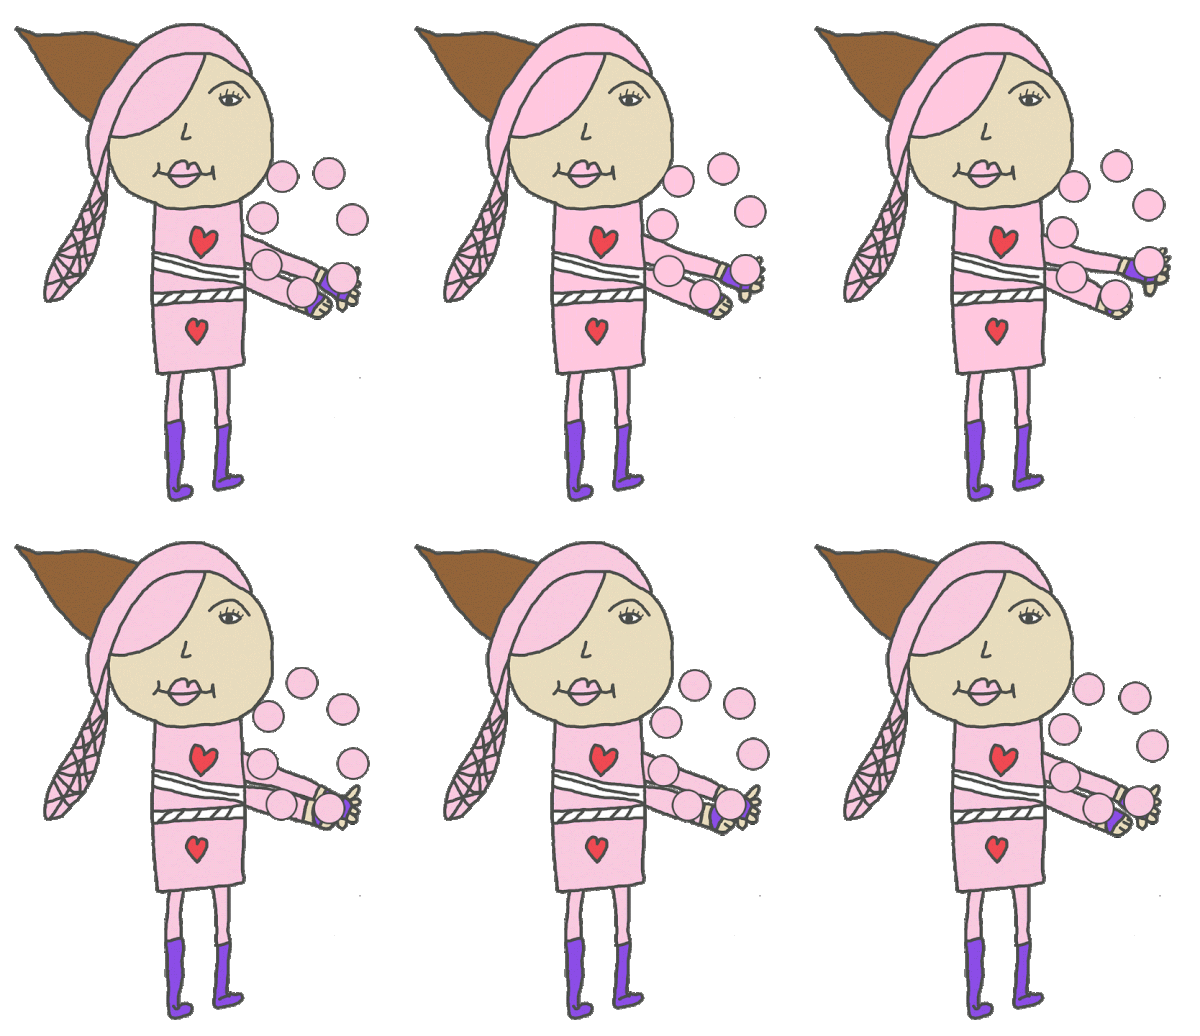
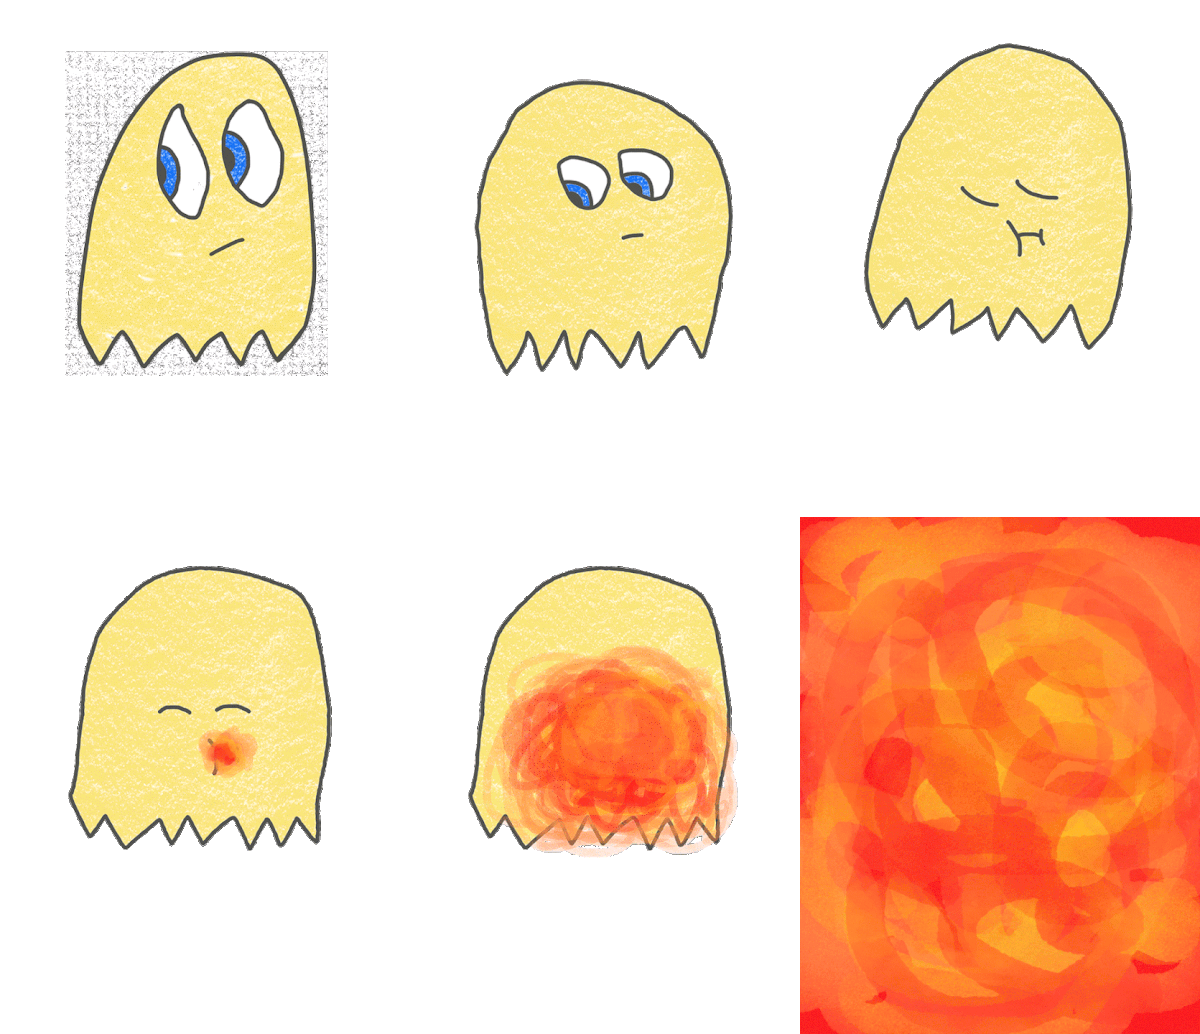
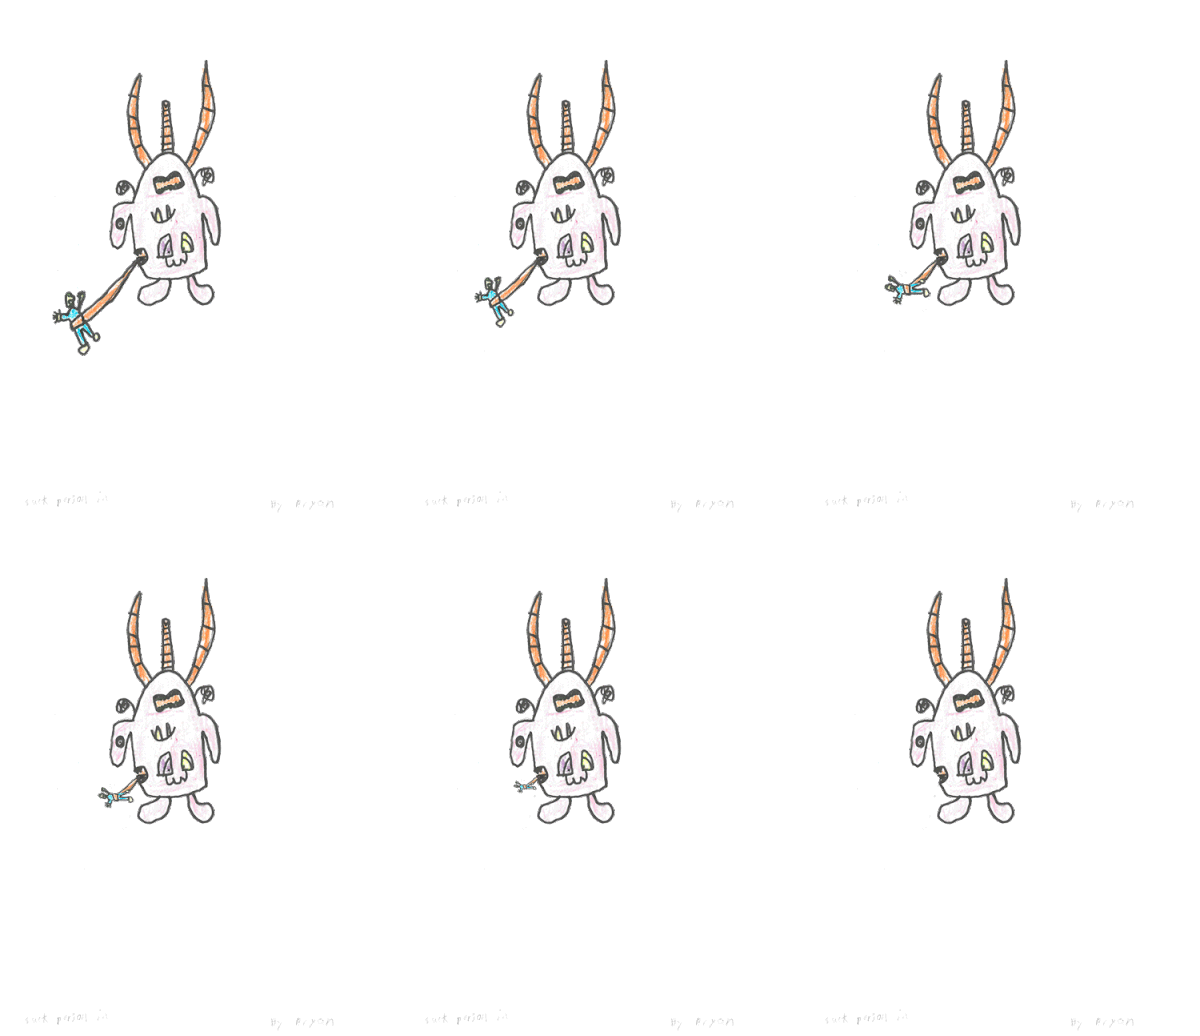
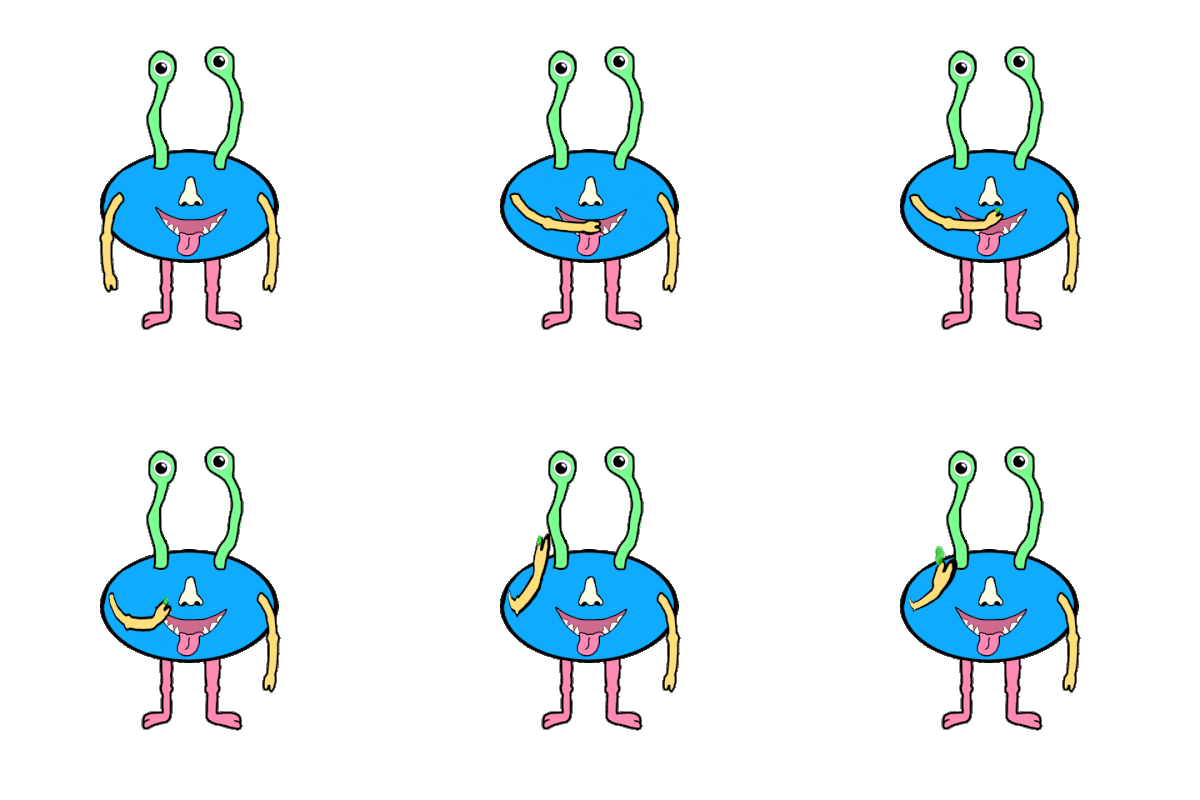
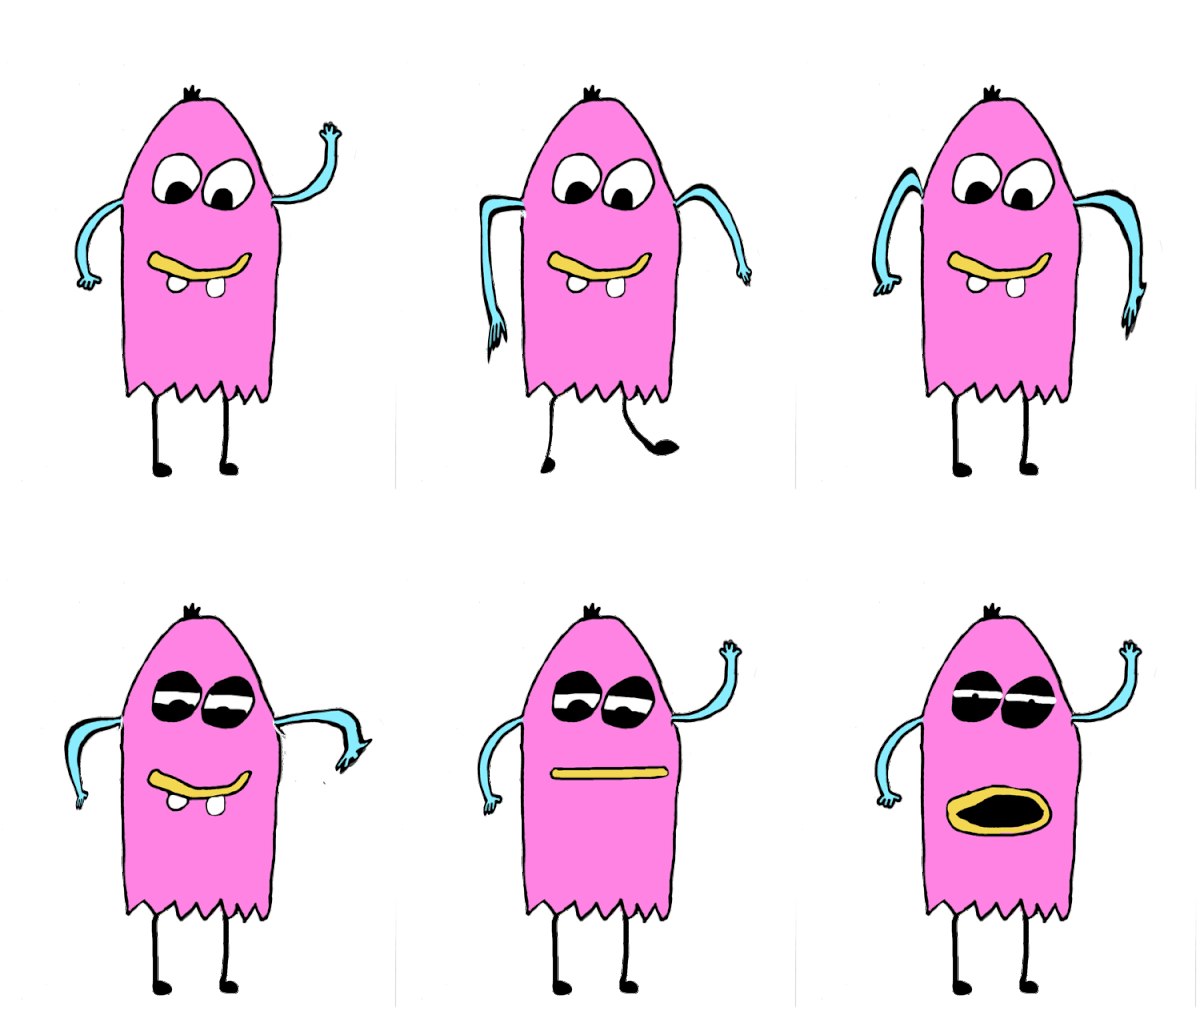
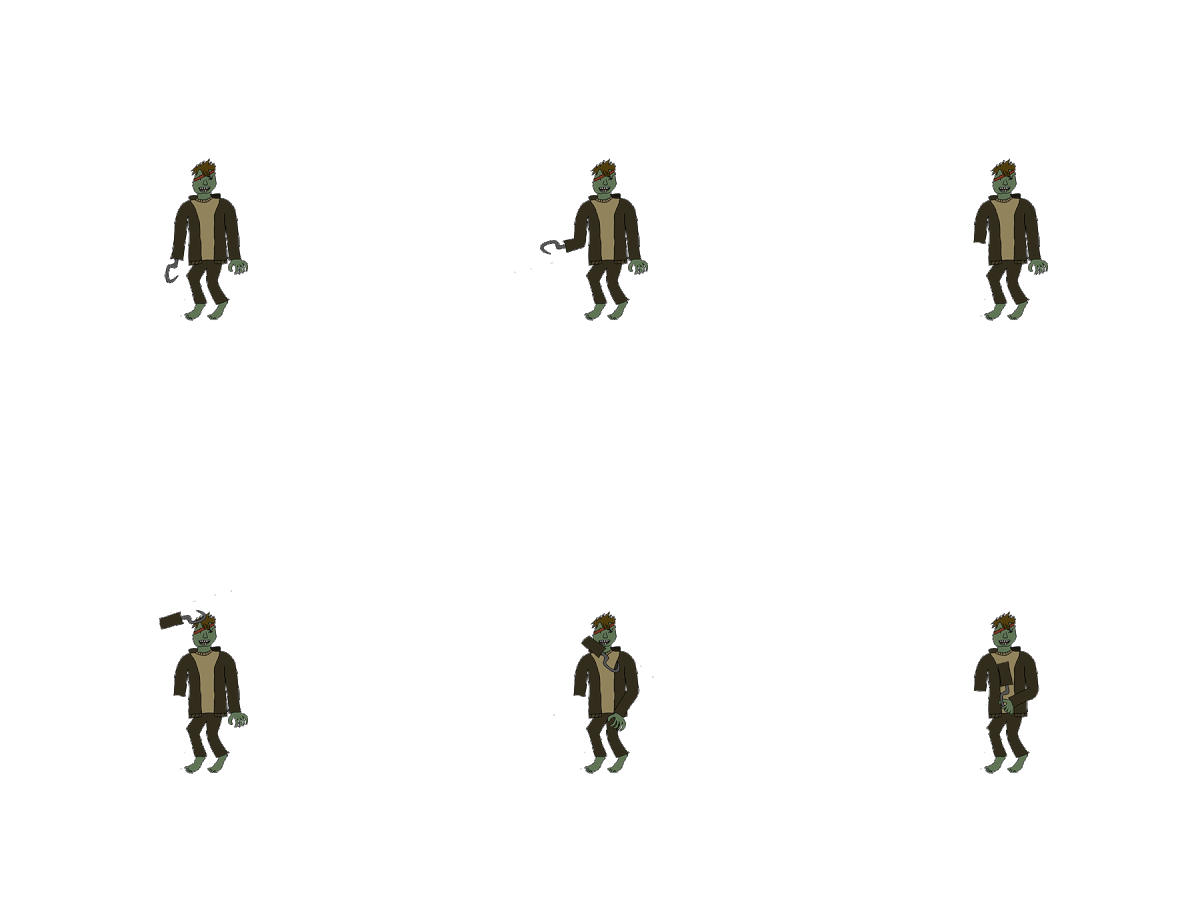
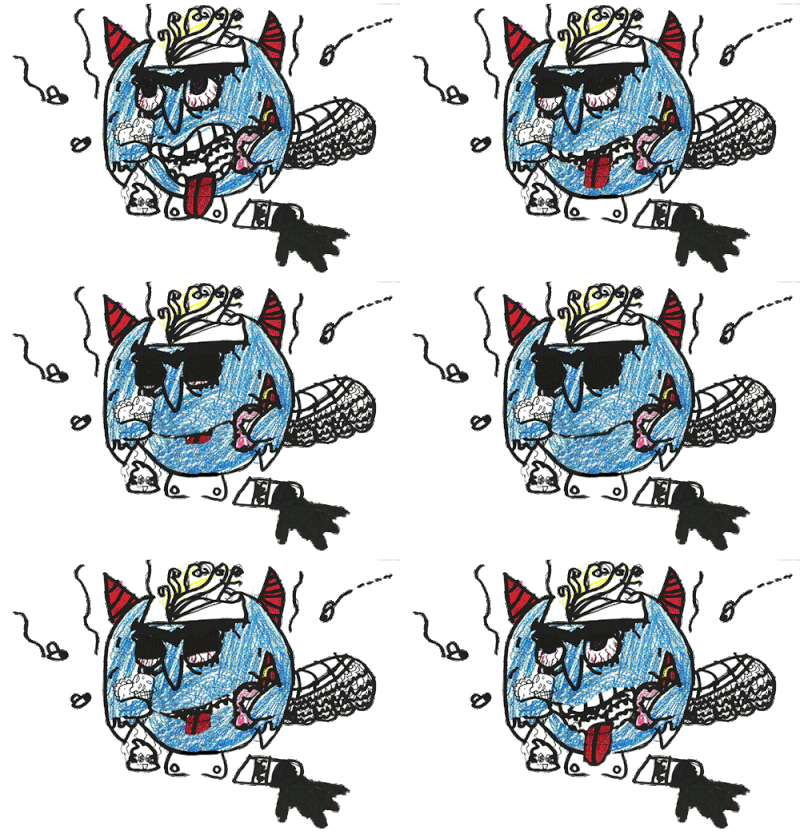
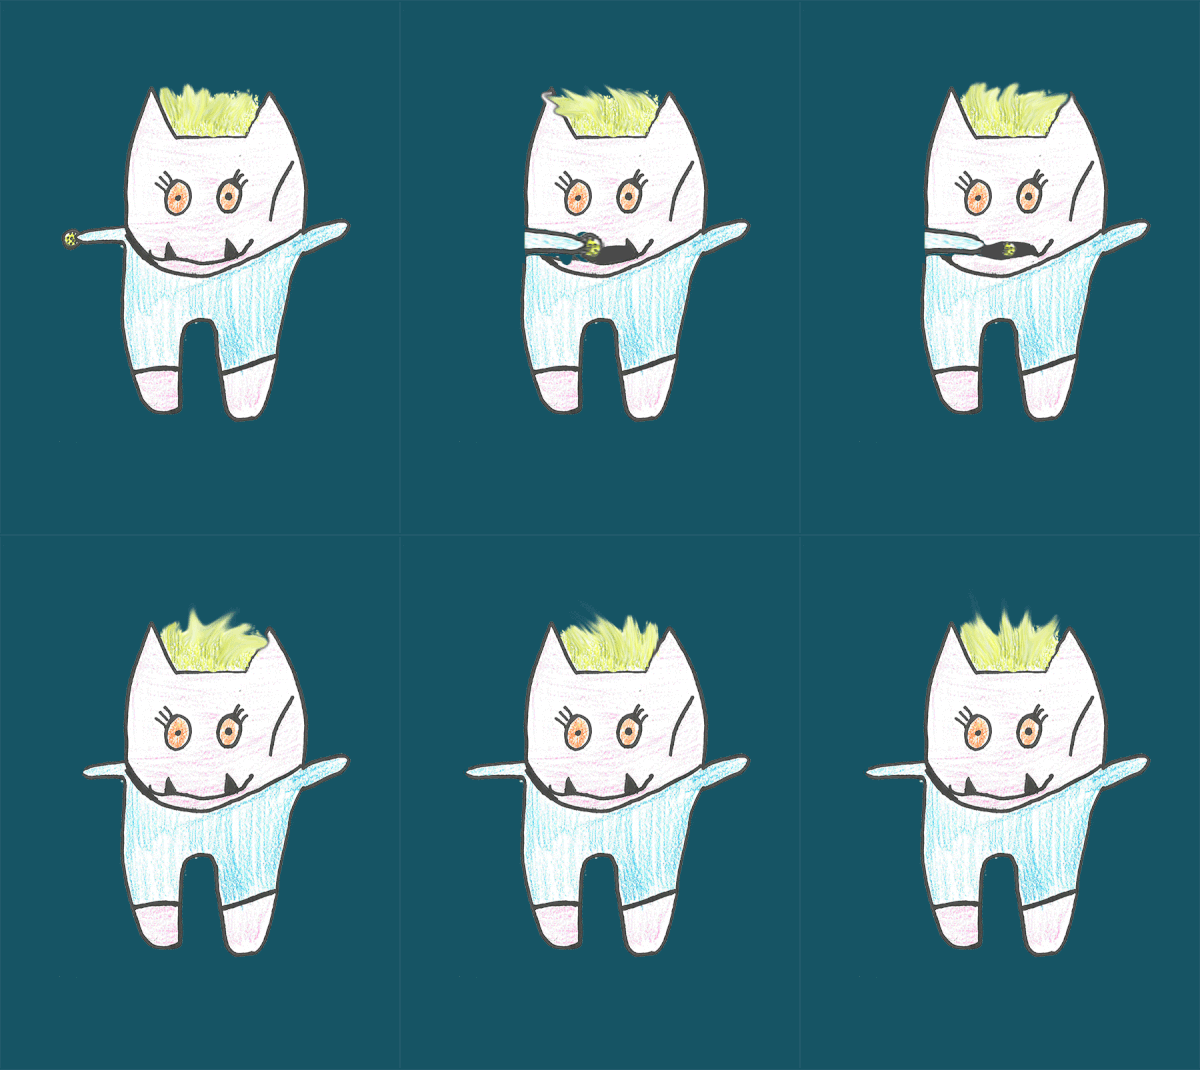
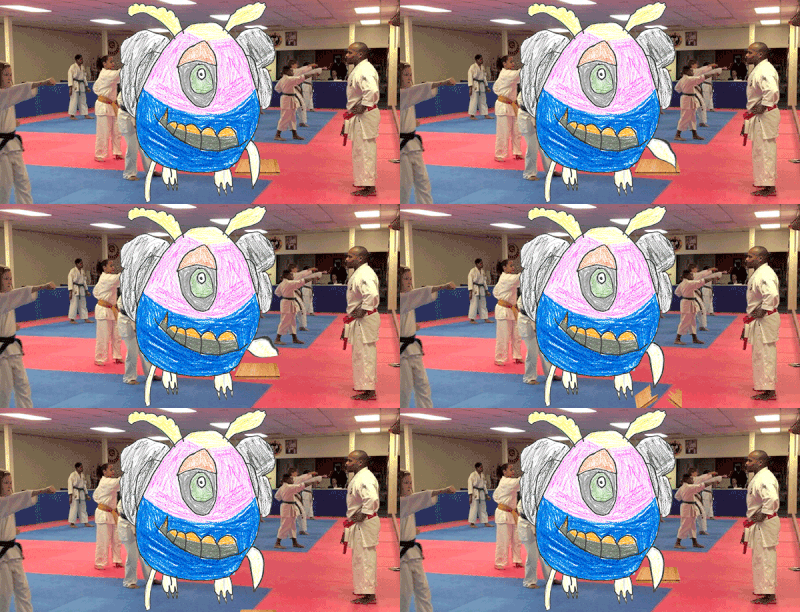
The lesson includes a 33-slide powerpoint, practice file, and 2 video files to help your students learn how to create their own product photography! My graphic design 1 students just finished a collaborative animation project. I connected with an Elementary art teacher about this project a couple months ahead of time. I asked her if she could have a group of 5th grade students draw characters, write what they want their character to do, and then send me the drawings. I ended up getting about 80 drawings and scanned each one to my e-mail.
Then, I uploaded the drawings as .jpgs to my Google Drive and sent a drawing to each graphic design student. I instructed my students that they had to animate the drawing according to the directions provided by the 5th grader. My graphic design students animated these in Photoshop...some students touched up the drawings a little, while others left the drawings as they were. Some students added photos or other images. When all students finished, I put together a (not so little) Google Slide presentation to send to the Elementary art teacher so she could show her students all of our hard work! This animated gif project was a great way to connect with the younger student and share our program. We even got featured on the Rochester Public Schools Facebook page for this project! This was just so much fun and a great challenge for my graphic design students! I will definitely be doing it again in the future!
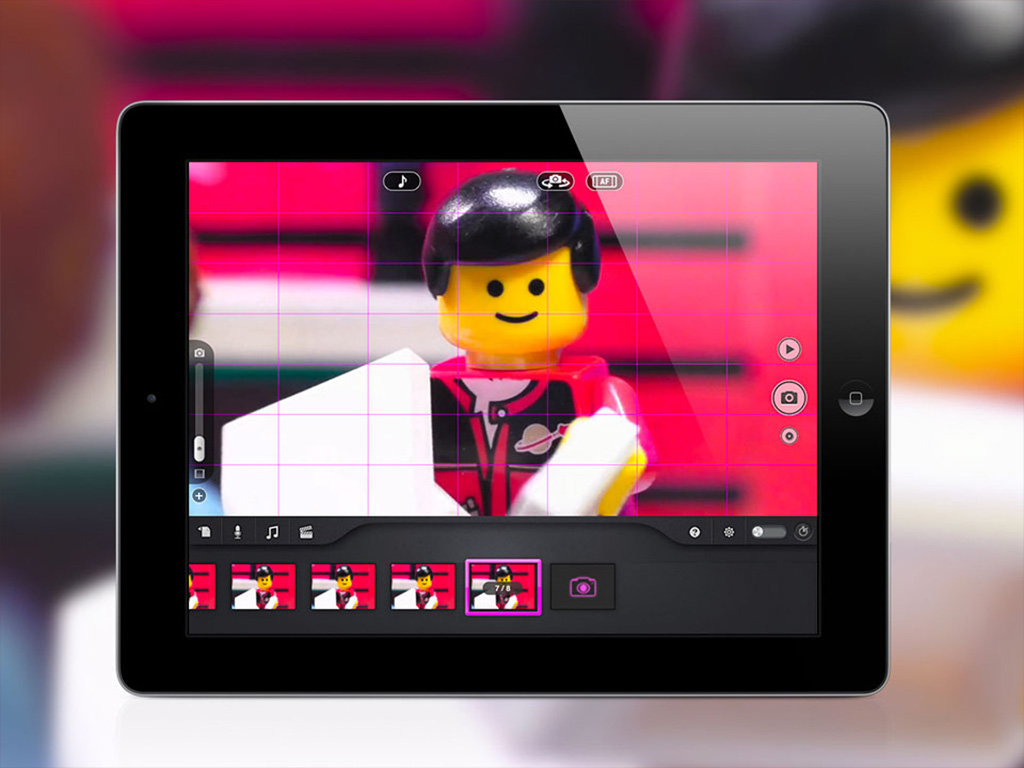
View the compiled stop motion animations below! |
Mrs. QuamThis is my 11th year teaching art & graphic design! I have taught middle school for 2 years and high school for almost 5 years. I truly enjoy working with students on a daily basis. I also enjoy teaching real-world skills such as problem solving, using technology, and the power of teamwork and collaboration. My joy is sharing my passion for art with others! Archives
March 2024
Categories
All
|
Photo from Rob Qld












 RSS Feed

