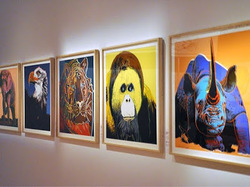
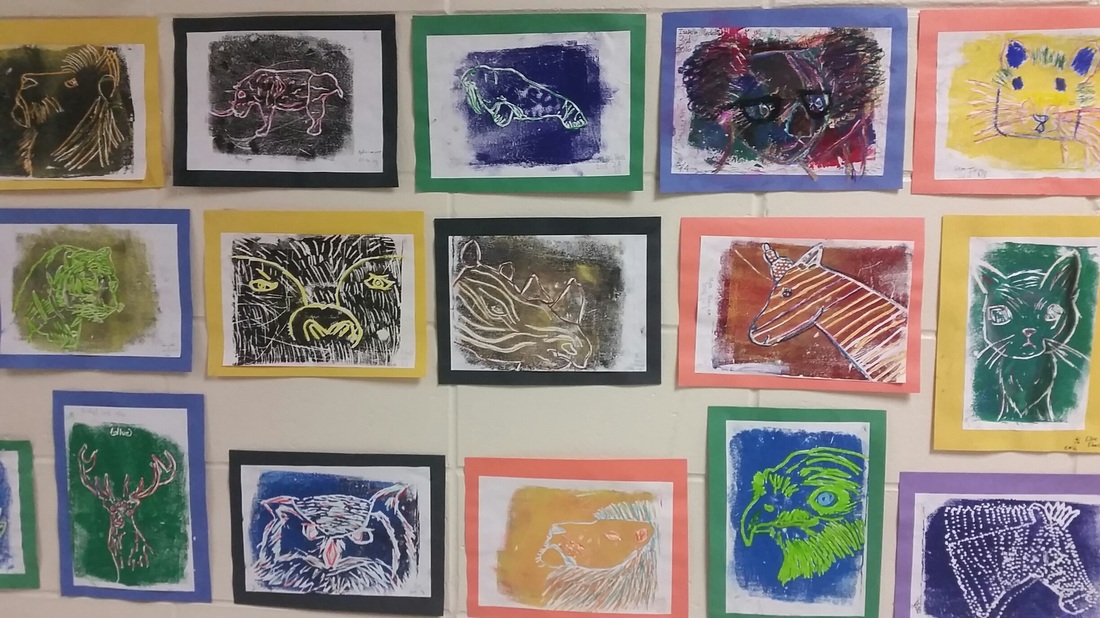
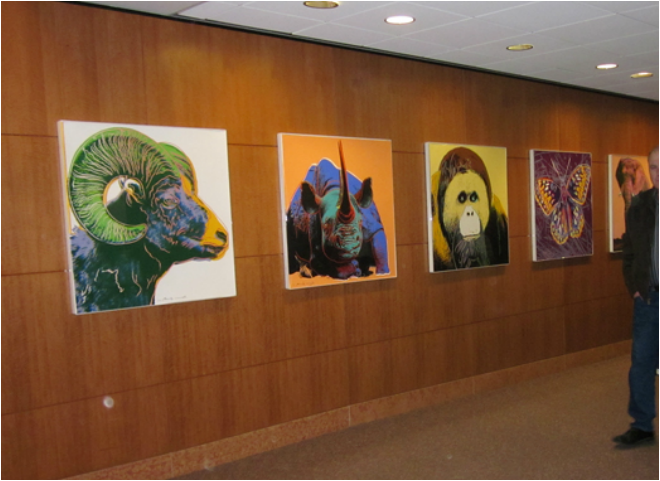
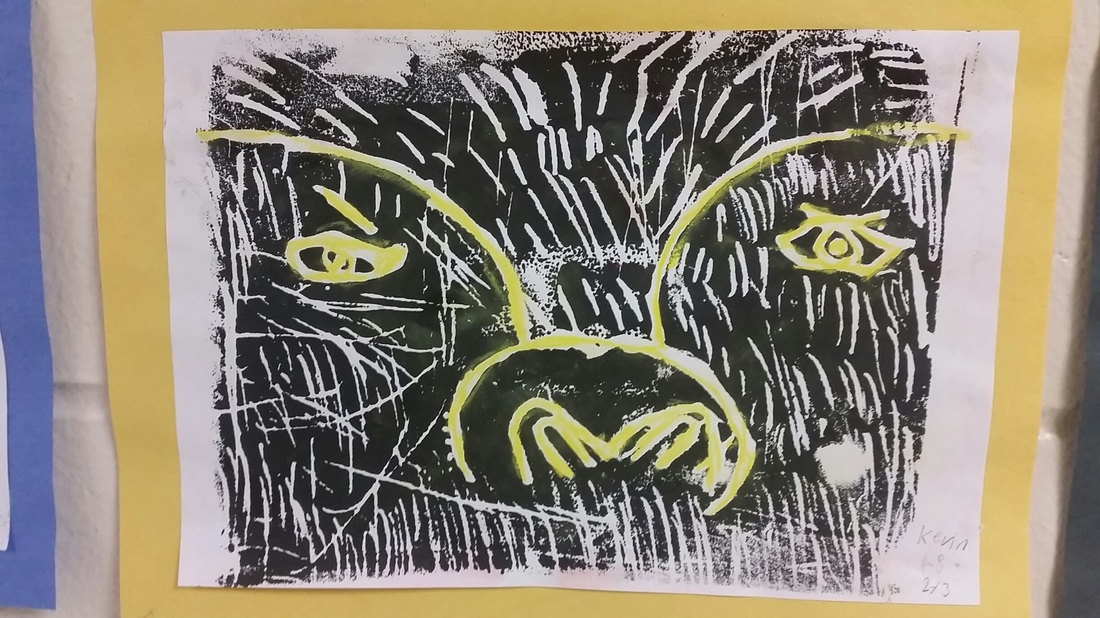
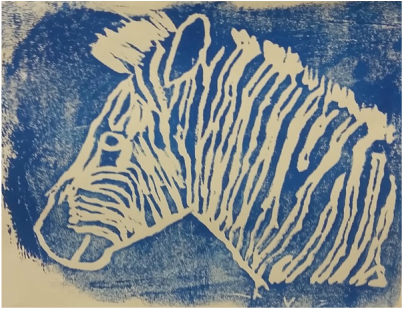
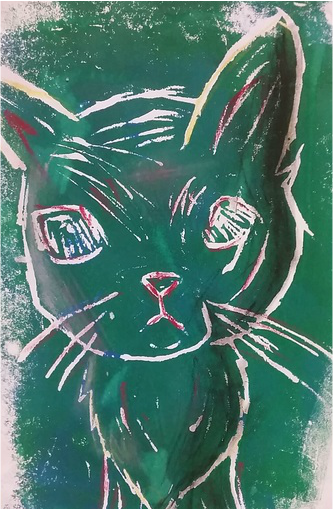
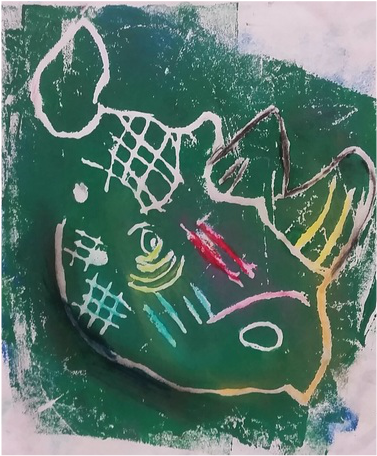
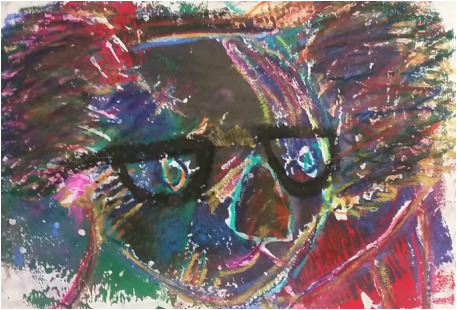
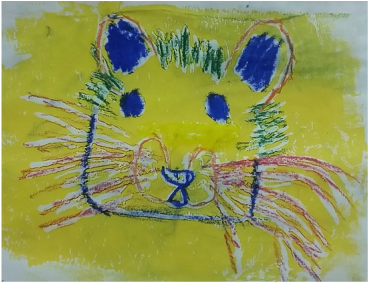
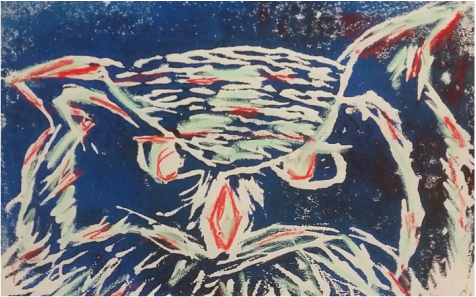
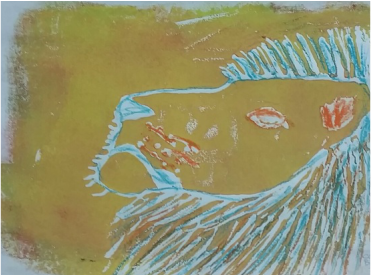
 The cool thing about living in Rochester is that we actually have a set of Andy Warhol's Endangered Species Series here at the Mayo Clinic. They are free to view, however, they do not do field trips or tours. This was fun, since some of my kiddos said they had seen this artworks in real life. After our discussion about Andy Warhol's work, I had students choose an animal to draw. I tiered the assignment so students of all abilities could feel a sense of accomplishment. The lower level students were allowed to trace an animal. The middle level students were allowed to draw from observation by looking at a picture of the animal. The higher level students were encouraged to draw the animal from memory or based on an idea. This allowed my gifted and talented students a little more freedom and independence, which I think they enjoyed. It also allowed my lower level students to feel like they could create an awesome work of art. I'm not a huge fan of tracing, but it has it's time and place in every art class. Once they drew their animals, they had to show me their drawing in order to get their foam. They taped the paper to the foam and started tracing over their design. They went over their designs with a blunt pencil or mechanical pencil with no lead. Next, we started printing! After they printed 3 different prints, I had some students outline their lines with oil pastel to add an Andy Warhol look to their work. You can view the demo video I played for my students at the end of this post. View examples of my students work below.
0 Comments
My Draw/Paint I high school students did an awesome job on this project! Though I usually like students to have a more open-ended art assignment, this one seemed to work well for all students.
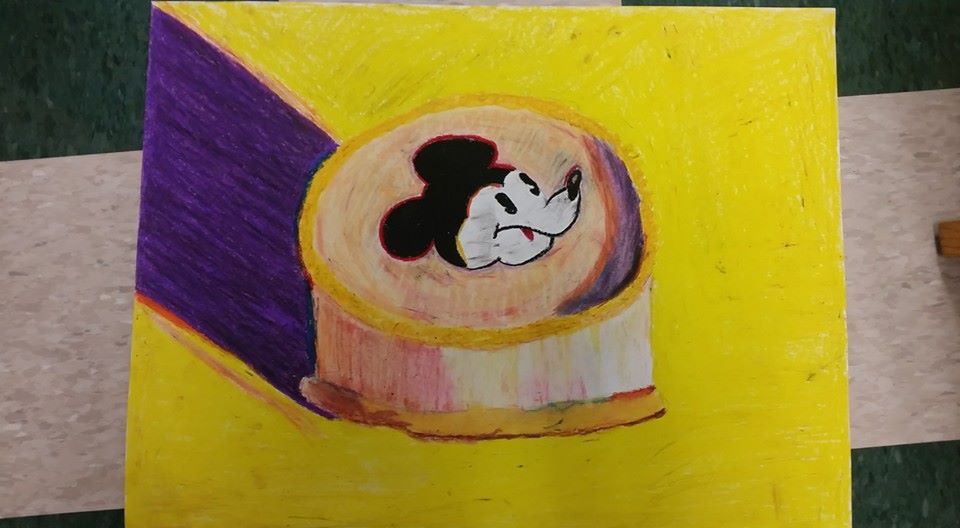
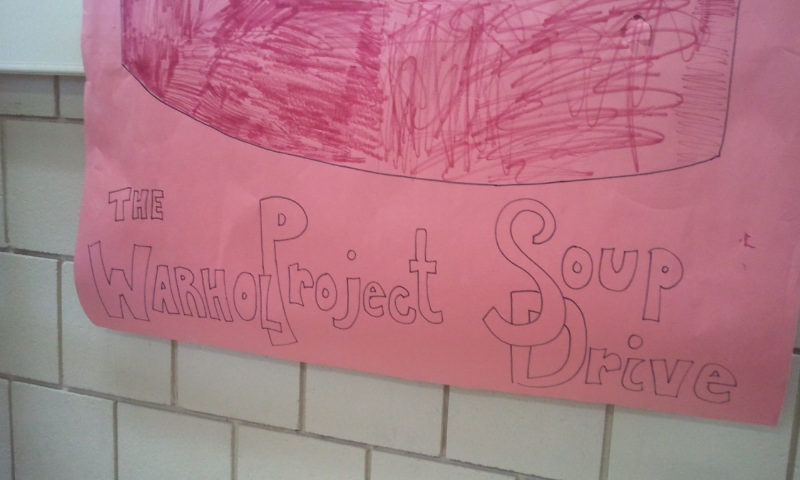
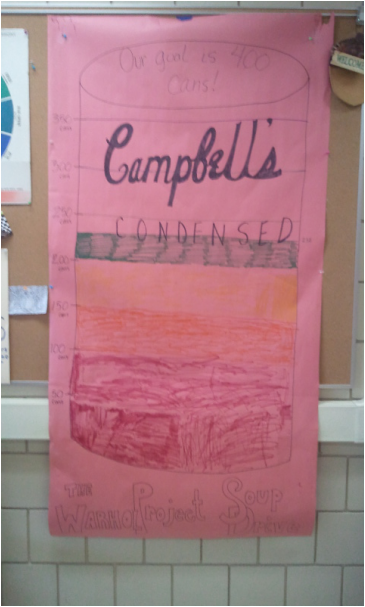
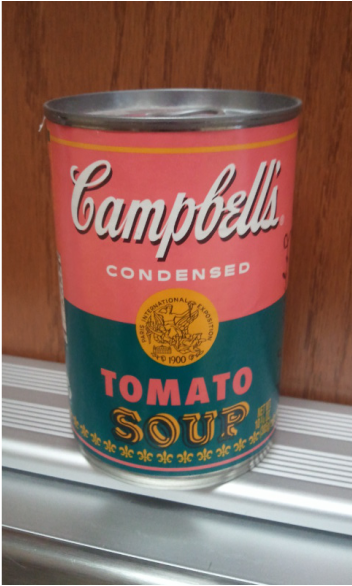
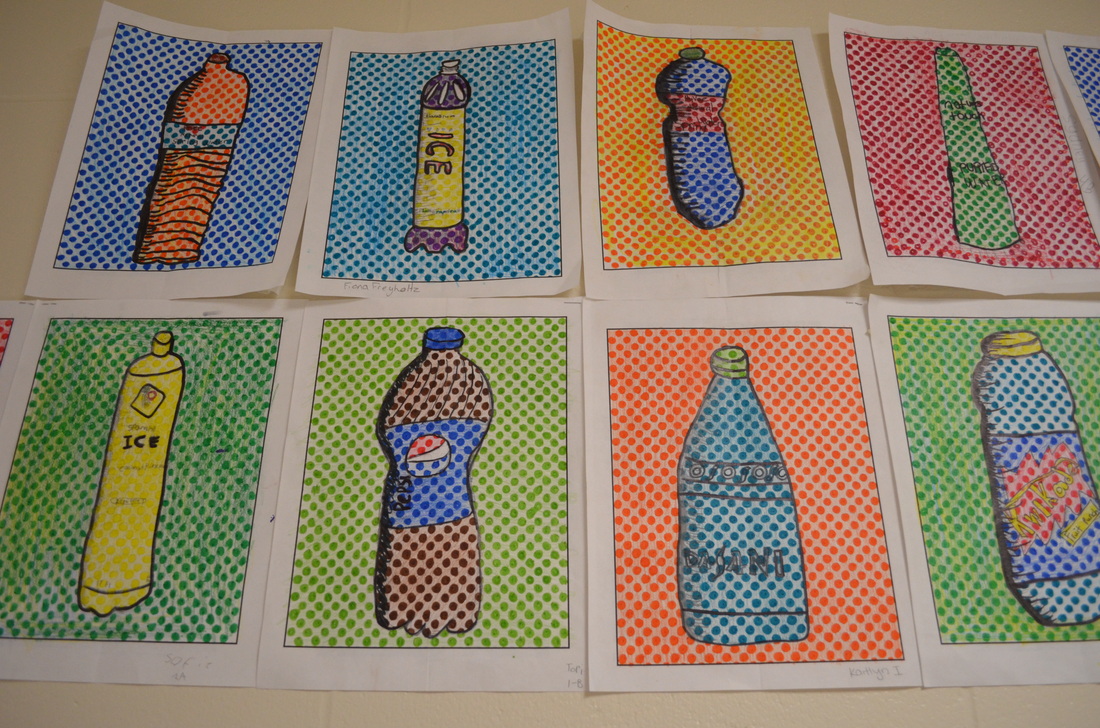
For this assignment, I introduced students to the work of Wayne Thiebaud (Tee-Bow). We discussed how he used colors in interesting ways and applied the paint thickly to the canvas like frosting. His work has a 3-dimensional quality that makes it addicting to look at! I then had students experiment with oil pastel and mixing colors of oil pastel using the 3 primary colors. Finally, I had students choose a color copy of a Wayne Thiebaud work that they liked. The nice thing about Thiebaud's work is that it offers an enticing selection for students to choose from. My students had to draw the work based on the color copy with pencil first. Some students chose to draw using the grid method they had learned in the previous lesson. Next, they used oil pastel to add color. I encouraged students to apply the oil pastel very thickly to recreate the 3-dimensional quality of Thiebaud's work. This project was a lot of fun, because it helped even below average students feel successful at art. This project took approximately 2 weeks (10 50-minute class times) for students to finish. Halfway through the project I brought in cupcakes for all my students because they complained that Thiebaud's work made them hungry. What's better than making art and eating cupcakes!? A while back I had stumbled upon the website of a teacher who did a "soup drive" along with her Pop Art project. I thought this was such a cool way to get students involved with art history and their community! I took this teacher's (I have no idea who she is) idea and ran with it. I created what is now called, "The Warhol Project". For the last month, students have been bringing in cans of food where we will be donating them to Channel One Food Bank in Rochester, MN. Our goal is 400 cans by the end of May. We already have 238! 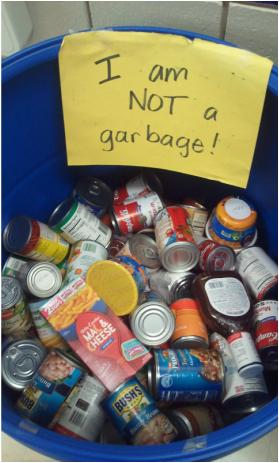 We are collecting our cans in two large barrels that Channel One kindly gave us. It's not a bad idea to put a sign on them that states they are not garbage (I encountered I few issues there...) Last semester we made pop bottles (Pop Art...get it?) on the benday dots handout. We used markers and colored pencils for that project. This semester, I plan on having students draw soup cans in their table groups and use the benday dots handout I used last semester. I think I will teach students how to use watercolor pencils instead of using regular colored pencils and markers. I think it would be interesting for students to use complementary colors in this project as well. I just love how the students (and parents!) have shown so much enthusiasm and generosity by donating to our soup drive! Stay tuned for the next part of The Warhol Project: Drawing our soup cans! This was a project where students really impressed me. We had been collecting plastic bottles all semester long and so we had about 350 bottles stored in bags and boxes around the classroom. I knew I wanted to teach students how to draw perspective, but I was struggling on what. Then it donned on me-- plastic bottles! Each student chose a bottle to draw. We spent a whole class day talking about pop art and how pop art got it's name from popular culture. We also talked about how artists draw in perspective. They draw what they SEE, and not what they THINK they see. We also talked about how benday dots are kind of like pixels and how they create color when put close together (from far away, they look colored in....up close, they look like just dots). We also learned about creating value and how we could use hatching to show value in our bottles. I showed students comic book drawings that had hatching and this really had them motivated. Download the benday dots handouts!I have my benday dot handouts available in small dots and large dots at my TPT store We looked at several different pop artists including Andy Warhol, Robert Rauschenburg, and Claus Oldenburg....students kept saying that if you're a famous pop artist, you have to have a cool last name. ;)
Step One Students practice drawing their bottle. I had students fold their benday dot handouts in half and try to draw only one half of the bottle on one side of the folded line. This helped students get the symmetry right. Step Two They drew the other side of their bottle to match the opposite side. Students had to check the top and bottle of their bottles to make sure they were curved and showing correct perspective. Step Three Students draw the details of their bottle-- logos, fluid ounces, slogans, designs, etc. Students then added their hatching lines to make value. Step Four Students colored in their whole picture LIGHTLY with colored pencils. Students were required to mix the primary colors of colored pencils at least once in their drawing. If students had black on their bottle, I encouraged students to choose another color, as it covers up their benday dots so you can't see them. Step Five Next, students started coloring in the benday dots with markers. This was the most time-consuming part of the lesson. Some students got really impatient, but I had them take breaks to stretch and read some art books if they needed it. Students then outlined all their pencil lines in sharpie to really make it pop. Overall, once they were finished, students really seemed to like their work. When hung up together, they definitely have a "pop" art vibe! |
Mrs. QuamThis is my 11th year teaching art & graphic design! I have taught middle school for 2 years and high school for almost 5 years. I truly enjoy working with students on a daily basis. I also enjoy teaching real-world skills such as problem solving, using technology, and the power of teamwork and collaboration. My joy is sharing my passion for art with others! Archives
March 2024
Categories
All
|
Photo from Rob Qld





 RSS Feed

