|
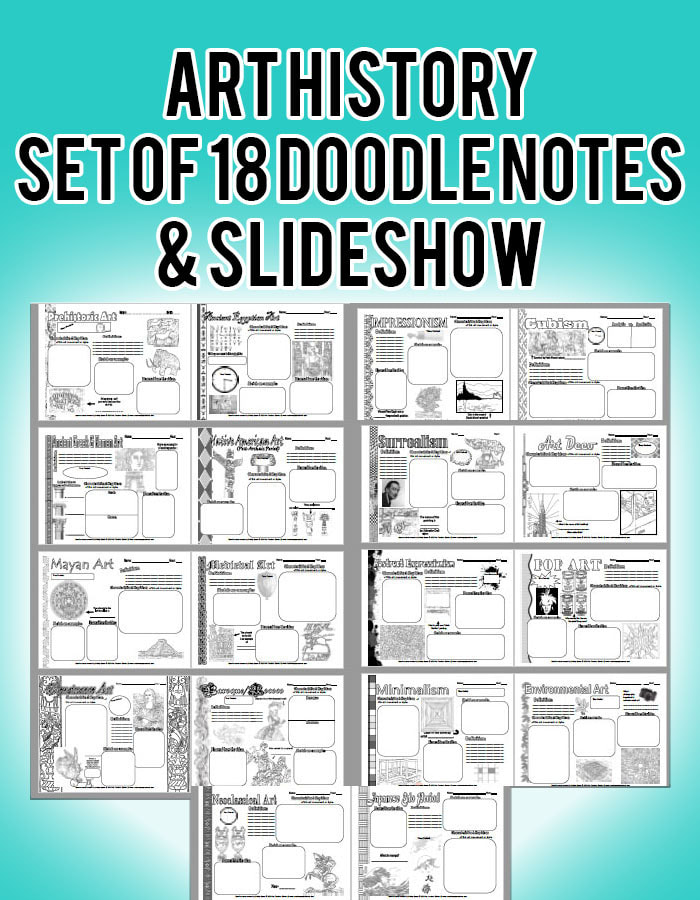
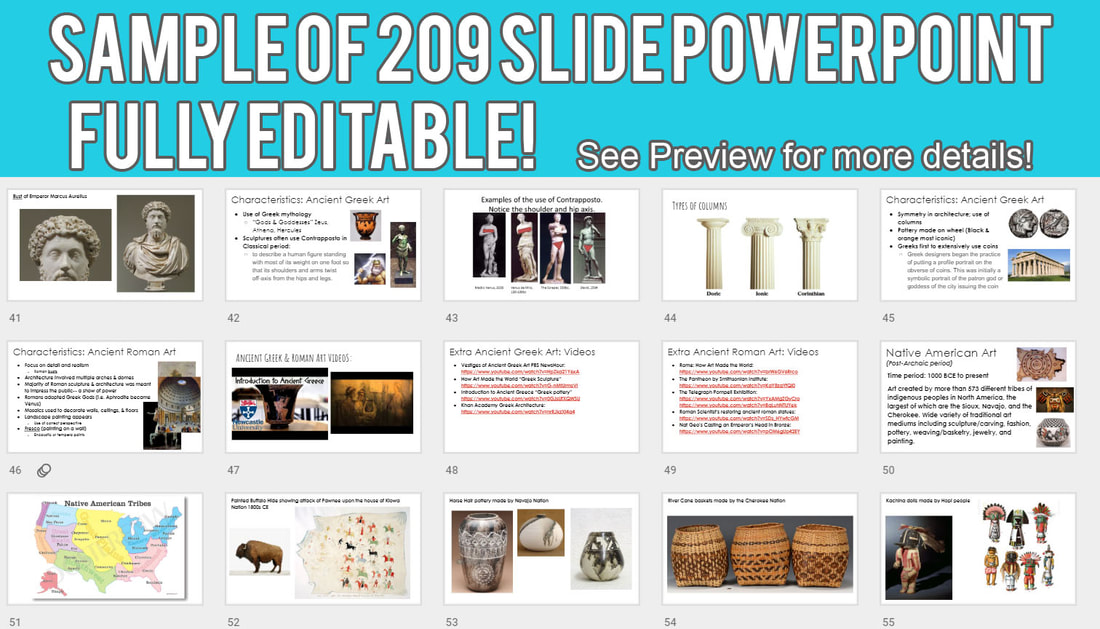
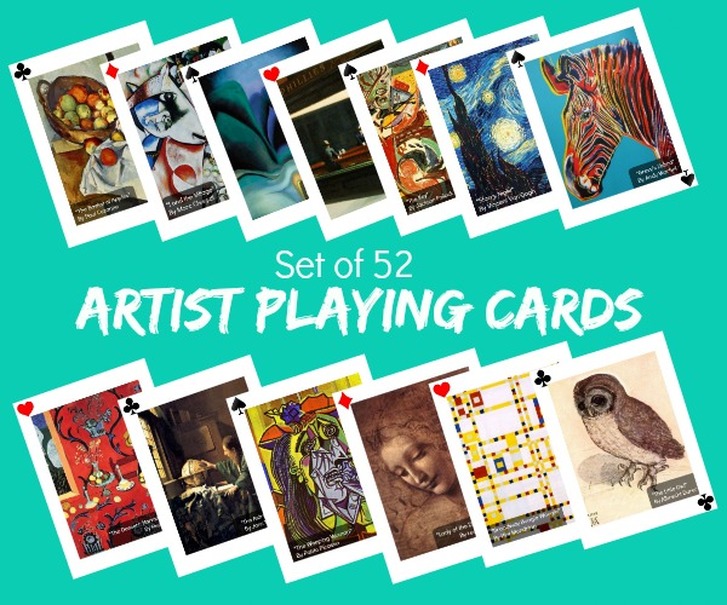
Just listed in my Teachers Pay Teachers store-- a set of 18 fully editable doodle notes about different art history movements. Each handout of doodle notes includes places to color in, short activities or fill in the blanks, space for writing or drawing characteristics, sketches, definitions, and time periods. Video links are also included that pertain to each art movement! This makes learning about art history far more enjoyable for middle and high school grade levels. Use these handouts and the included 209-slide powerpoint in multiple ways that work for your teaching style! Click the images above or go to this link to preview or purchase this awesome bundle to teach art history!
1 Comment
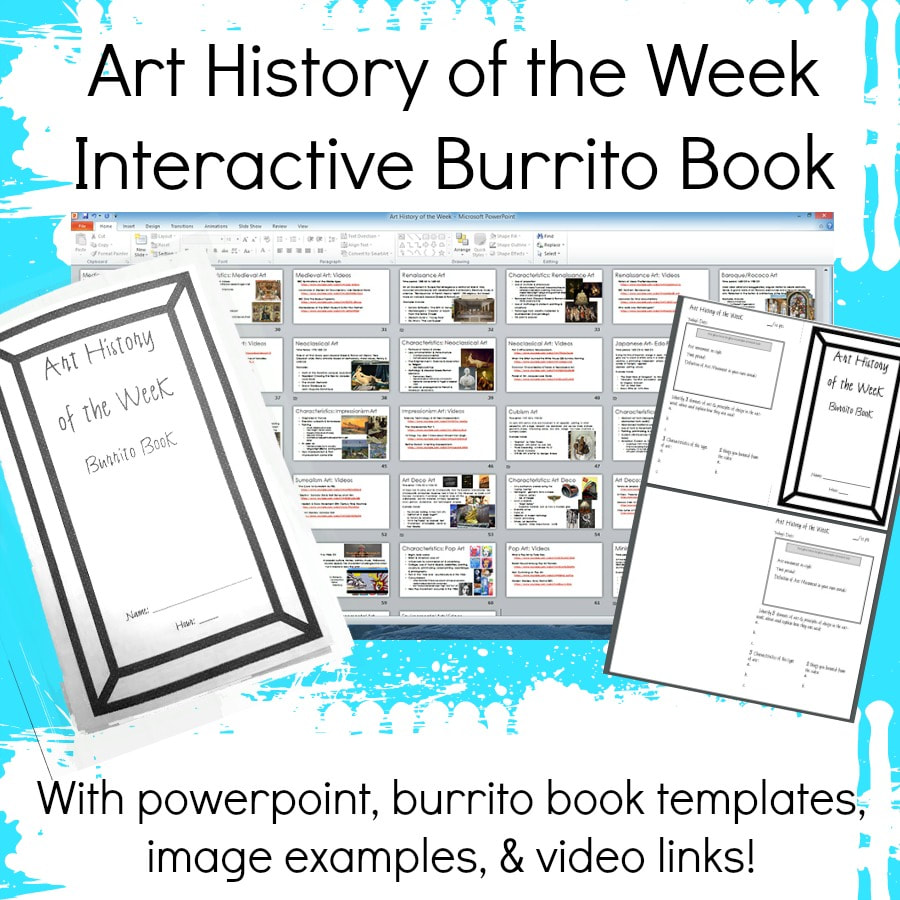
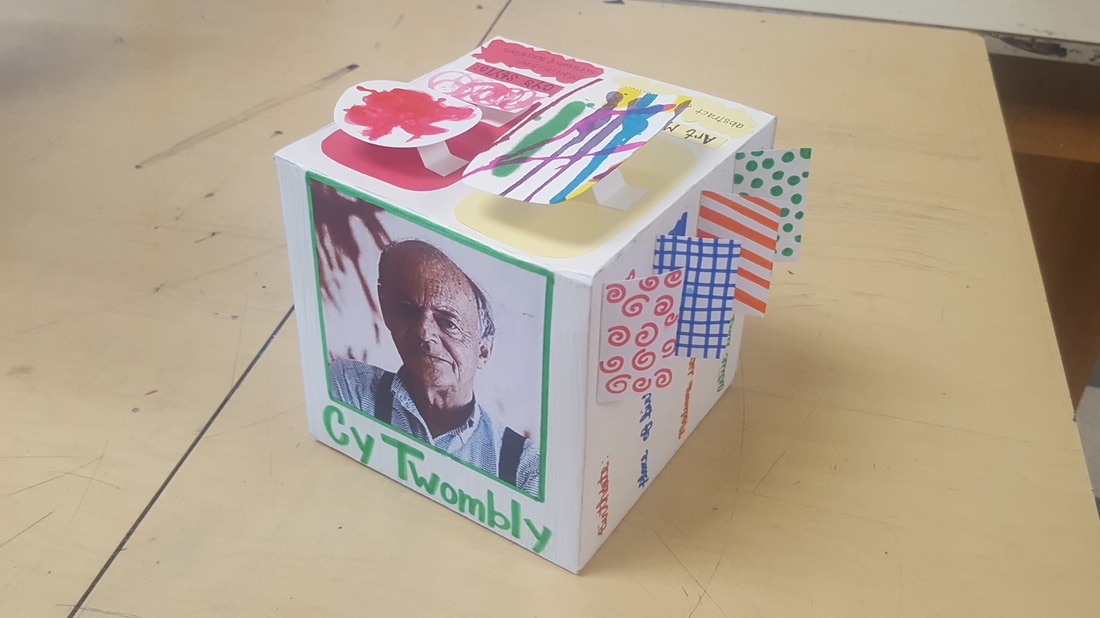
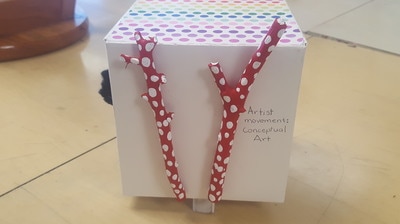
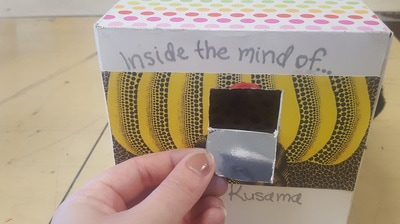
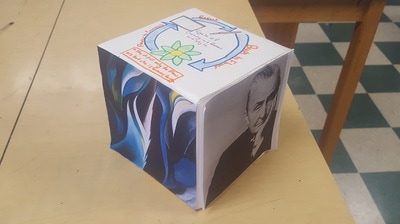
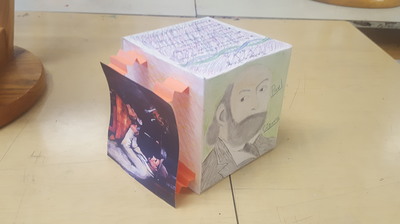
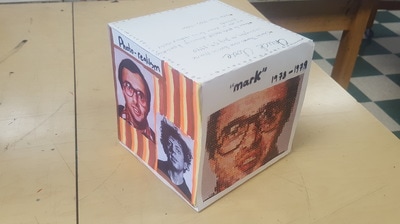
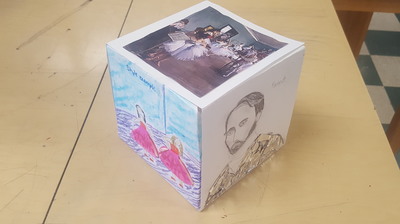
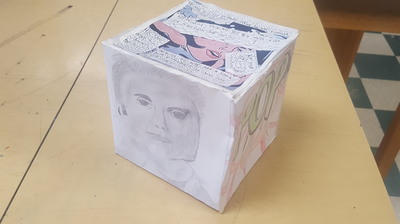
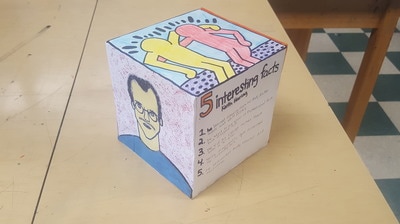
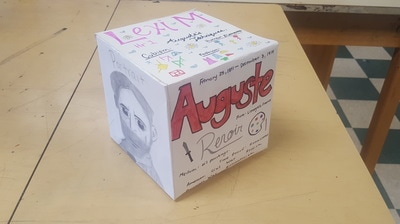
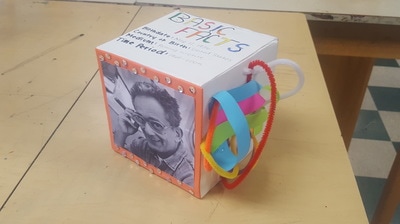
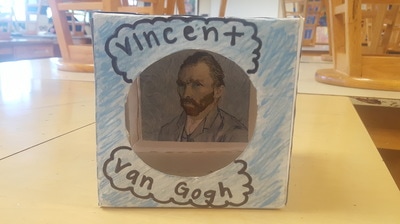
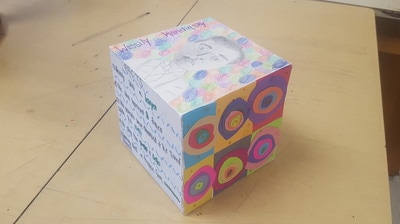
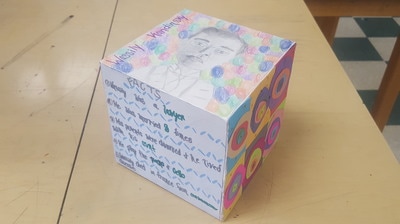
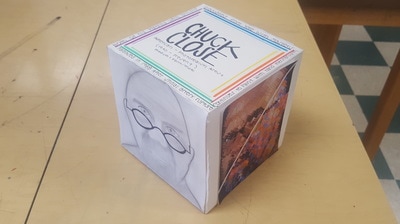
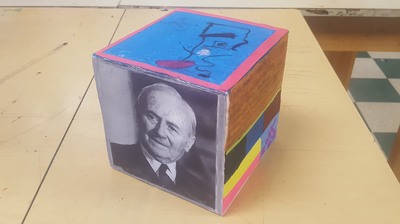
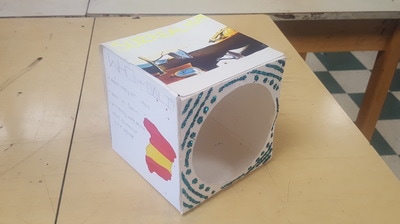
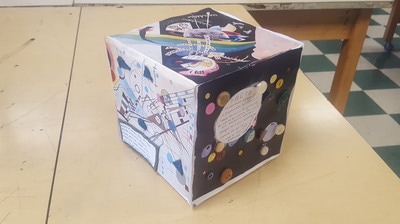
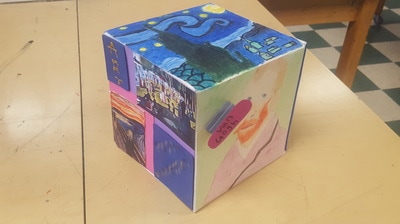
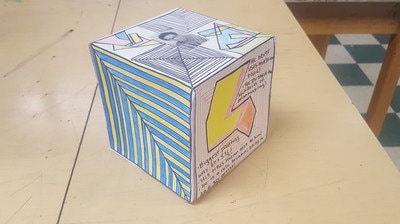
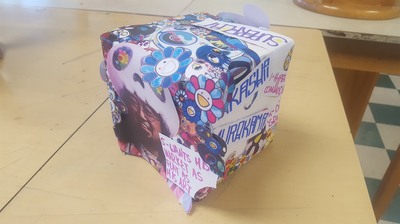
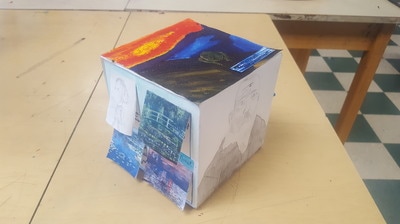
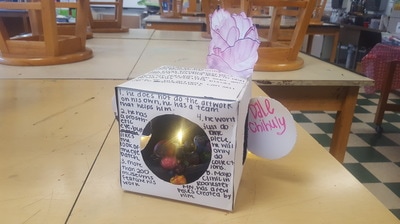
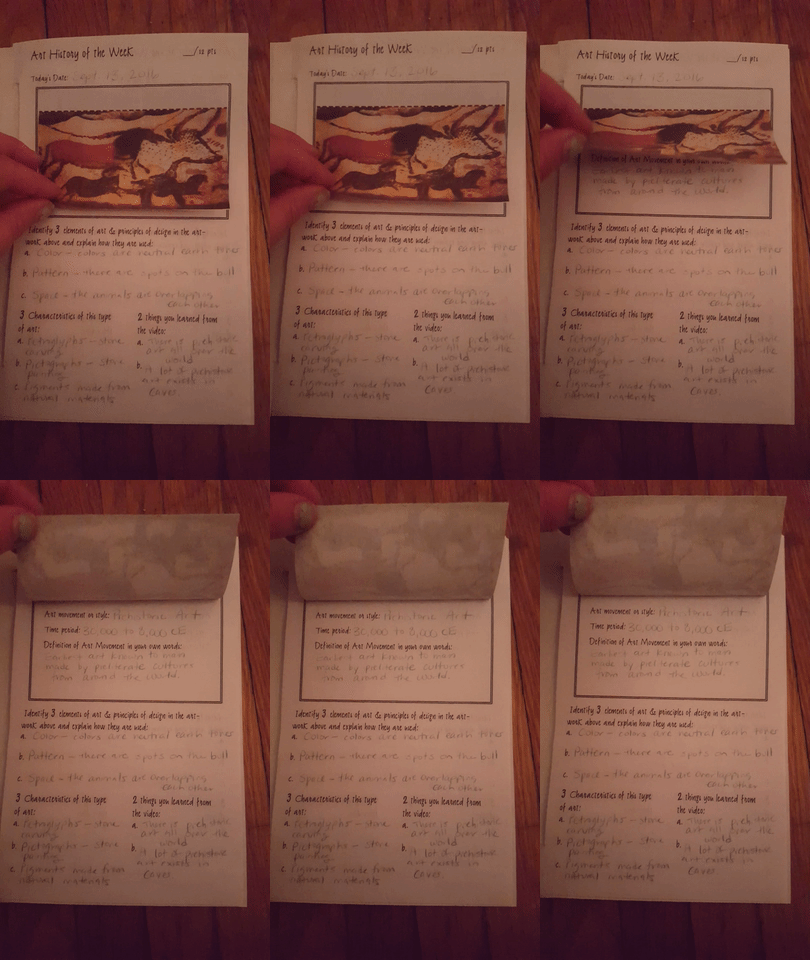 Make learning about art history more fun and engaging by having an art history of the week! Geared towards secondary level students such as high school and middle school, this download includes everything you need to teach a semester (or 18 weeks) worth of art history movements & styles. Each art history movement takes approximately 10-20 minutes to teach, depending on which video links you decide to use. Integrate art history mini lessons quickly and effectively without boring your students! Use the Burrito book template so each student can make their own art history "sketchbook" and all you need are scissors! Not sure how to make a burrito book? The template comes with pre-marked dashed lines for cutting and instructions with images in the powerpoint slideshow. Each page of the burrito book is dedicated to a different art movement. Students must write down the time period, art movement name, a definition in their own words, how the elements/principles are used in the example artwork, 3 characteristics of that art movement, and 2 things they learned from the video. The image examples are glued to create interactive flaps that make studying the art movements even more fun. This entire product took over 30 hours of work to complete, so save yourself some time & use this one! View the art history of the week templates, powerpoint, & more in my TPT shop!These cubes were made by my high school Art 1 students. Students signed up for a visual artist to research & create their own famous artist cube. I had students trace a cube template I made onto poster board and then encouraged them to "think outside the box" (Pun definitely intended). The results were pretty amazing! Each student then presented their creation to the class and we talked about our researched artists.
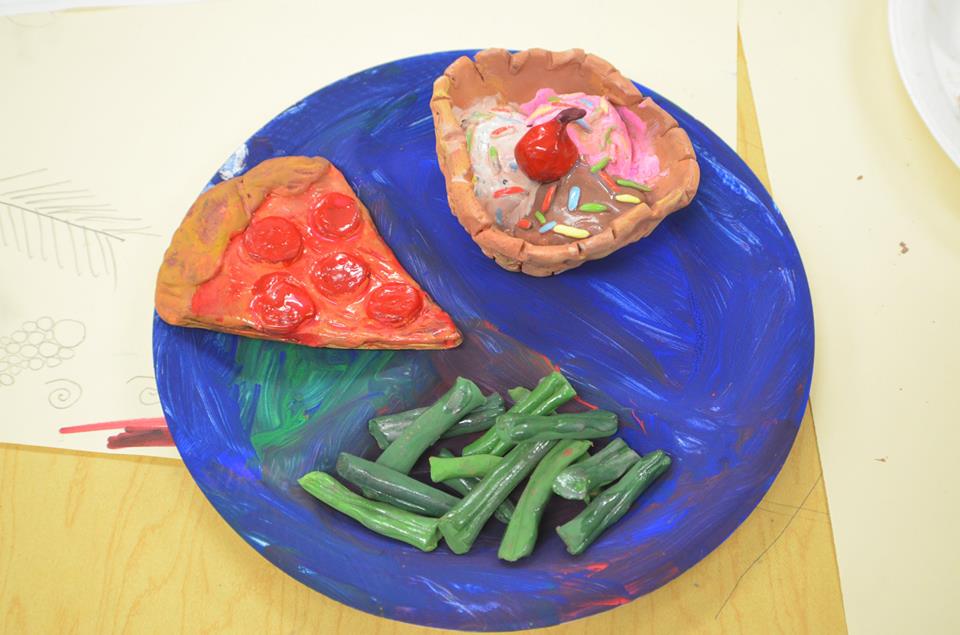
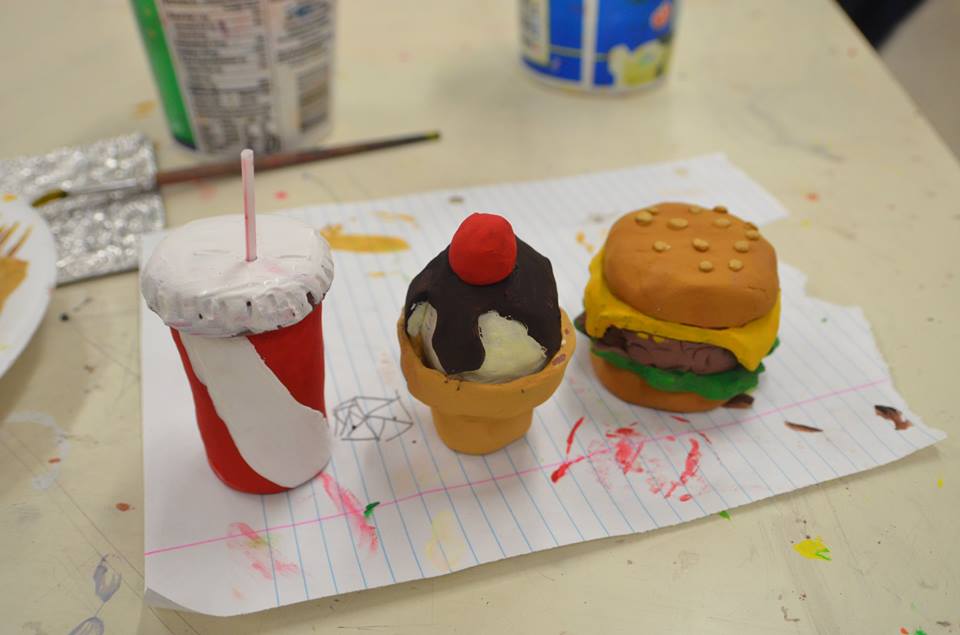
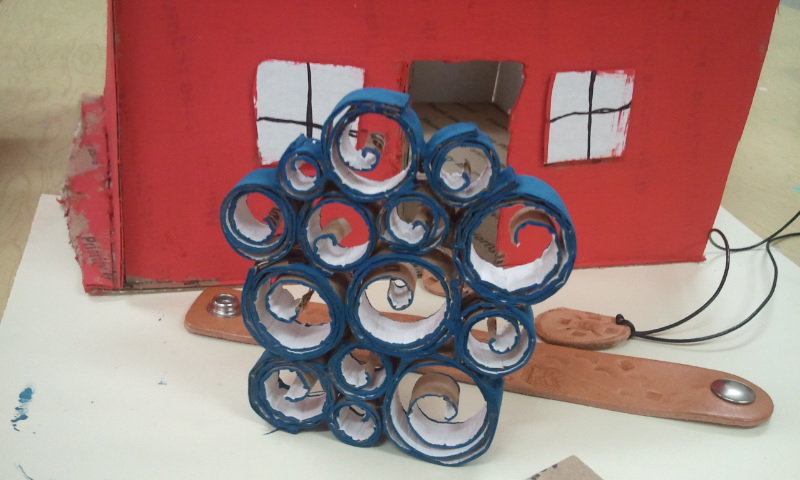
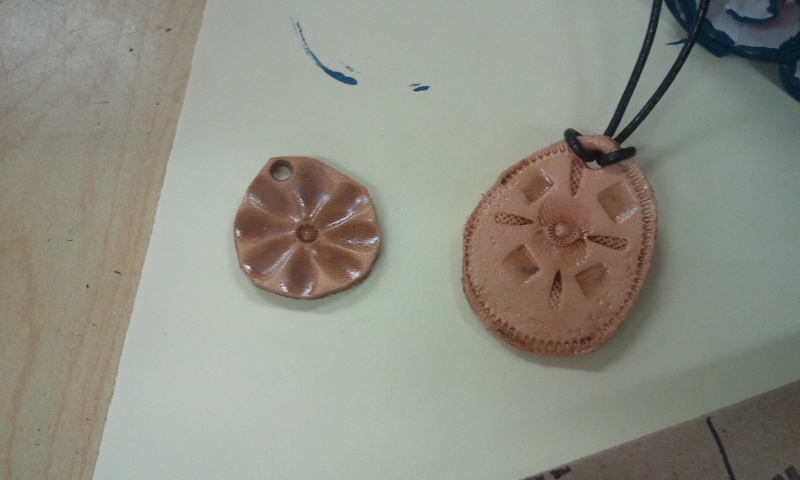
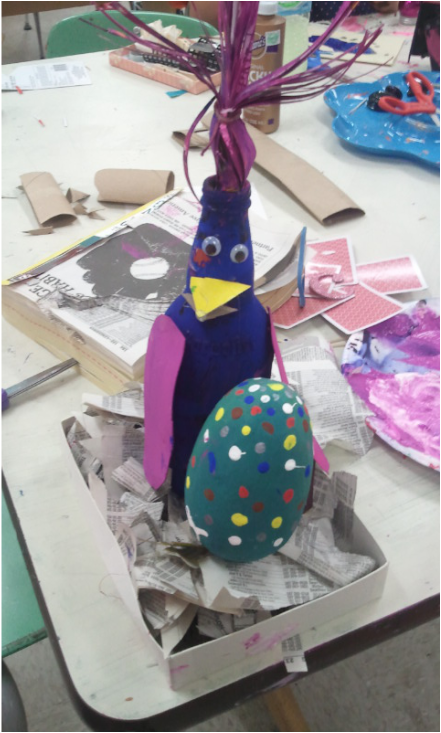
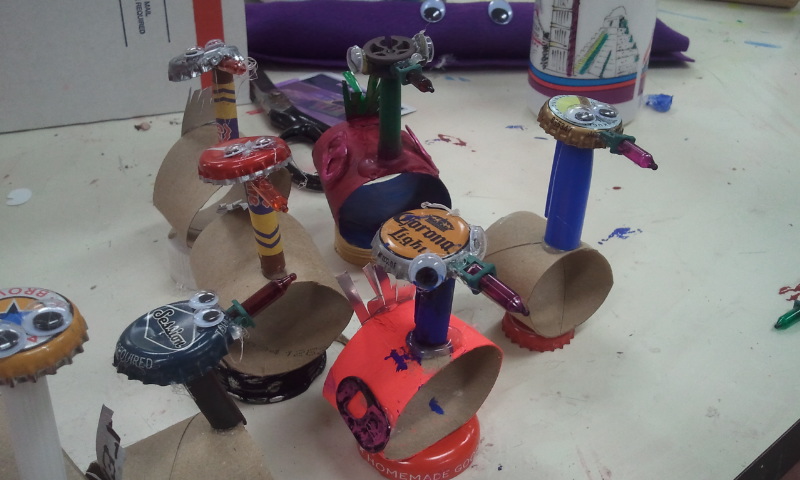
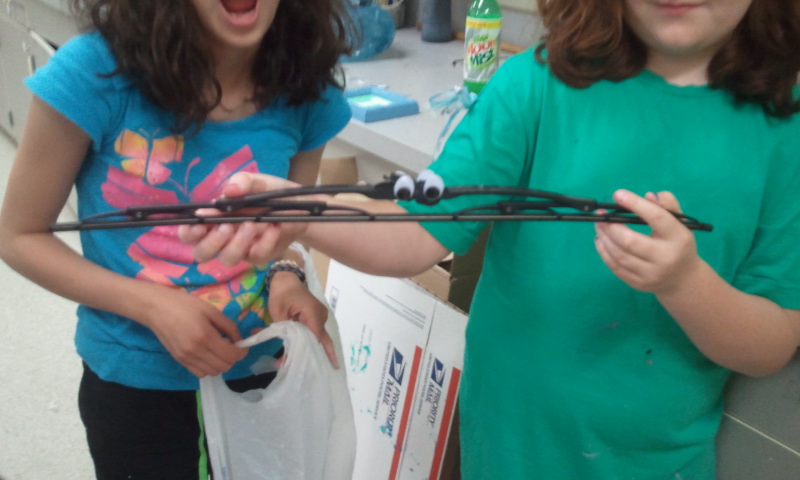
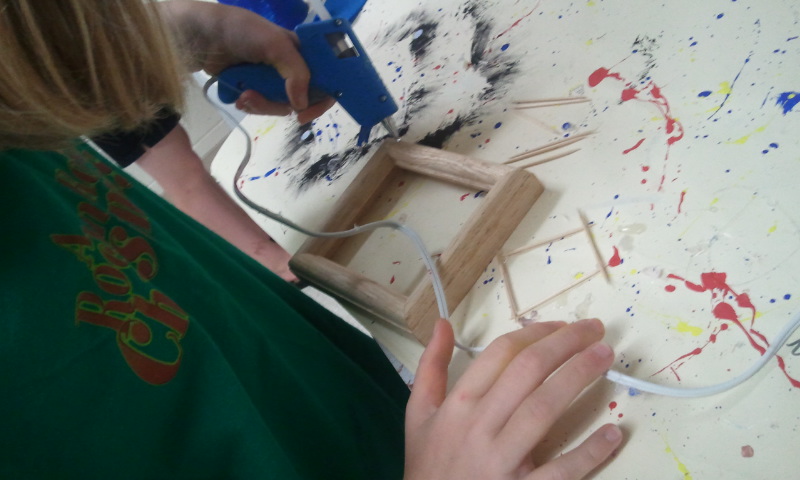
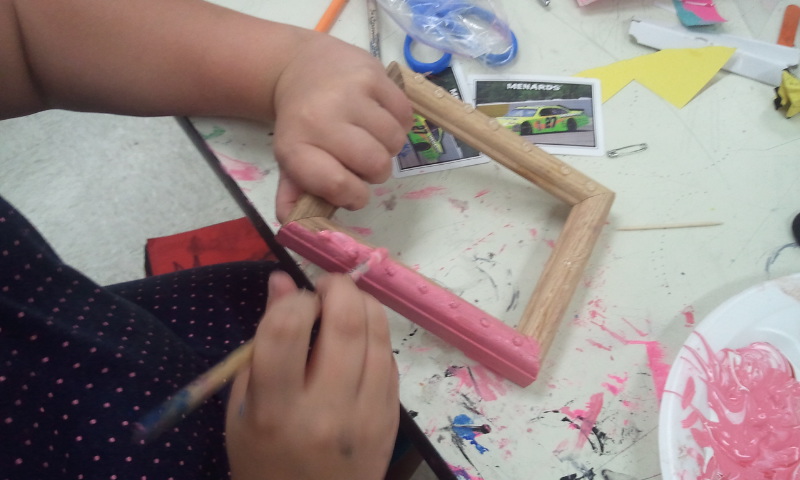
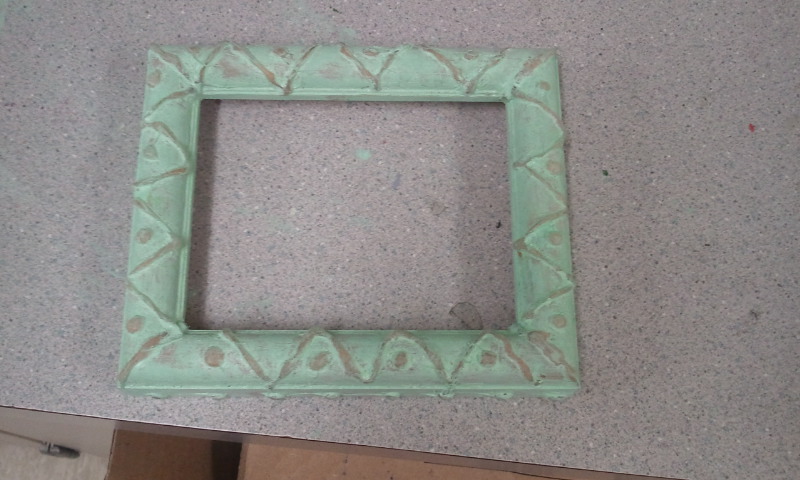
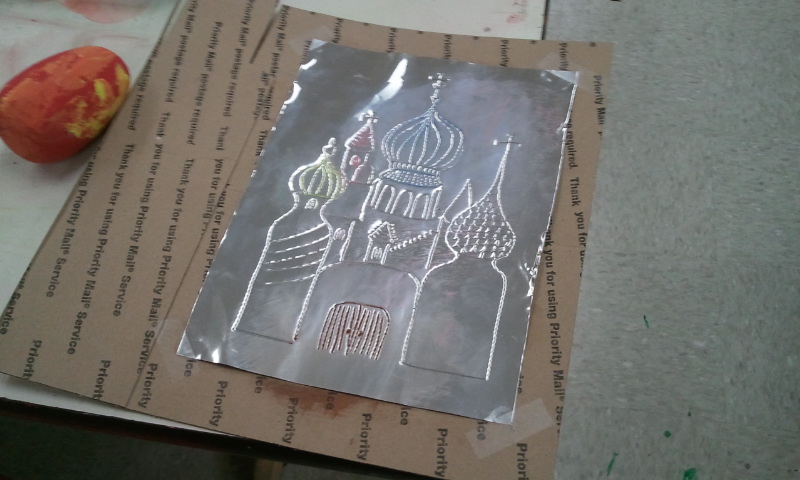
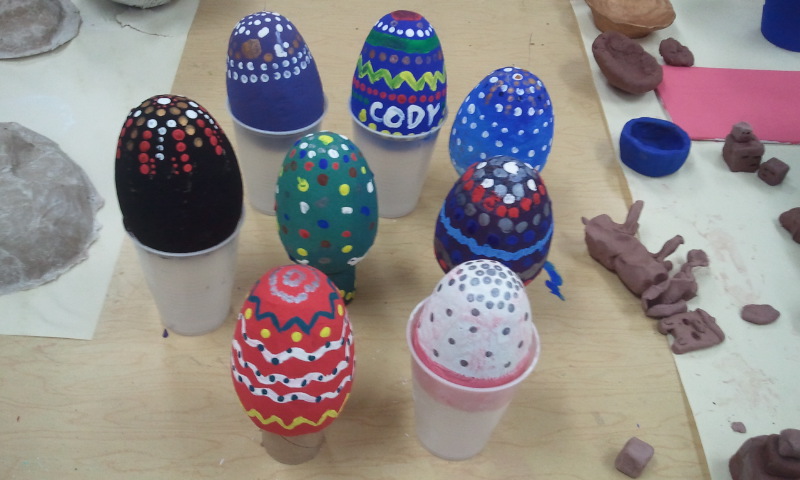
I decided to create two summer art classes that were each a week long through Community education in my district. The first class was called "Art Around the World" and featured projects such as a chinese lantern, making didgeridoos out of PVC pipe, and multicultural paper mache masks. The second class was called "Arts & Crafts Camp" and I definitely think this class was my favorite. The Arts & Crafts camp really let student's imaginations run wild and create some really cool art! Each class included students from the ages of 9 to 13. If you've never taught a community ed art class before, you should know it's a blast! No tests, no standards, just a room full of art supplies and enthusiastic students. For any other interested art teachers out there, I included the schedules for each class's days below for your reference. Art Around the World Day One- Mexican Folk Art terra cotta pots & Paper mache mask Day Two- Australian Didgeridoos made out of PVC pipe with a beeswax mouthpiece Day Three- African Adinkra printmaking on t-shirts Day Four- Ukrainian painted eggs & Russian architecture metal tooling Day Five- Chinese Calligraphy lantern & Free Art Time Arts & Crafts Camp Day One- Cardboard Challenge & Leather tooling/stamping Day Two- Travel Posters & Clay food Day Three- Dada-inspired lamp & Drawing to Music Day Four- Metal tooling & painting clay food to look realistic Day Five- Junk Sculptures & Hot glue fancy frames Check out the photos below to see all of the cool art we created & tips for doing the same! 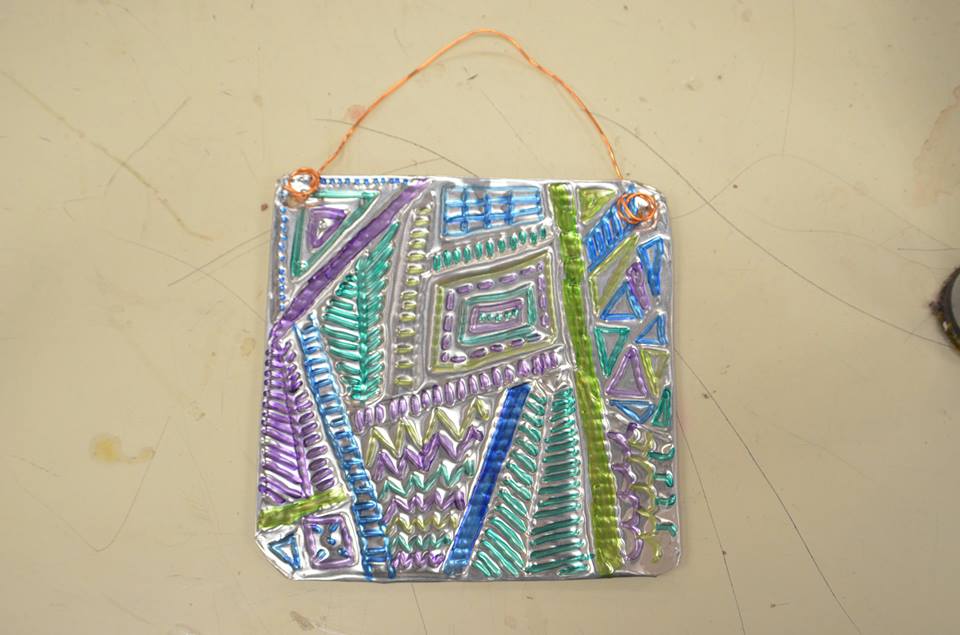
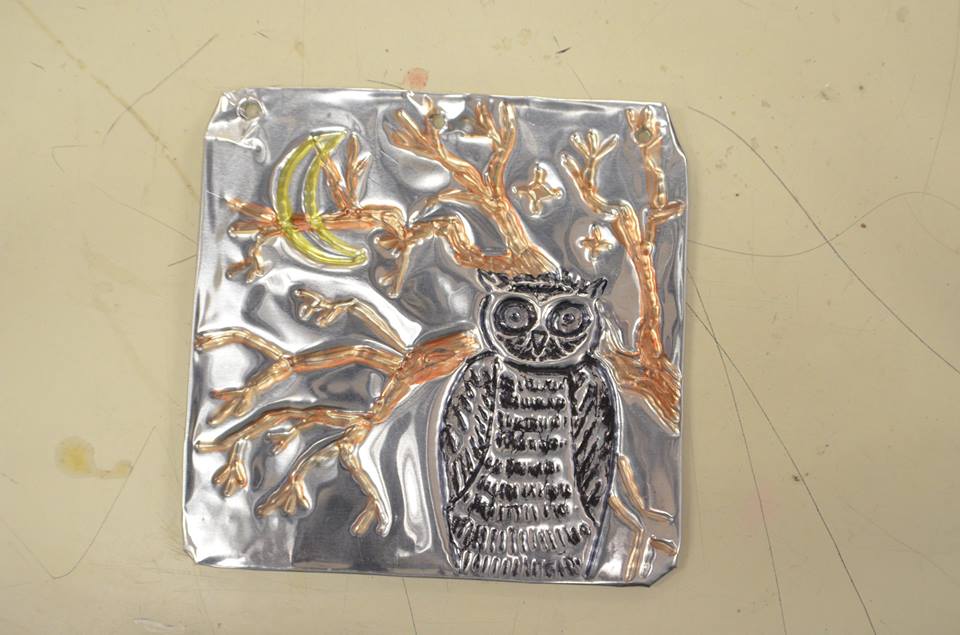
Metal tooled tiles. Cut 38 gauge aluminum metal into 6"x6" squares. The foil I purchased was from Dick Blick and came in 12"x25 ft rolls for around $16. Fold a 1/2" over on each side to prevent injury. Use a blunt pencil to tool designs. I had students draw their design on scratch paper first and then put their paper over the metal and traced to transfer. Use colored sharpie to highlight the areas you tooled. You can also turn the metal over for an embossed effect.
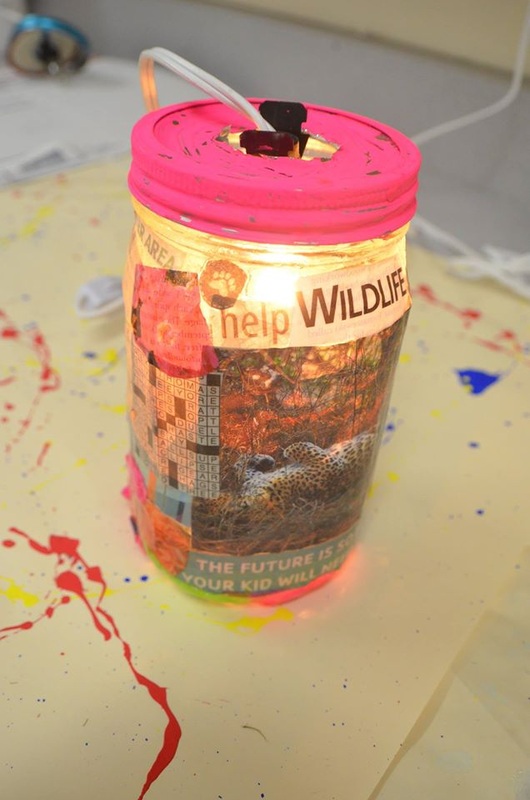
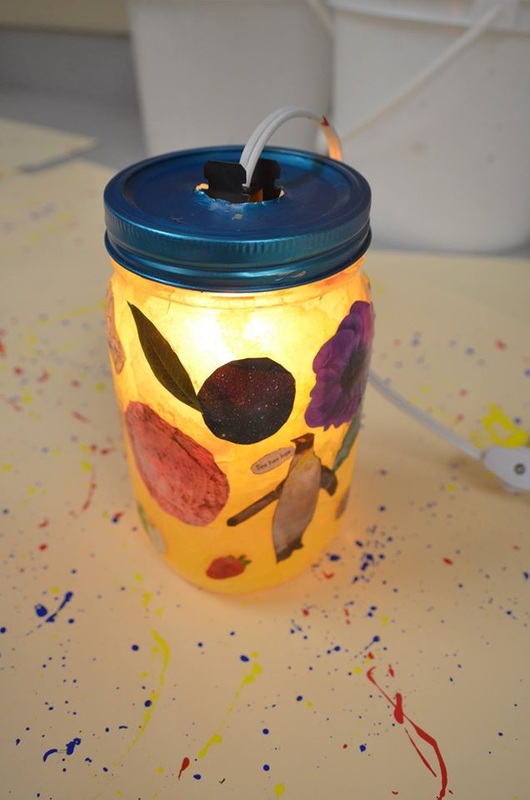
The lamps were created using pint size mason jars, socket light switch kit ($3.99 at Menards or other hardware store), modge podge, tacky glue, and an assortment of magazines and newspapers. Students decoupaged their cut outs onto the lamp using the tacky glue and modge podge. Some students used shredded up tissue paper and decoupaged the tissue paper to the inside of their lamp for a cool background. We used a nail to pound a hole into the lid and then used tin snips to cut a larger hole (this was mostly done by me due to sharp edges). Then the sock was inserted into the hole and a nightlight bulb placed inside that! The original project idea was for a hanging lamp, but some students designed their lamp to sit on a table. We simple cut a small notch in the lid for the cord, so the lamp could sit level. This was probably my student's favorite project!

A cool way to work on the didgeridoo was actually discovered by accident! We placed didgeridoos on sturdy, over-turned chair legs so we didn't have to worry about smearing paint. 1 1/2" schedule 40 PVC was used and cut in a variety of lengths from 3.5 ft to 5.5 ft. Students sanded the PVC and then painted at least two coats of acrylic paint onto the PVC. Next, students took q-tips and paint to create aboriginal-inspired dot paintings on their didgeridoo. The last step was adding melted beeswax to the top to create a mouthpiece and a few beads/feathers for decoration. This project was student's favorite from the Art Around the World class!
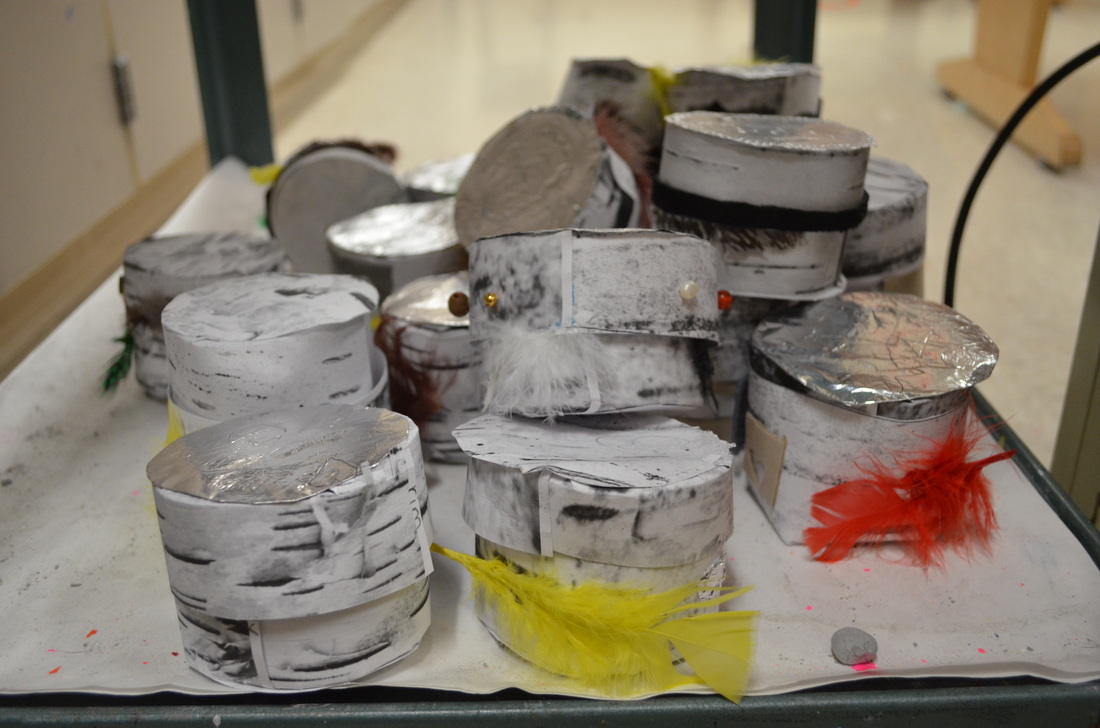
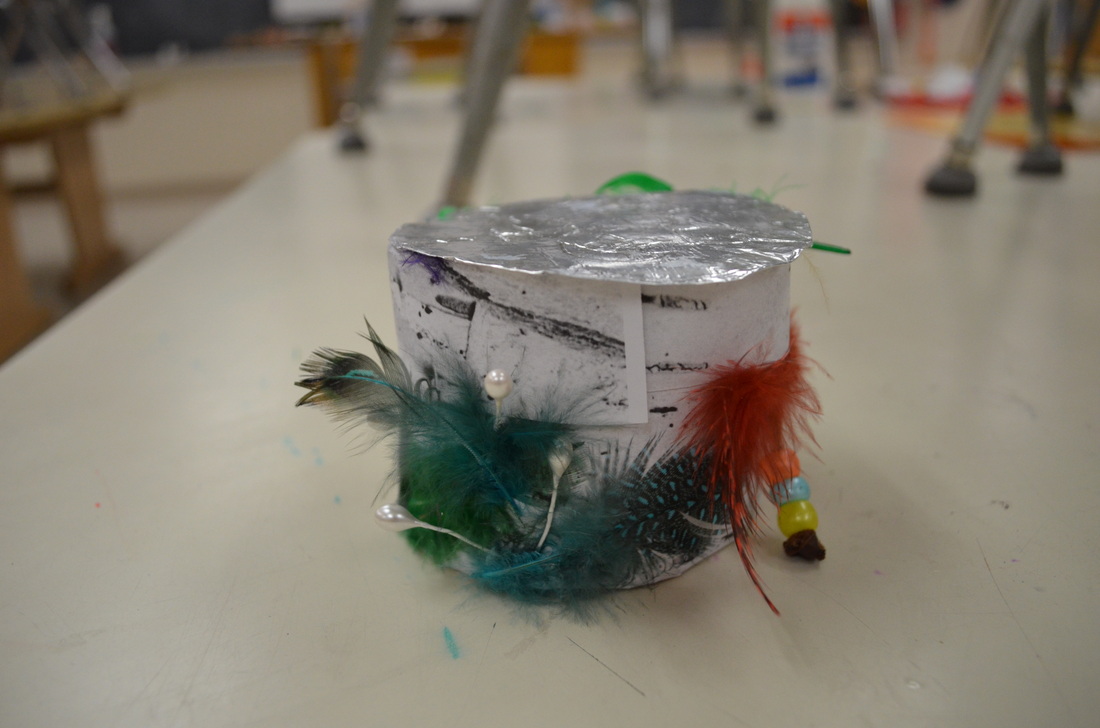
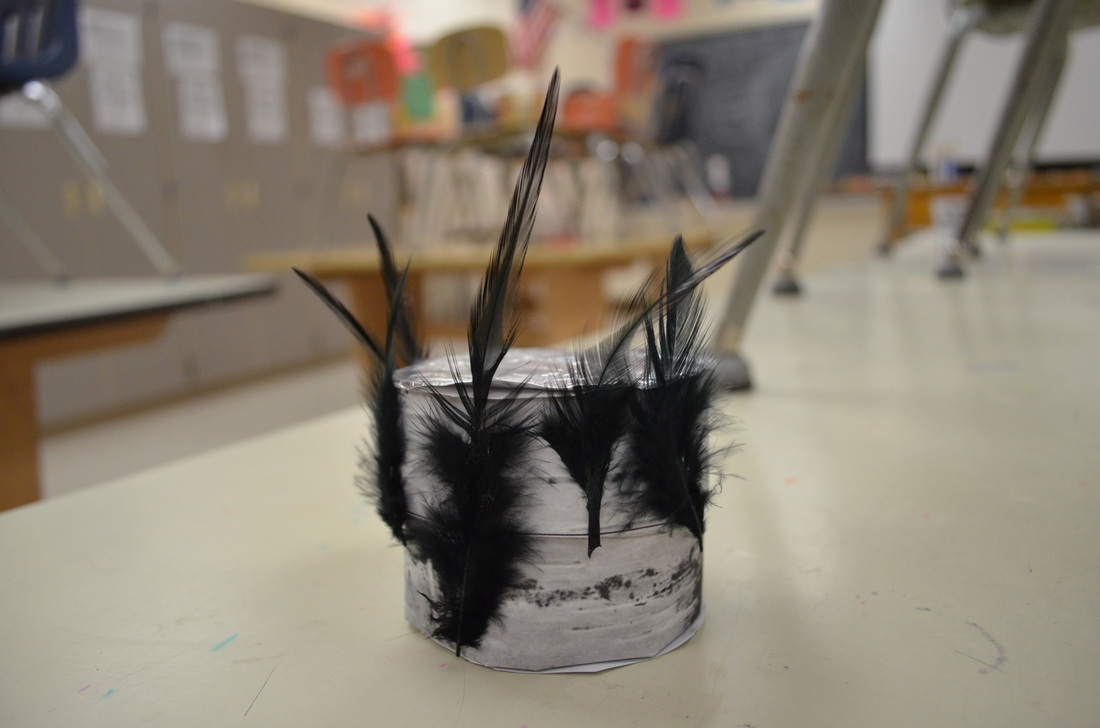
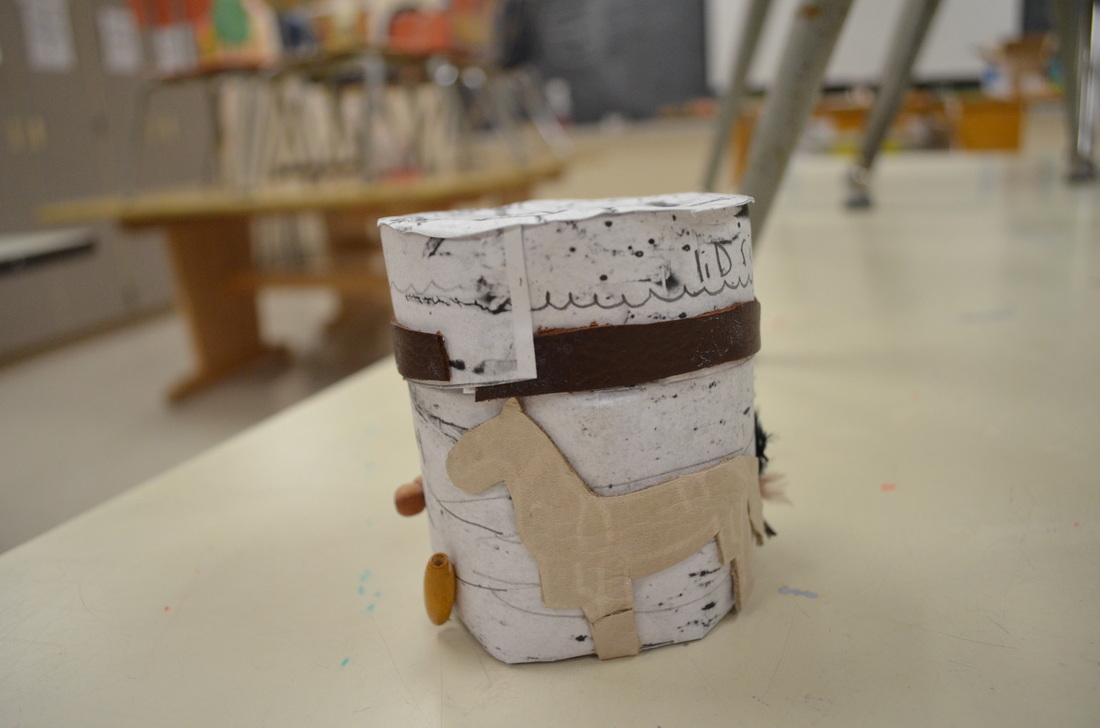
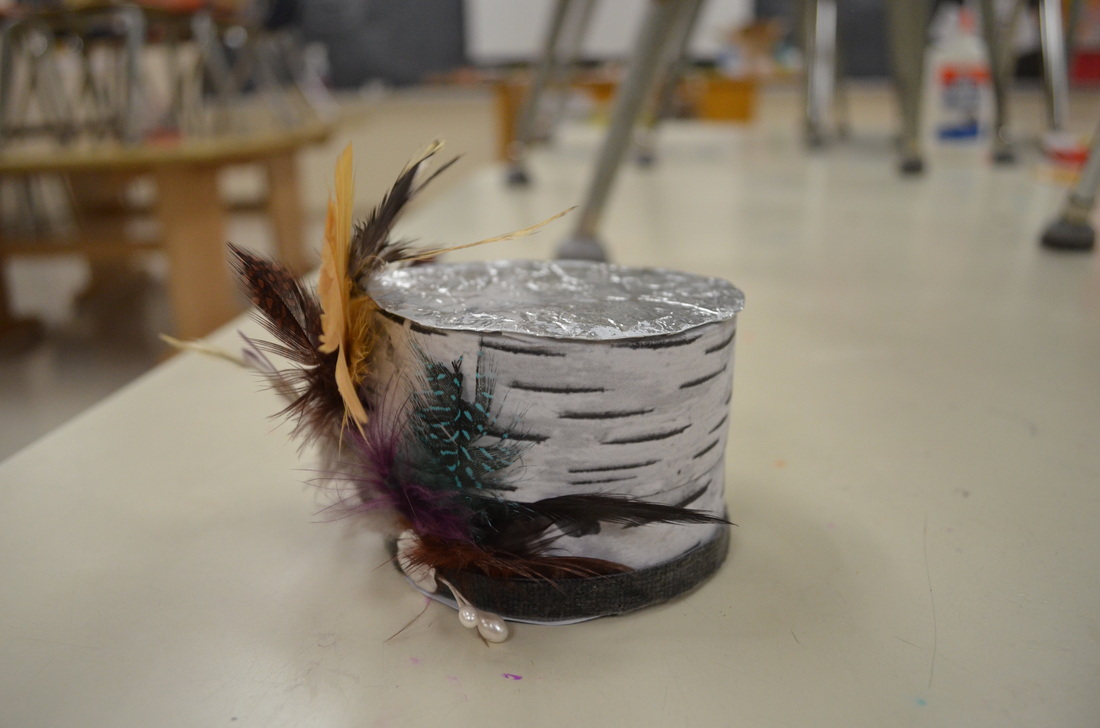
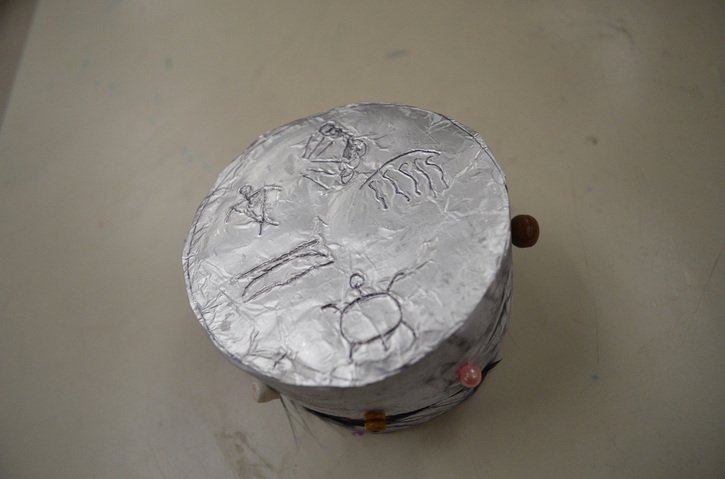
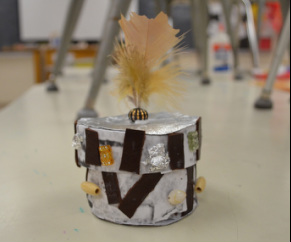 Well the American Indian art unit is complete! We made birchbark boxes from cardstock paper with printed birchbark textures. I had students use beads, feathers, and leather scraps to decorate their boxes. Some students got a bit over-excited with the decorations, but some boxes turned out so cool! We did a compare/contrast between the artist Bobby Wilson and traditional Ojibwe art. We also did a graffiti write on what they knew already about Ojibwe art. In total, the unit took about 5 (50 min.) class periods in total for most students to finish. Some students really struggled with assembling their boxes, but most seemed to get it. One thing I added to this lesson was a tooled metal lid. I had students do some beginner metal tooling in heavy duty aluminum foil. Students were asked to tool with a blunt pencil at least three Ojibwe symbols into their aluminum foil. We cut and glued the foil to the paper lid. We also talked about the differences between traditional and contemporary Native American art. This led to a great discussion on how stereotypes can hurt people and what kind of stereotypes we all experience on a daily basis. It was pretty powerful, and overall, a fun project! I have found it difficult to teach art history without being boring. I created this handout to be used in students' sketchbooks all semester long so we learn art history one piece at a time and not necessarily in order. The handout has small pictures of inventions to give students an idea of when time periods are happening. I also left small blank boxes at each time period for students to do a brief sketch of an example of artwork from that time period. PreviewDownloadGo to Teachers Pay Teachers to download this art history timeline handout for FREE!
|
Mrs. QuamThis is my 11th year teaching art & graphic design! I have taught middle school for 2 years and high school for almost 5 years. I truly enjoy working with students on a daily basis. I also enjoy teaching real-world skills such as problem solving, using technology, and the power of teamwork and collaboration. My joy is sharing my passion for art with others! Archives
March 2024
Categories
All
|
Photo from Rob Qld




 RSS Feed

